
Posted 29 July 2016,
In my last post on this subject, I described the work to be completed to finish the OSU/STEM Outreach speaker amplifier project, as follows:
- physically cut the perfboard down to a size that will fit into the enclosure, and figure out how it is to be secured.
- Figure out how to mount the channel monitor LEDs so that they can be seen from outside the enclosure. The plan at the moment is to mount them on the outside edge of the left and right screw terminals, respectively, and widen the AUD OUT opening enough so they can be easily viewed from outside.
- Figure out how to route power and audio signals to the LED monitor board without using the external power and audio output screw terminals. The power wiring should be simple, as power and ground are available on the breakout pins provided by Adafruit. However, the audio output signals are more problematic, as it isn’t obvious how to get to these circuit points, and I really don’t want to start drilling holes in a multi-layer PCB. After a careful visual inspection and some probing with my trusty DVM, I think I have located where I can safely tap into the PCB run from the last SMT resistor to the positive audio terminal for each channel – we’ll see!
- Make sure the enclosure top fits OK, and all three LEDs are indeed visible.
- Install semi-permanent L/R audio output cables with alligator clip terminations. In actual use, I don’t really expect two paper speakers to be connected at once, but I’ll be ready if that situation occurs ;-).
Cut the perfboard down (and mount the LEDs):
With the help of my trusty Dremel tool and a carbide cutoff wheel, I trimmed the perfboard down to a size and shape that would fit into the enclosure, using the top surface of the audio input jack as a handy mating surface on one end, and with the monitor LEDs themselves as mounting legs on the other end, as shown in the following photos.
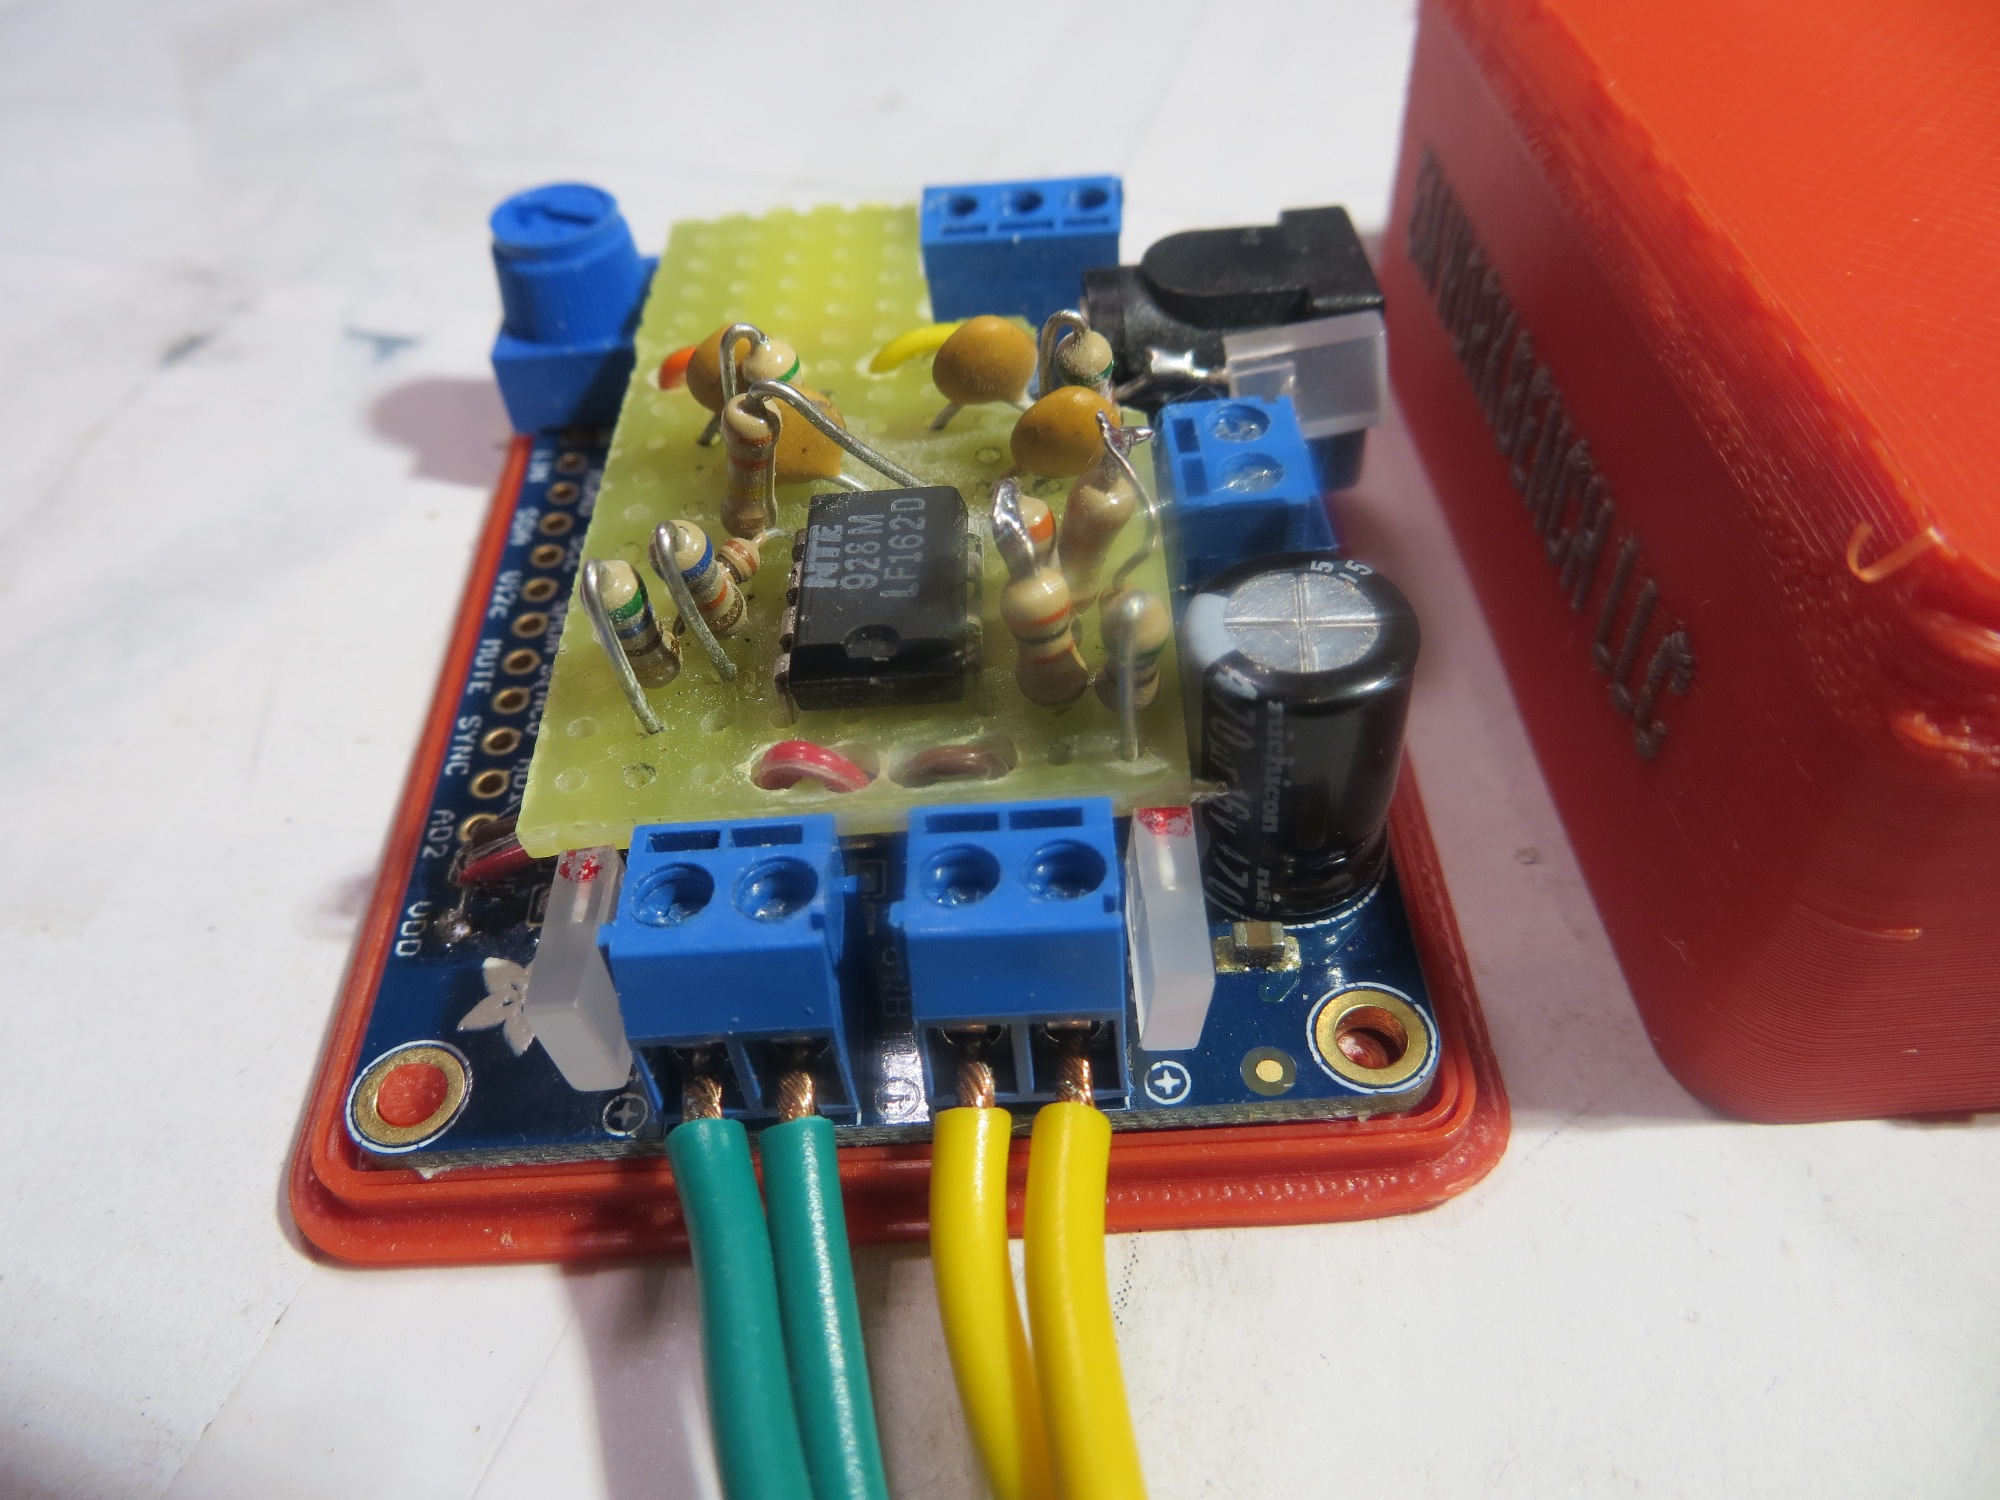
Cut-down perfboard, mounted front view
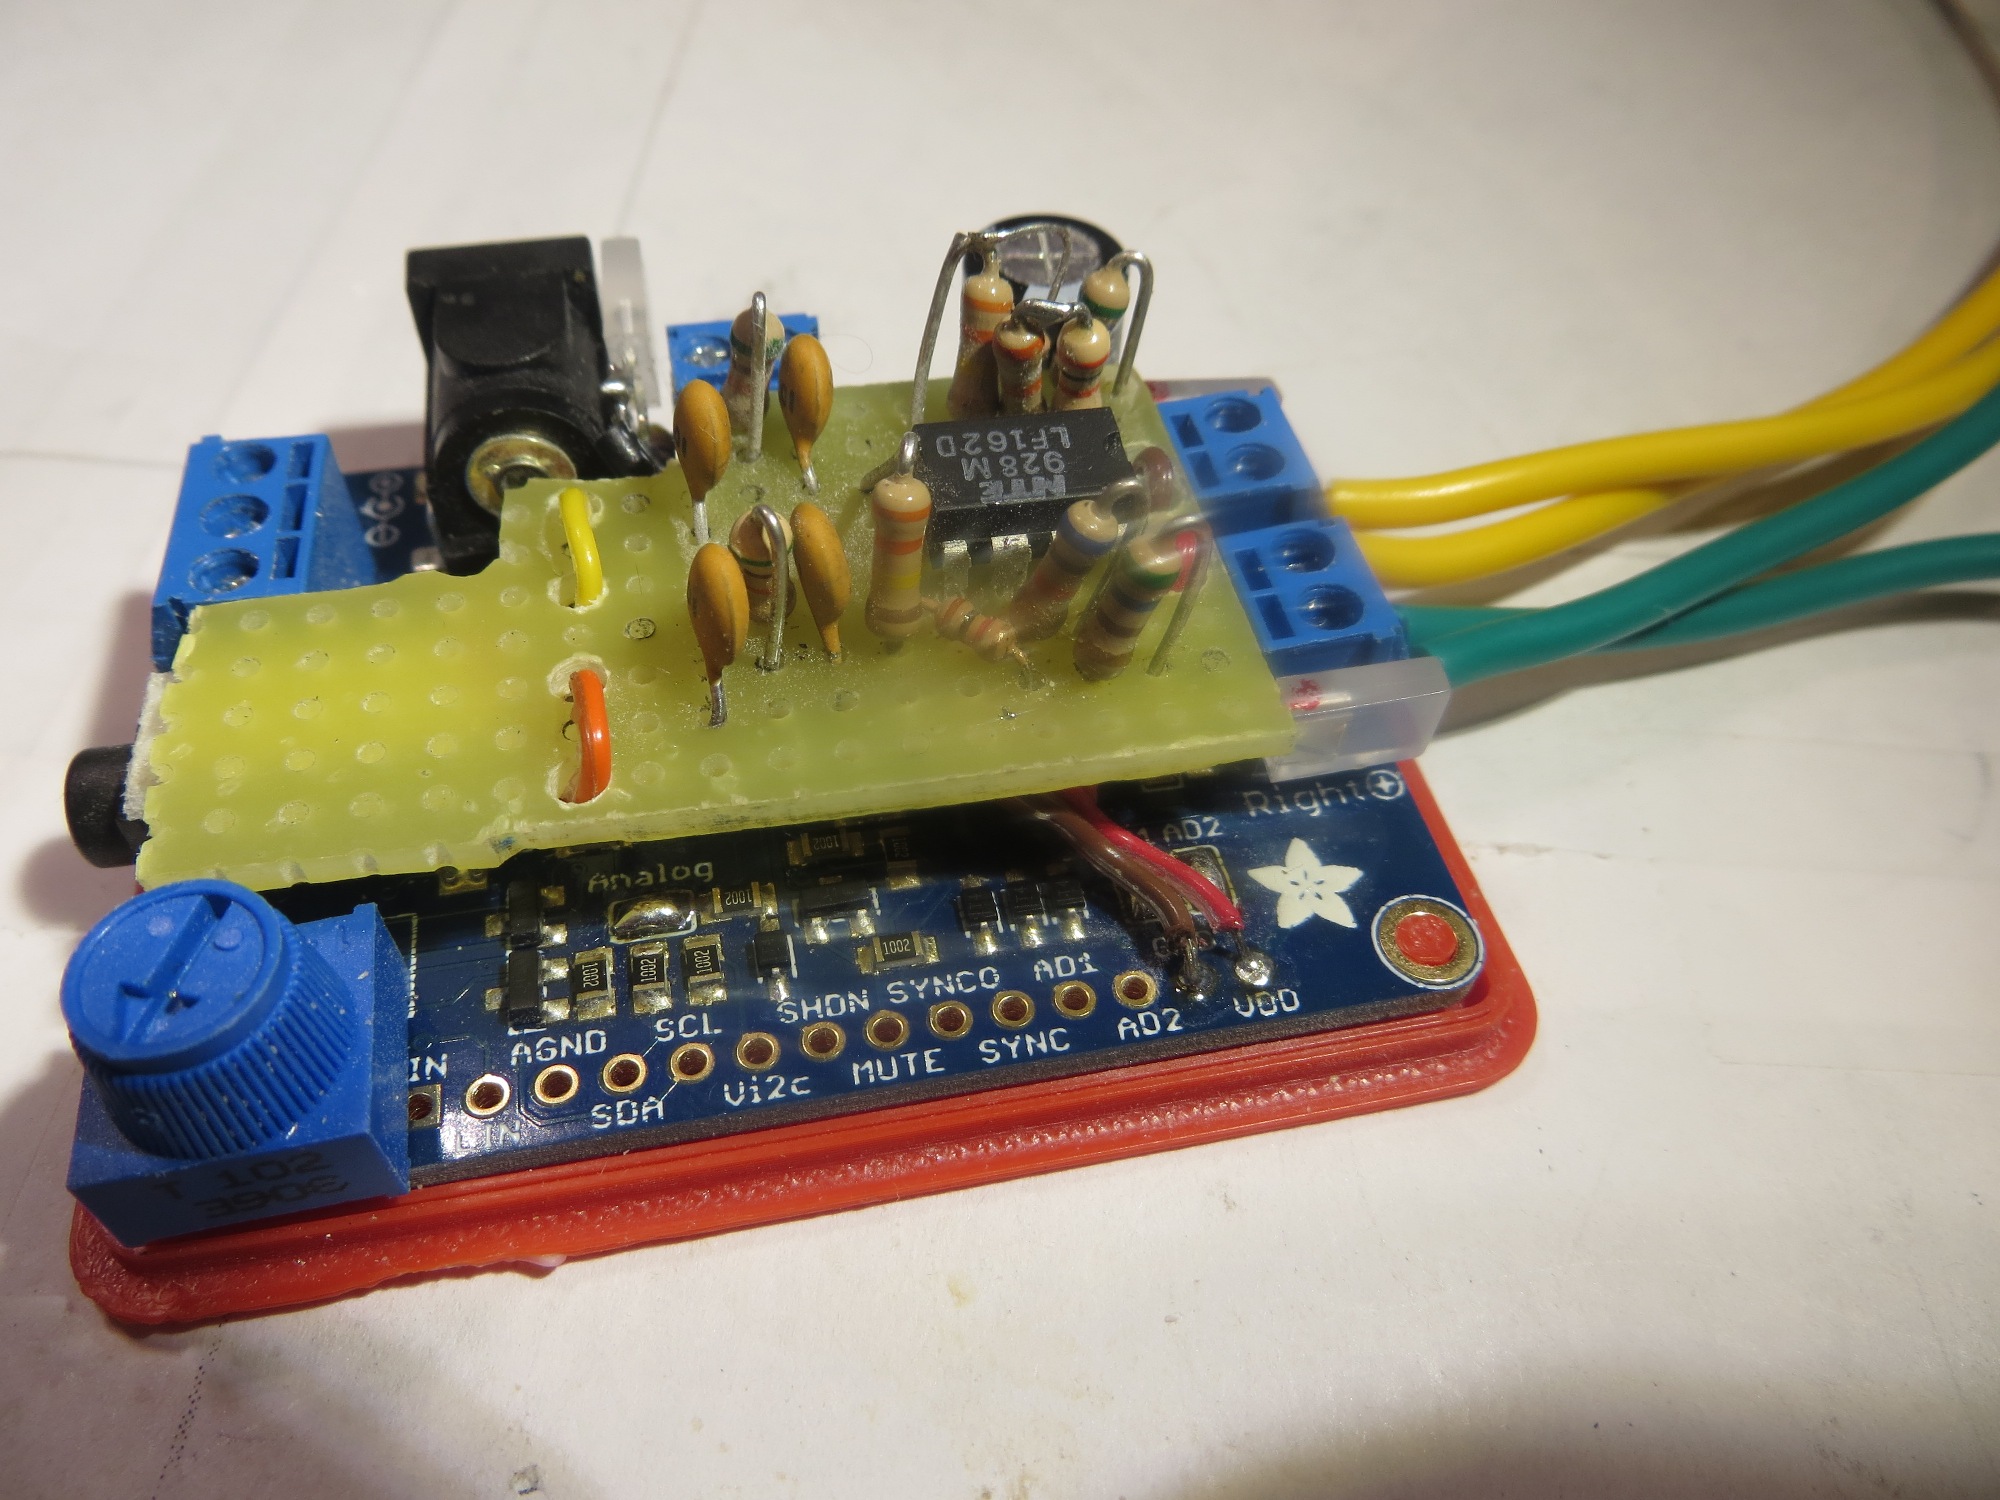
Cut-down perfboard, mounted, side view
Power and audio signal wiring:
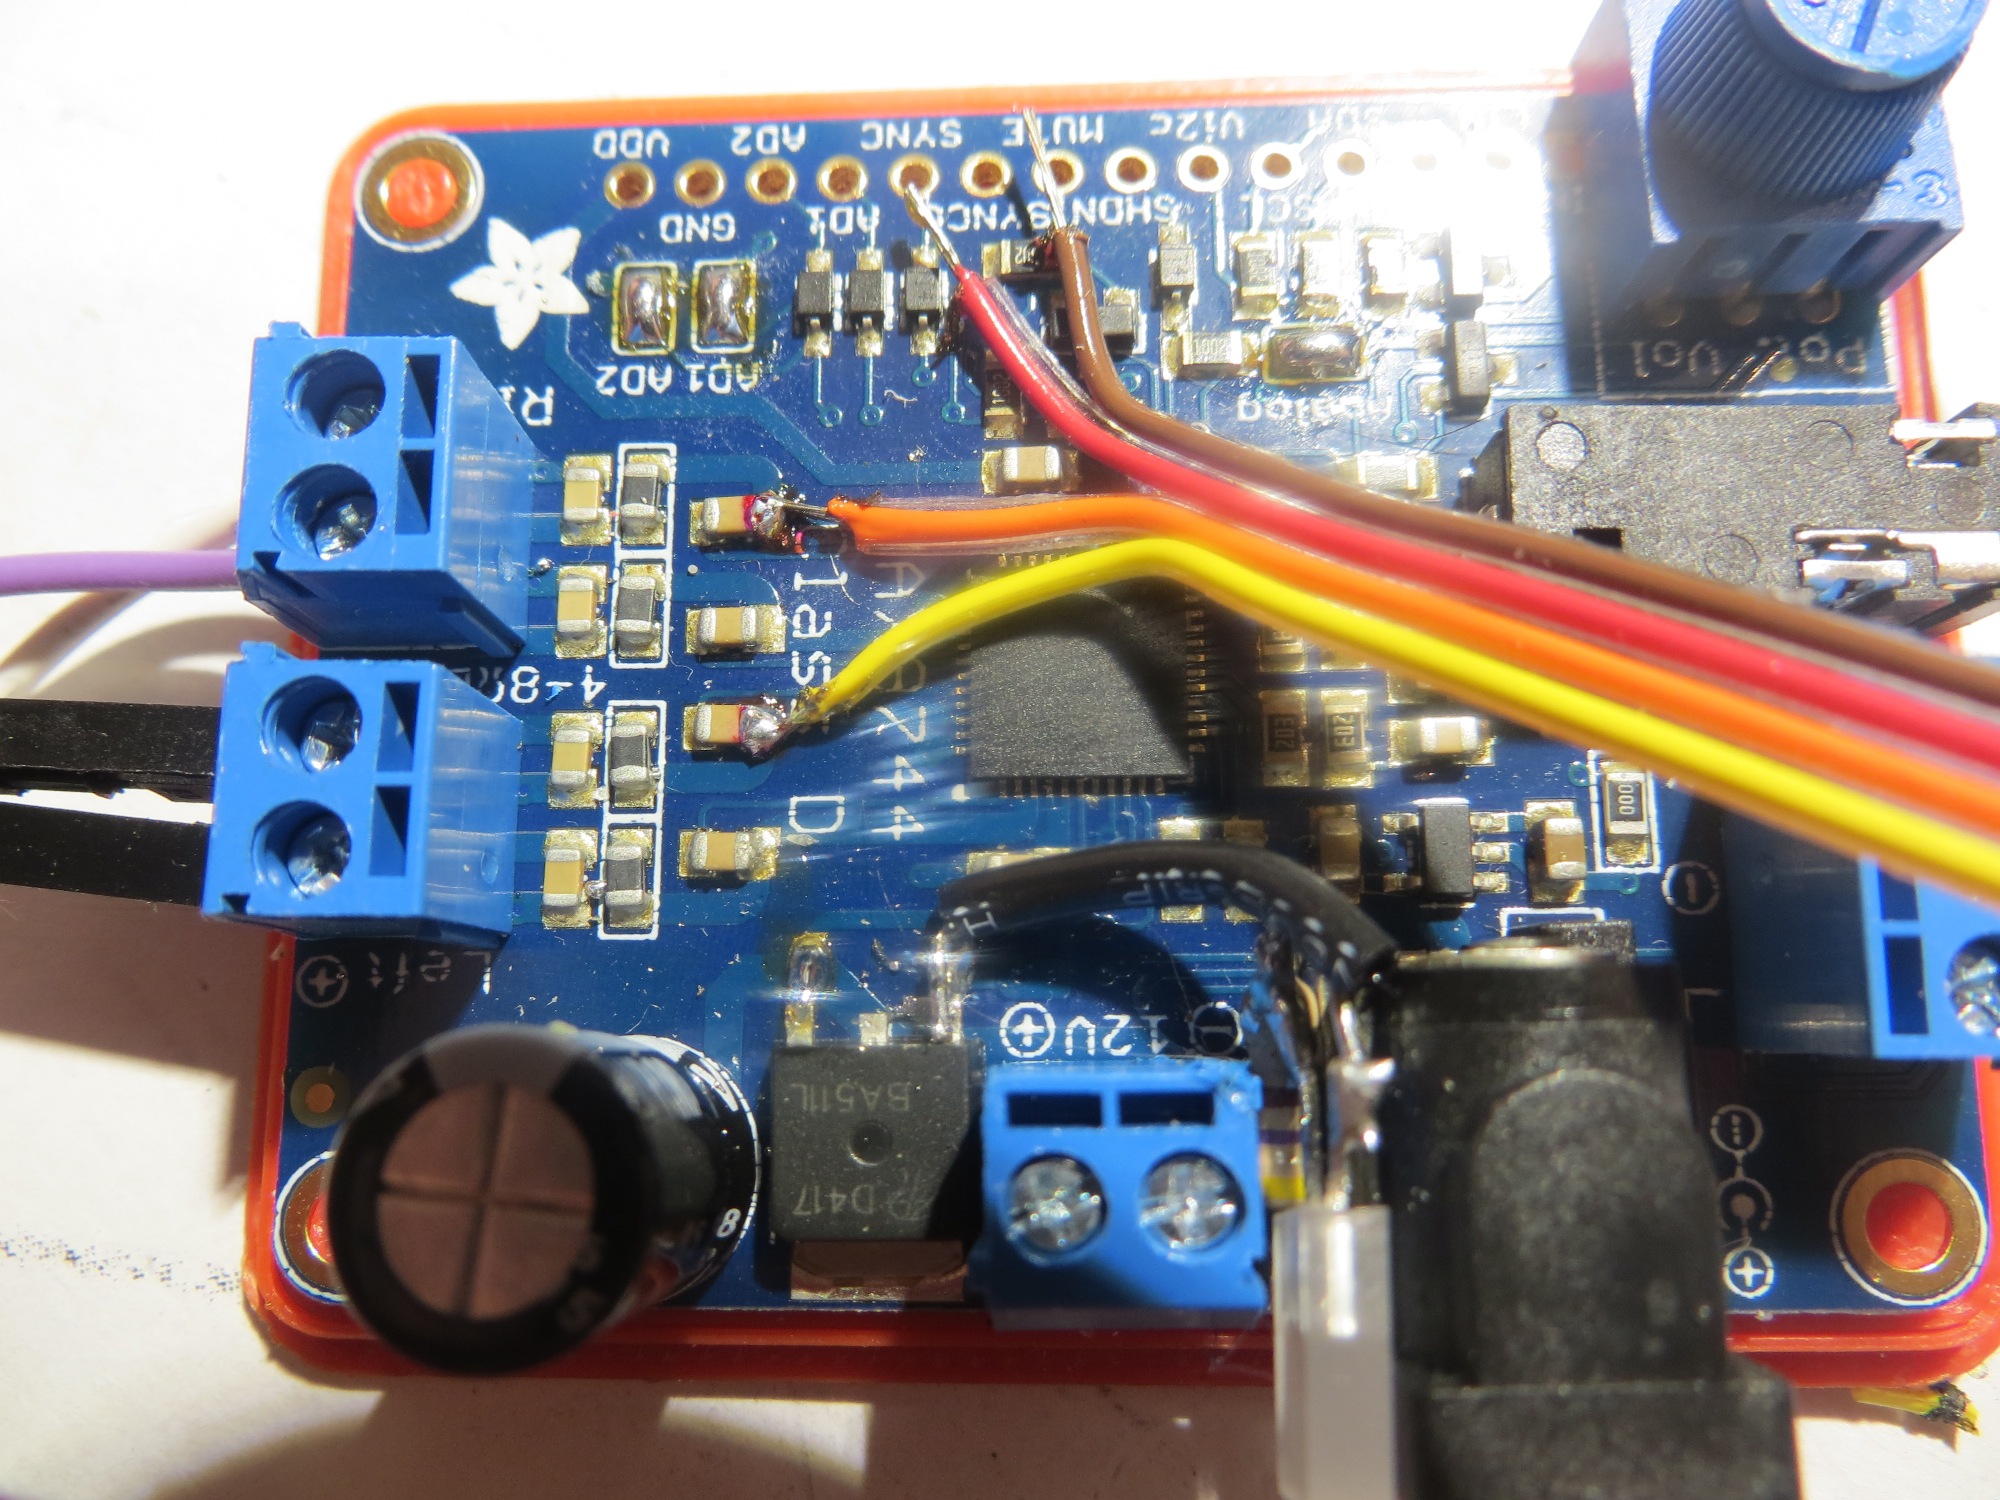
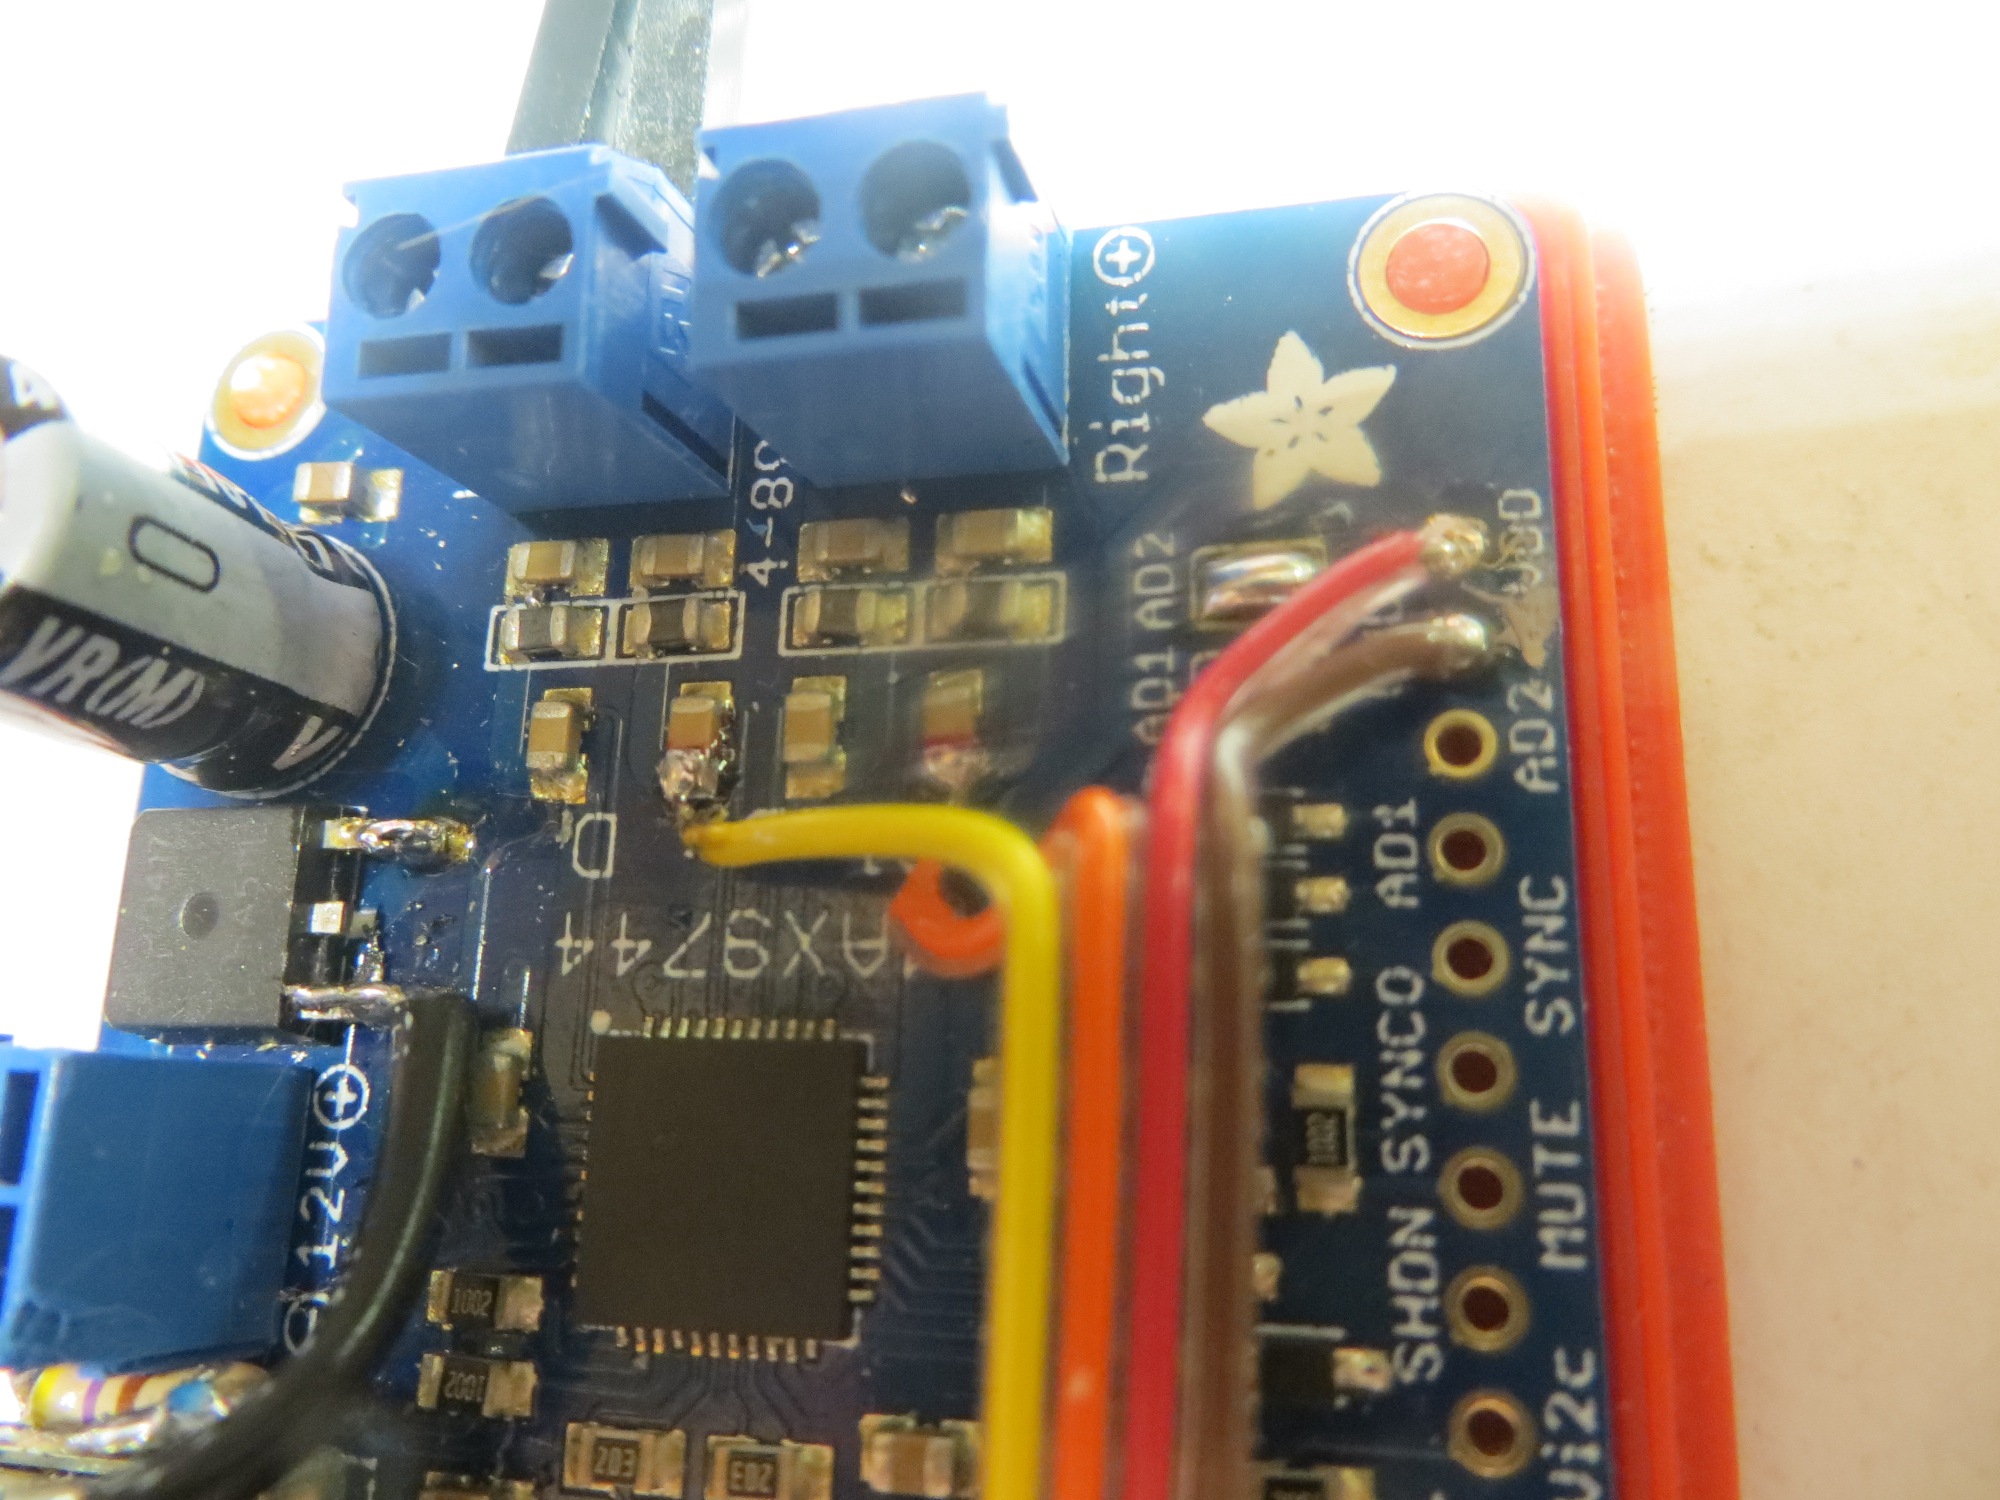
Audio and power wiring
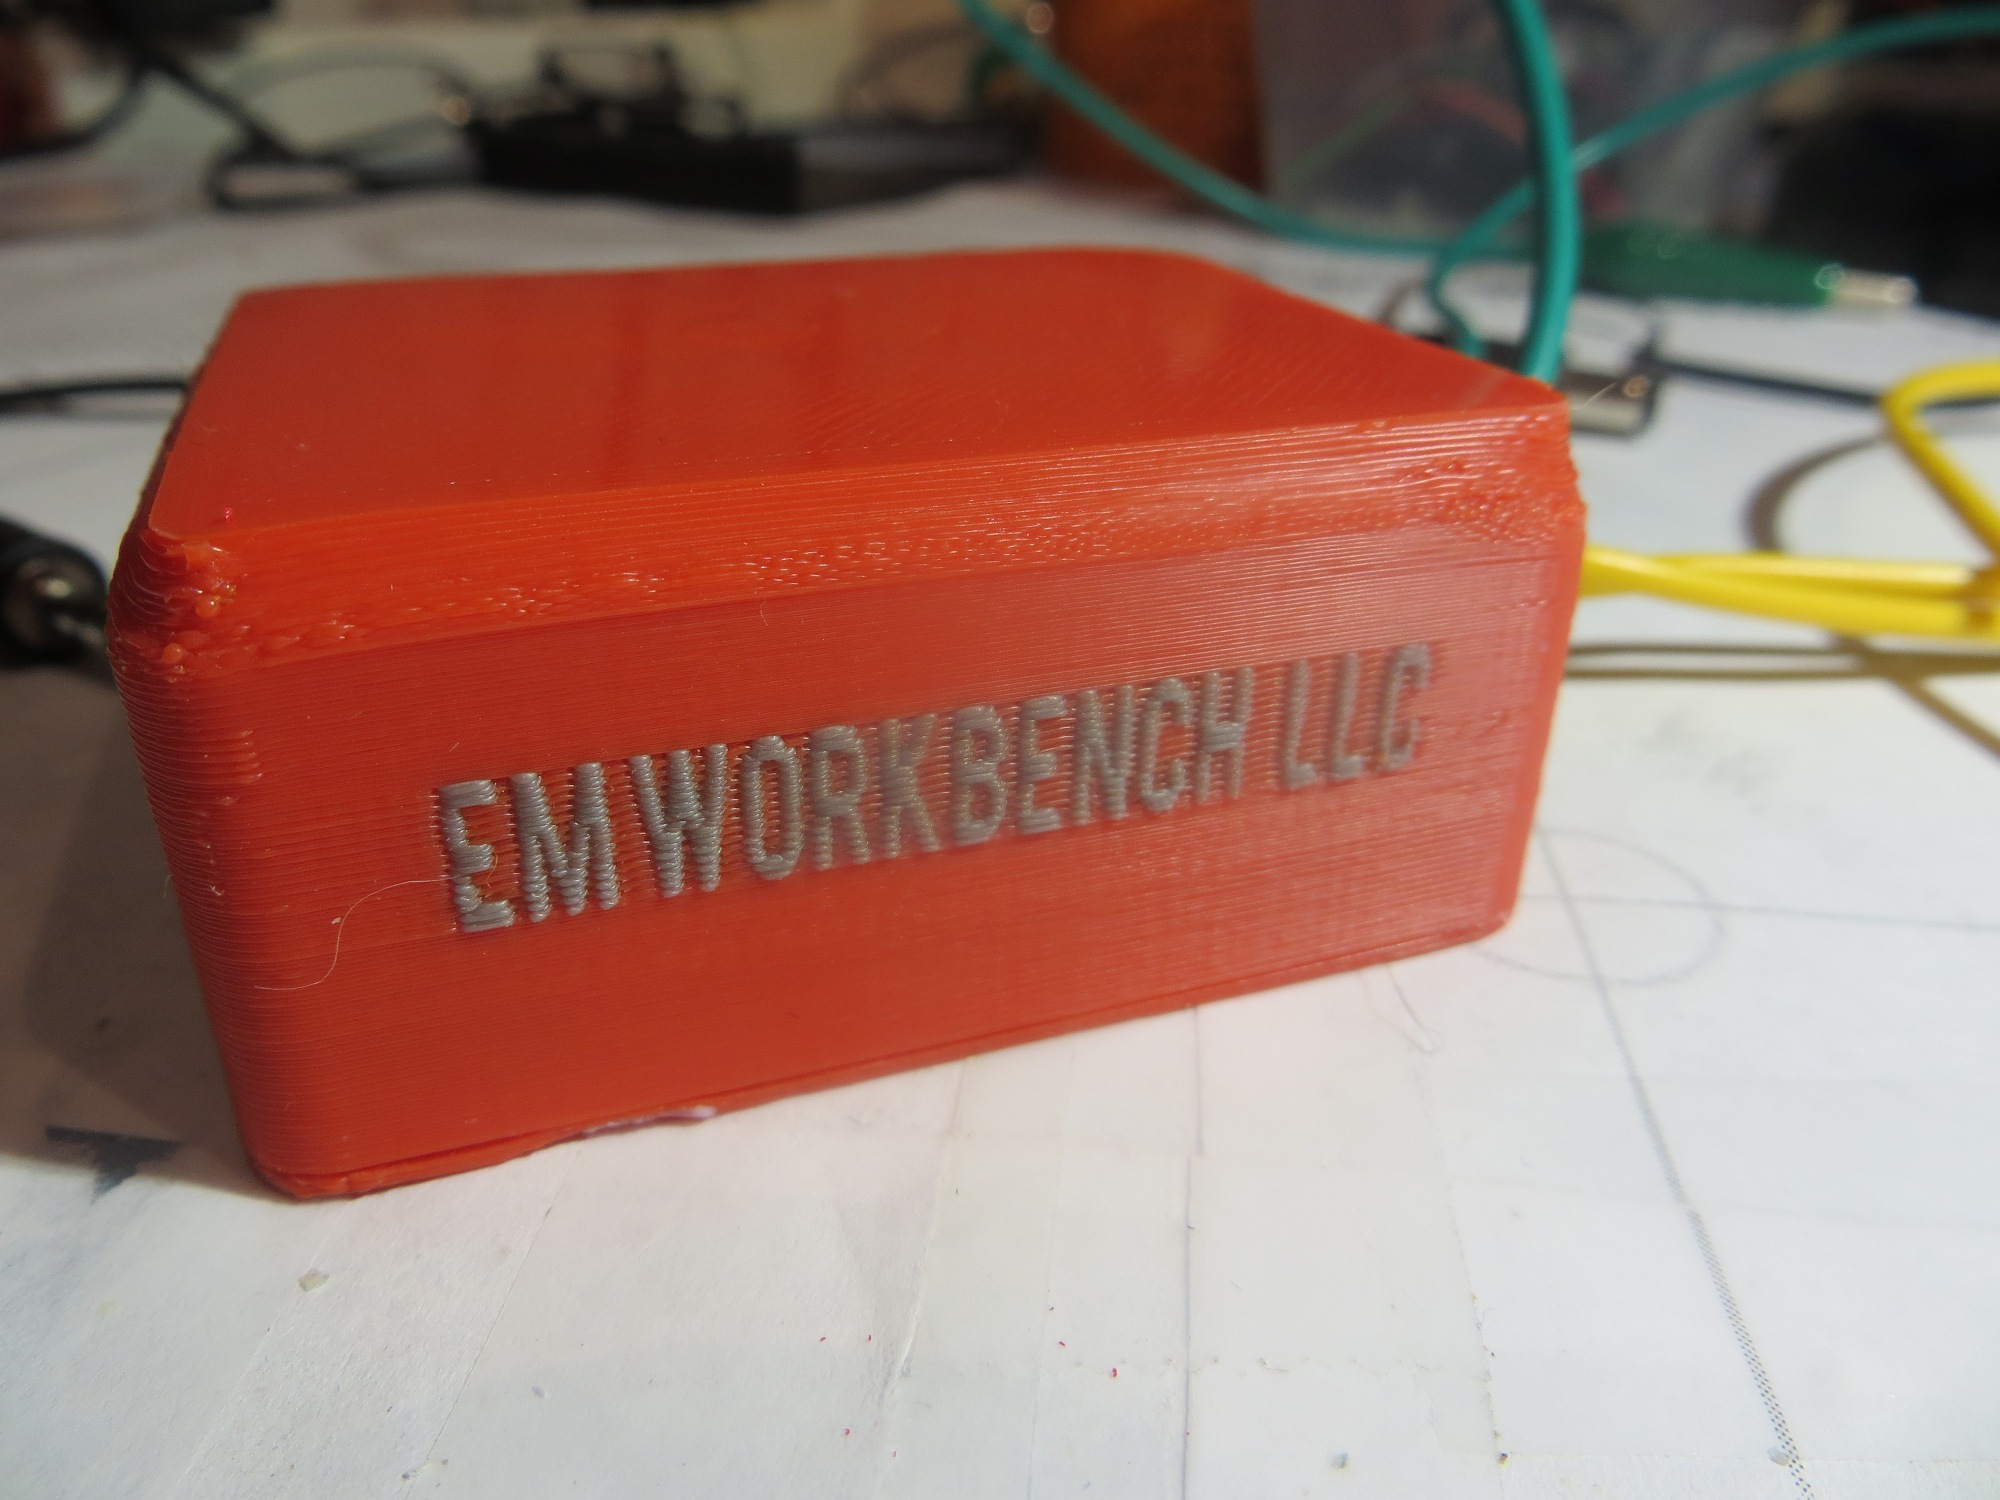
Enclosure:
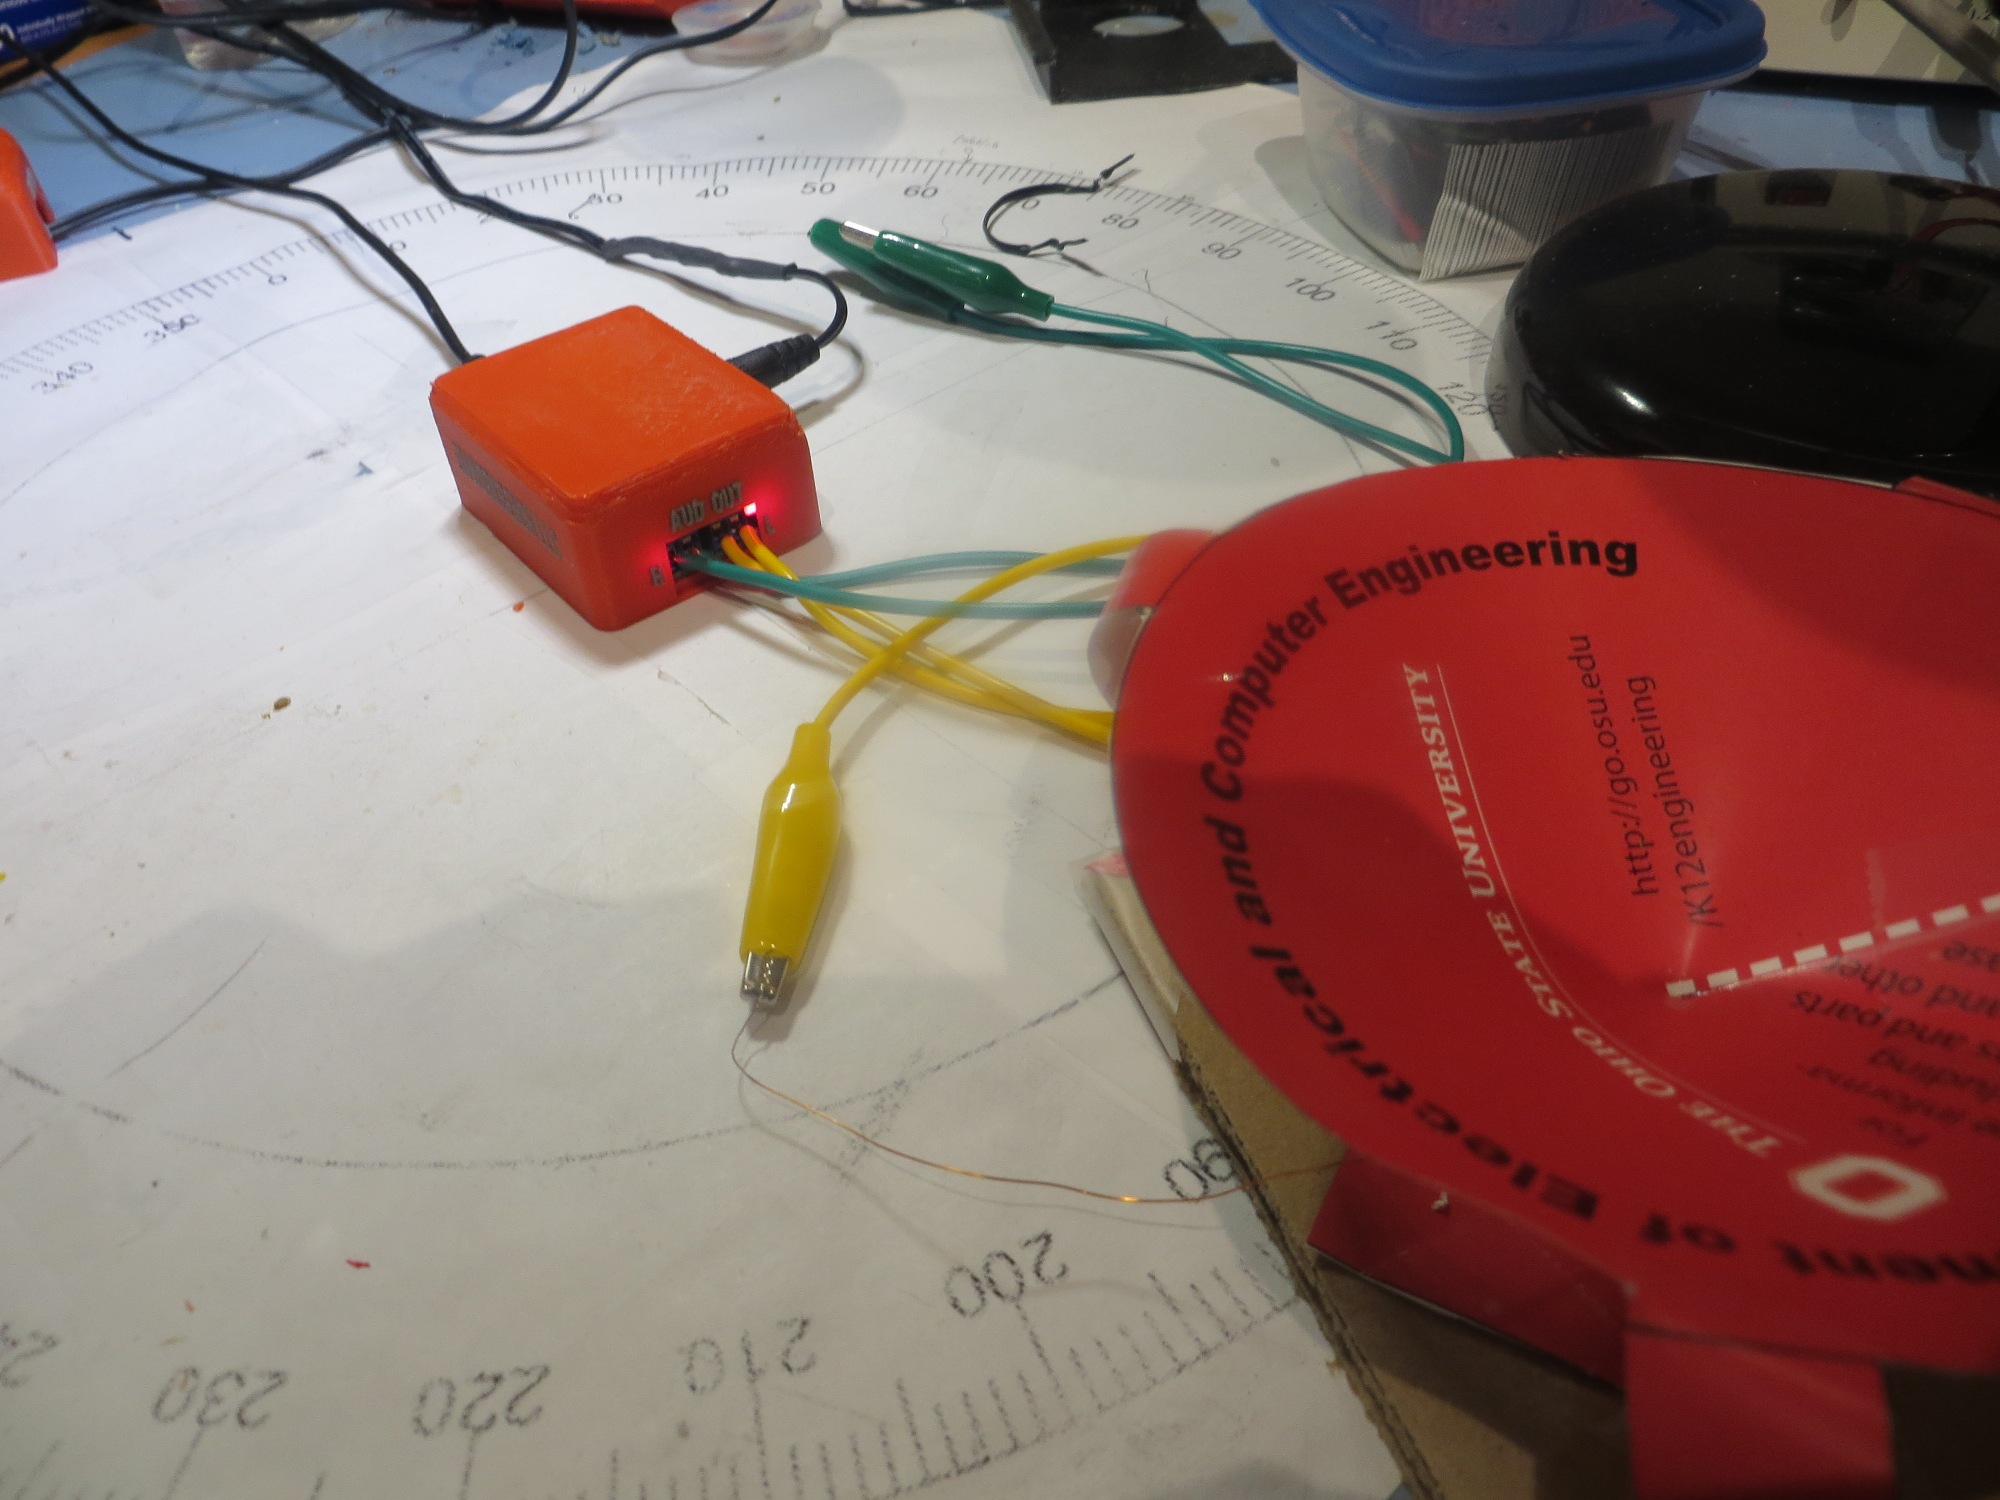
Completed project shown connected to OSU paper speaker
Speaker connection cables:
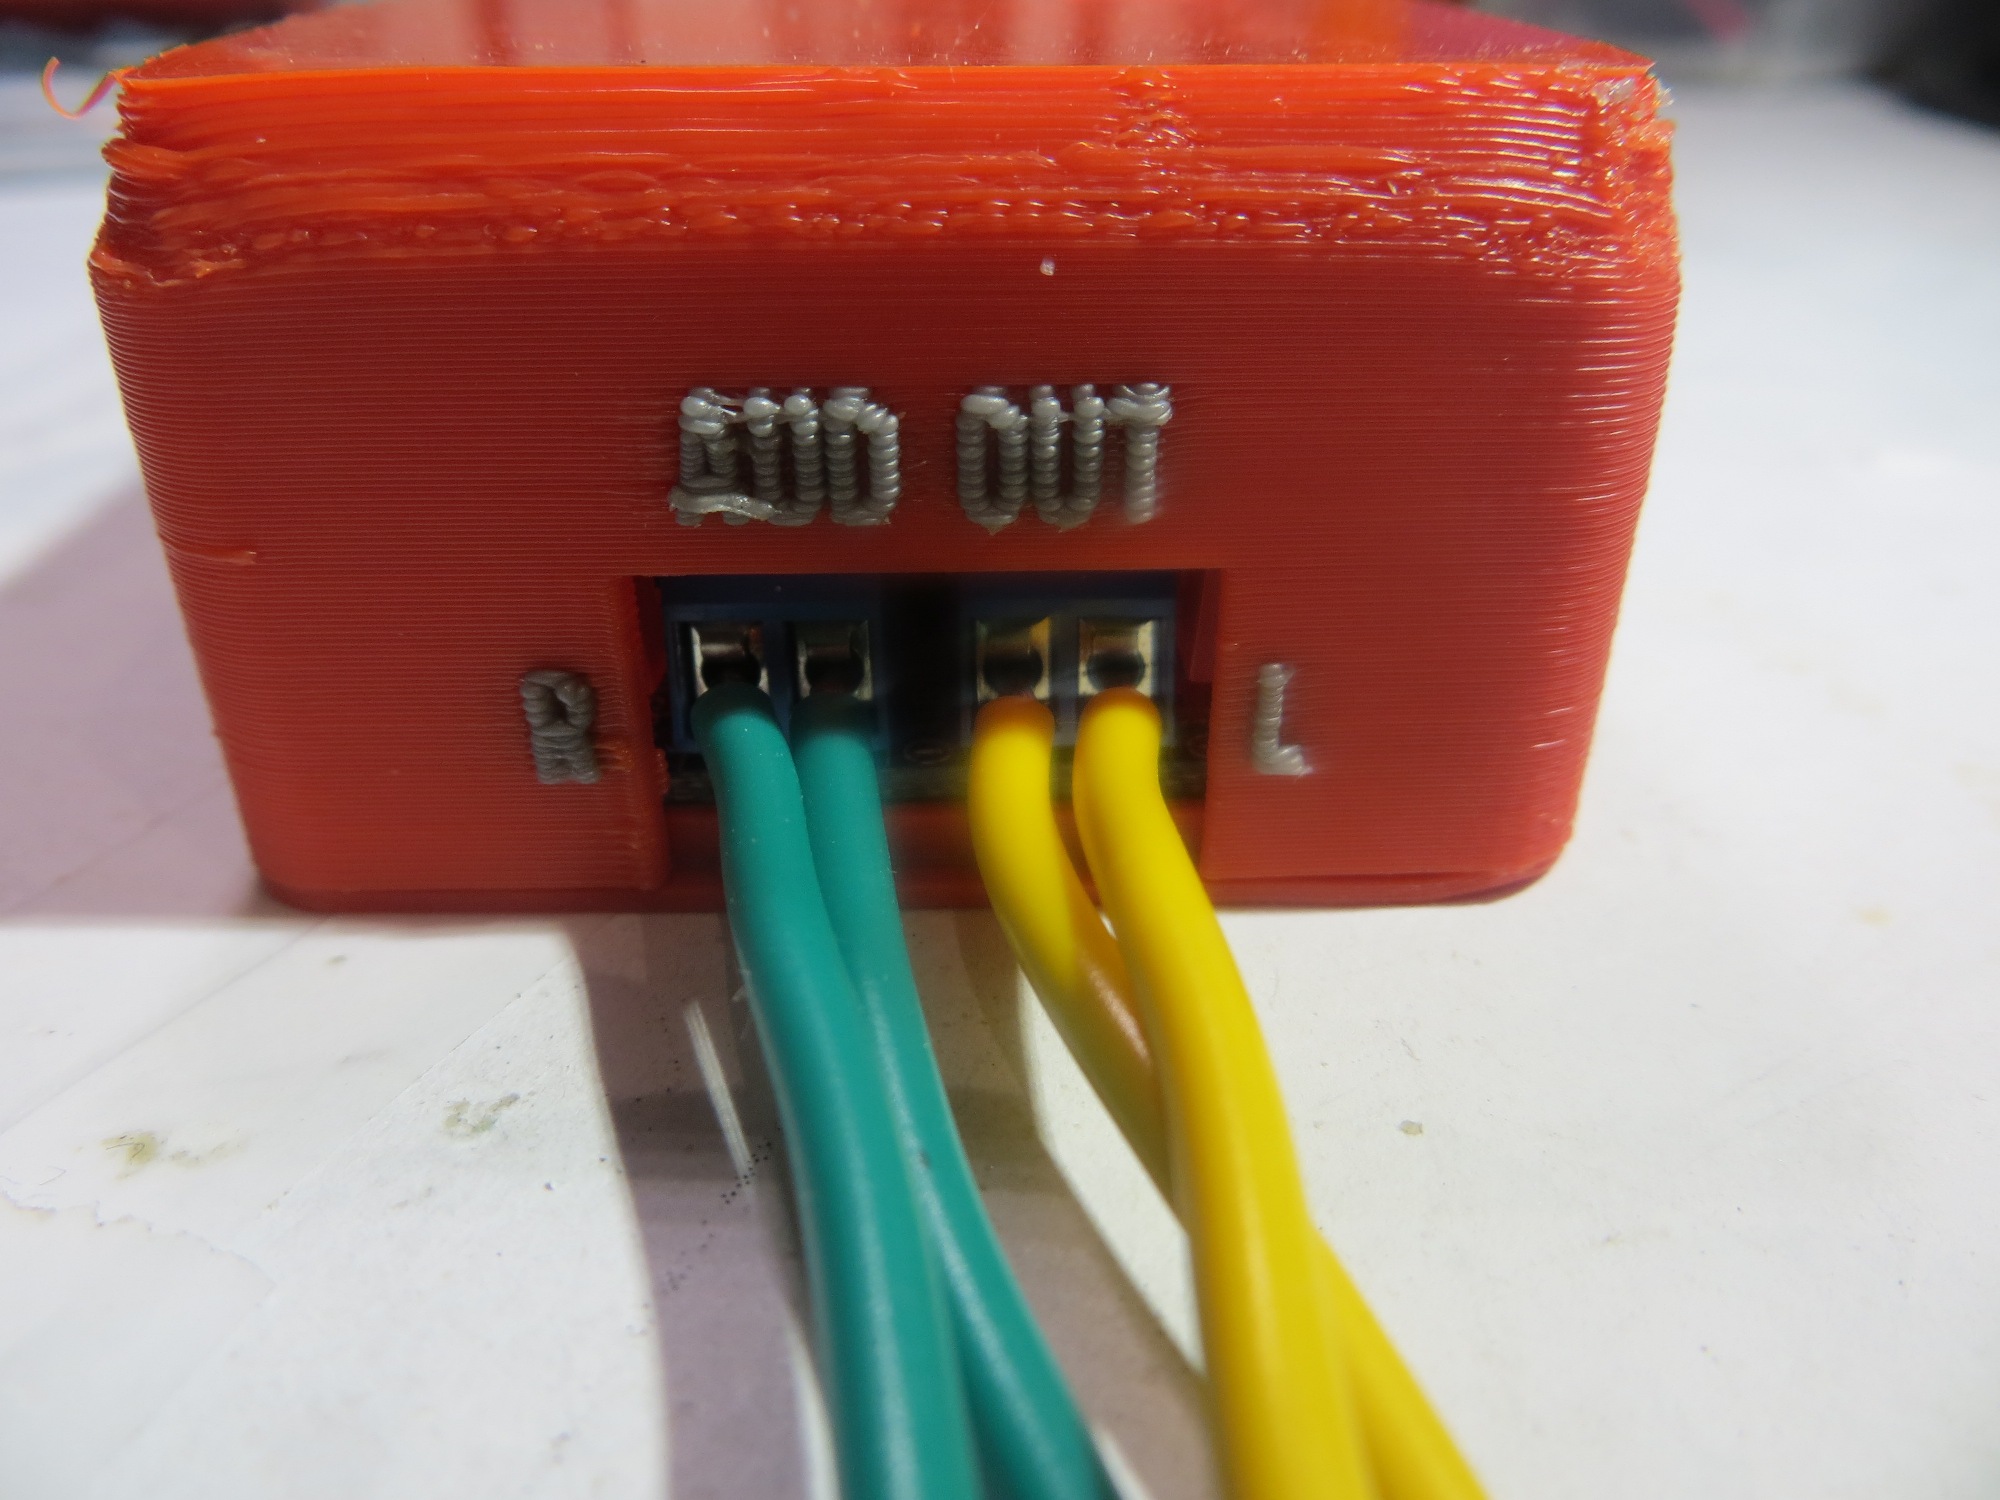
Enclosure side view showing audio output connections
All Together Now…
So, at this point the amplifier project is all done except for the ‘proof of the pudding’, which in this case is a real field test with real participants and student helpers. If the field test results are satisfactory, I’ll probably build at least two more complete systems (I got 3ea amp boards from Adafruit and haven’t managed to kill any of them yet), and donate them to the OSU Engineering Outreach project.
Frank