OK, so now I have a running (sort of) PrintrBot and some projects I want to print, but first…
Went through the PrintrBot guide “Setting Up Your Auto-Leveling Probe and Your First Print” procedure. This was a little scary to start with, as the hot end was really close to the bed (and HOT!) and the Z-axis sensor wasn’t much farther away. Eventually I got this done to the point where I was ready to start some trial prints with the supplied starter filament, with the usual terrible results ;-).

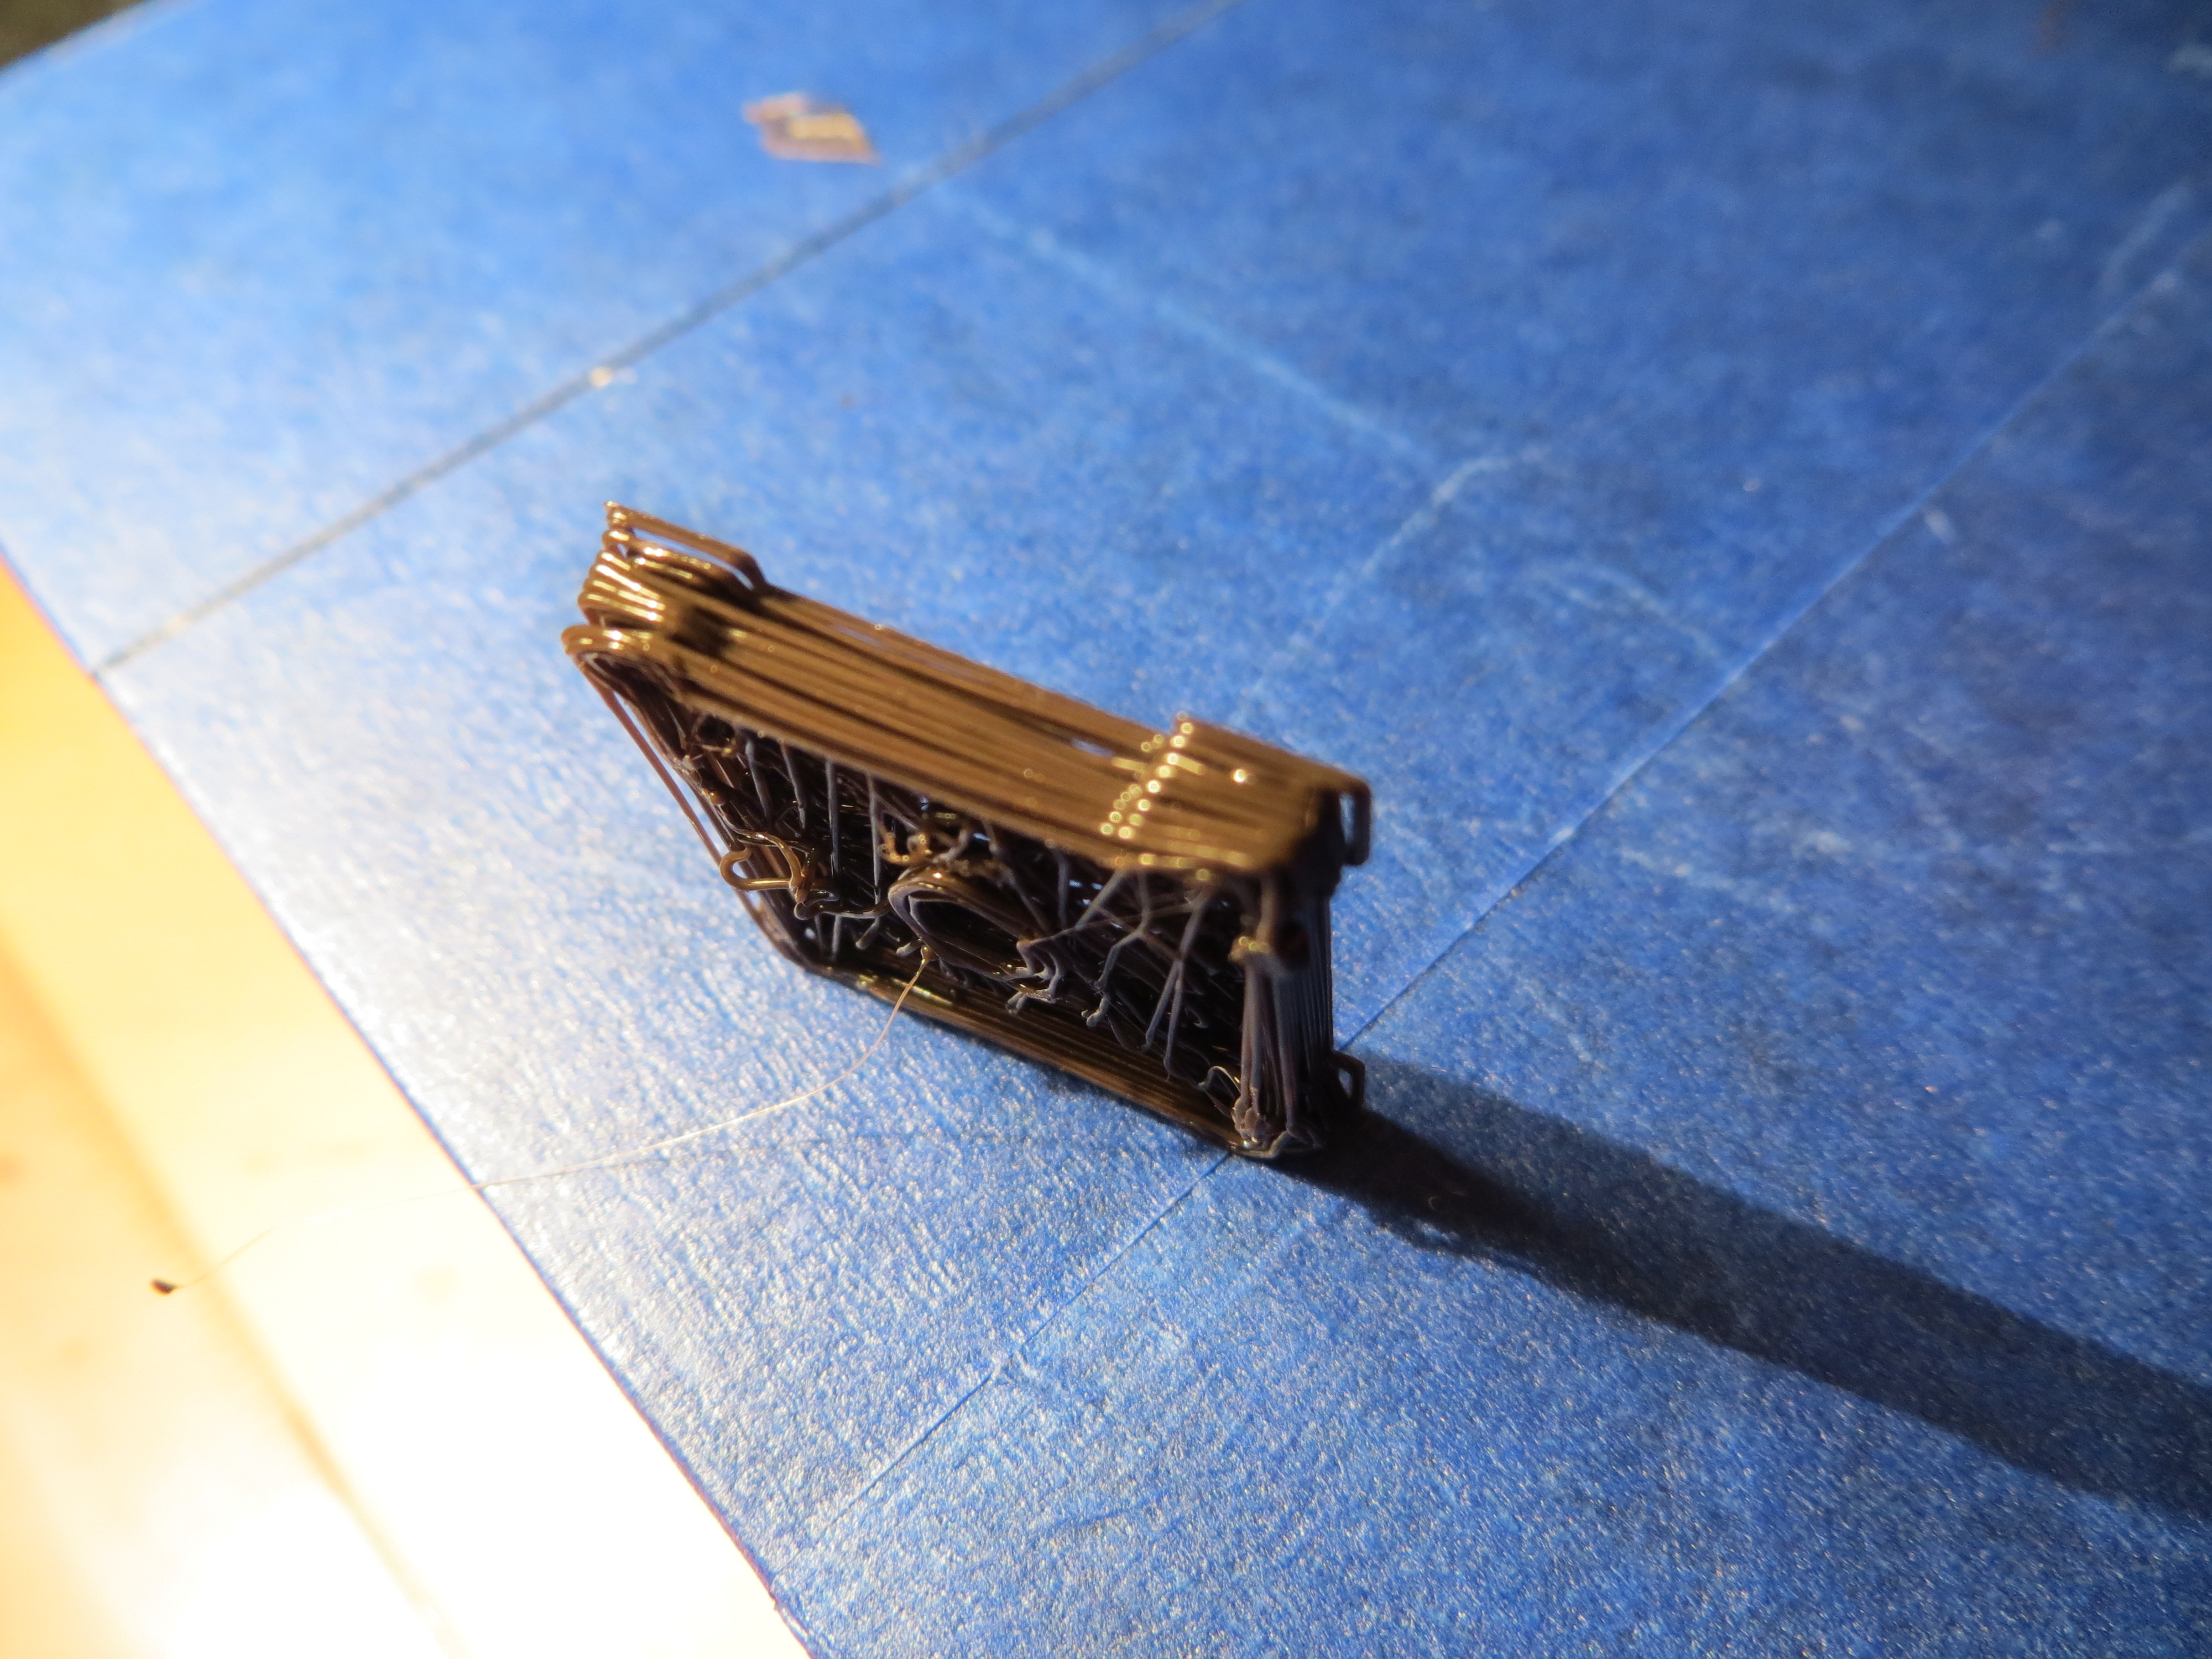
First attempt at a bicycle clamp part (side view) – ugly!
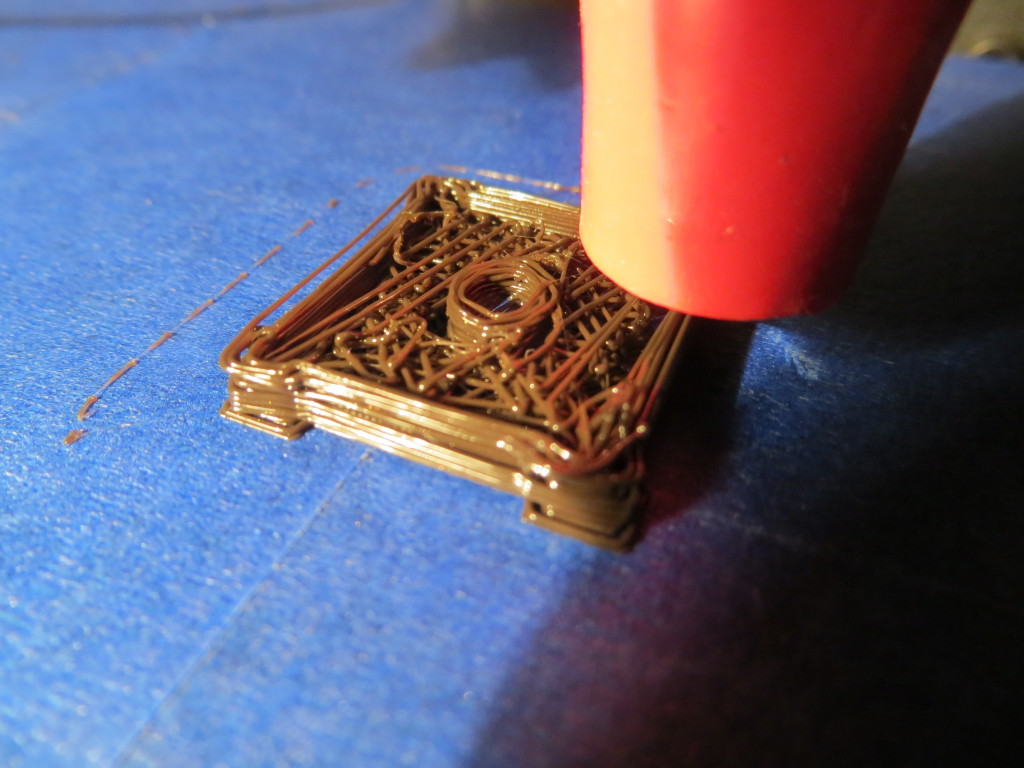
First attempt at a bicycle clamp part – ugly!
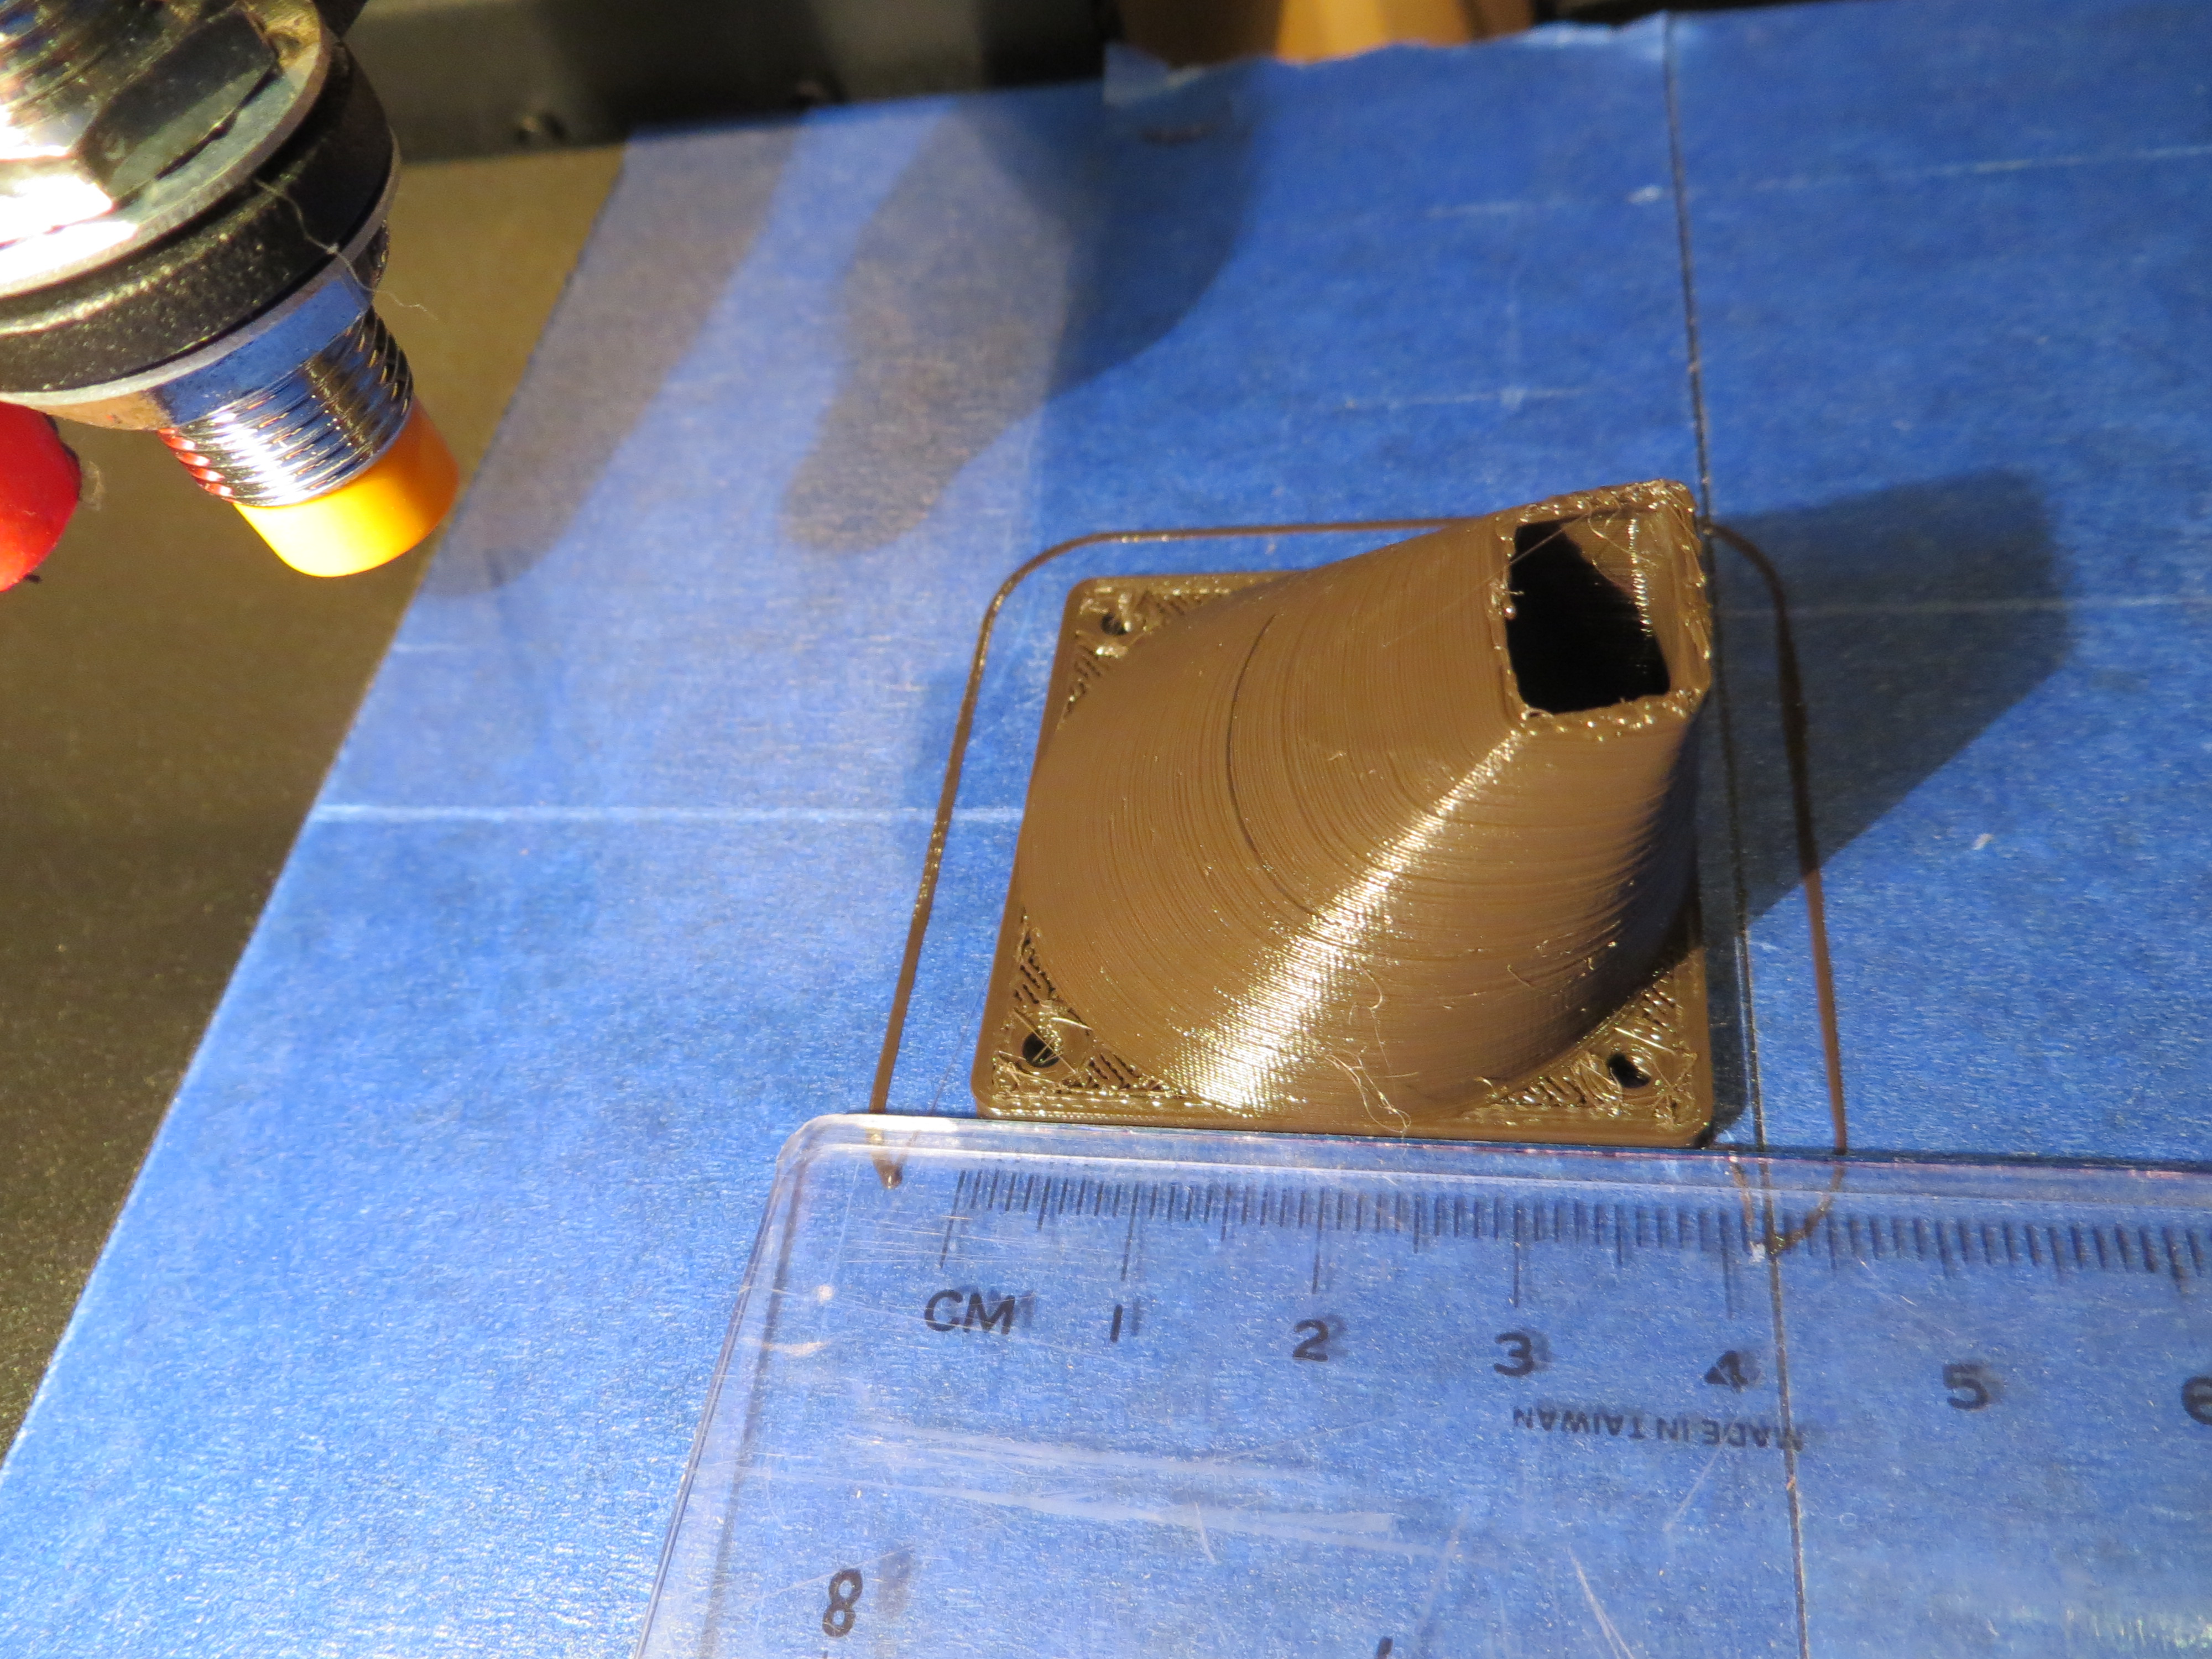
Then I tried printing the pre-sliced fan shroud project from PrintrBot, and this came out much nicer

PrintrBot fan shroud – now happily installed on my PrintrBot
This convinced me that the PrintrBot was operating properly, and so I had to look elsewhere for the reason that my bicycle clamp project was faring so poorly. As it turns out, I had the Repetier settings all screwed up, and once I got them more or less squared away, I got a much nicer print (still not right, but nicer). My first decent try (center in the photo below) showed me that I had some sort of scaling problem, as the printed part was significantly smaller in all dimensions. At first I thought this was maybe a PrintrBot mm/mm stepper motor scaling problem, so I tried just scaling up the model by 115% in Repetier, resulting in the print on the right in the photo below. This still didn’t look (or measure) correctly, so I was left scratching my head.
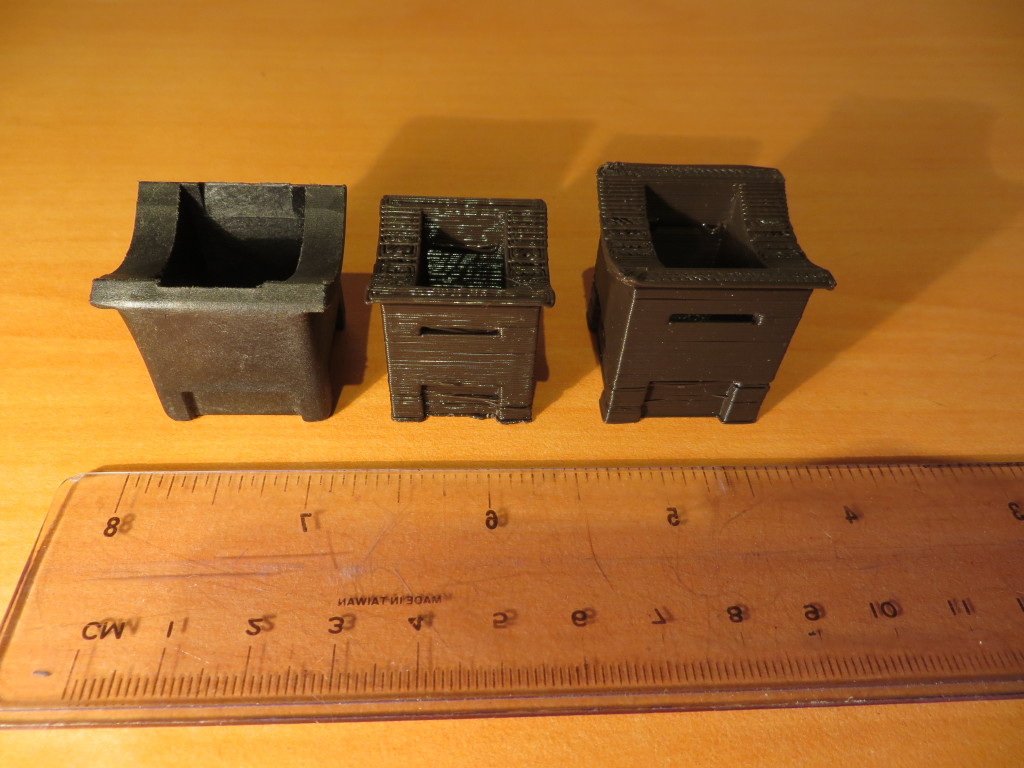
Original part on left, first try (way too small) in center, scaled by 115% on right
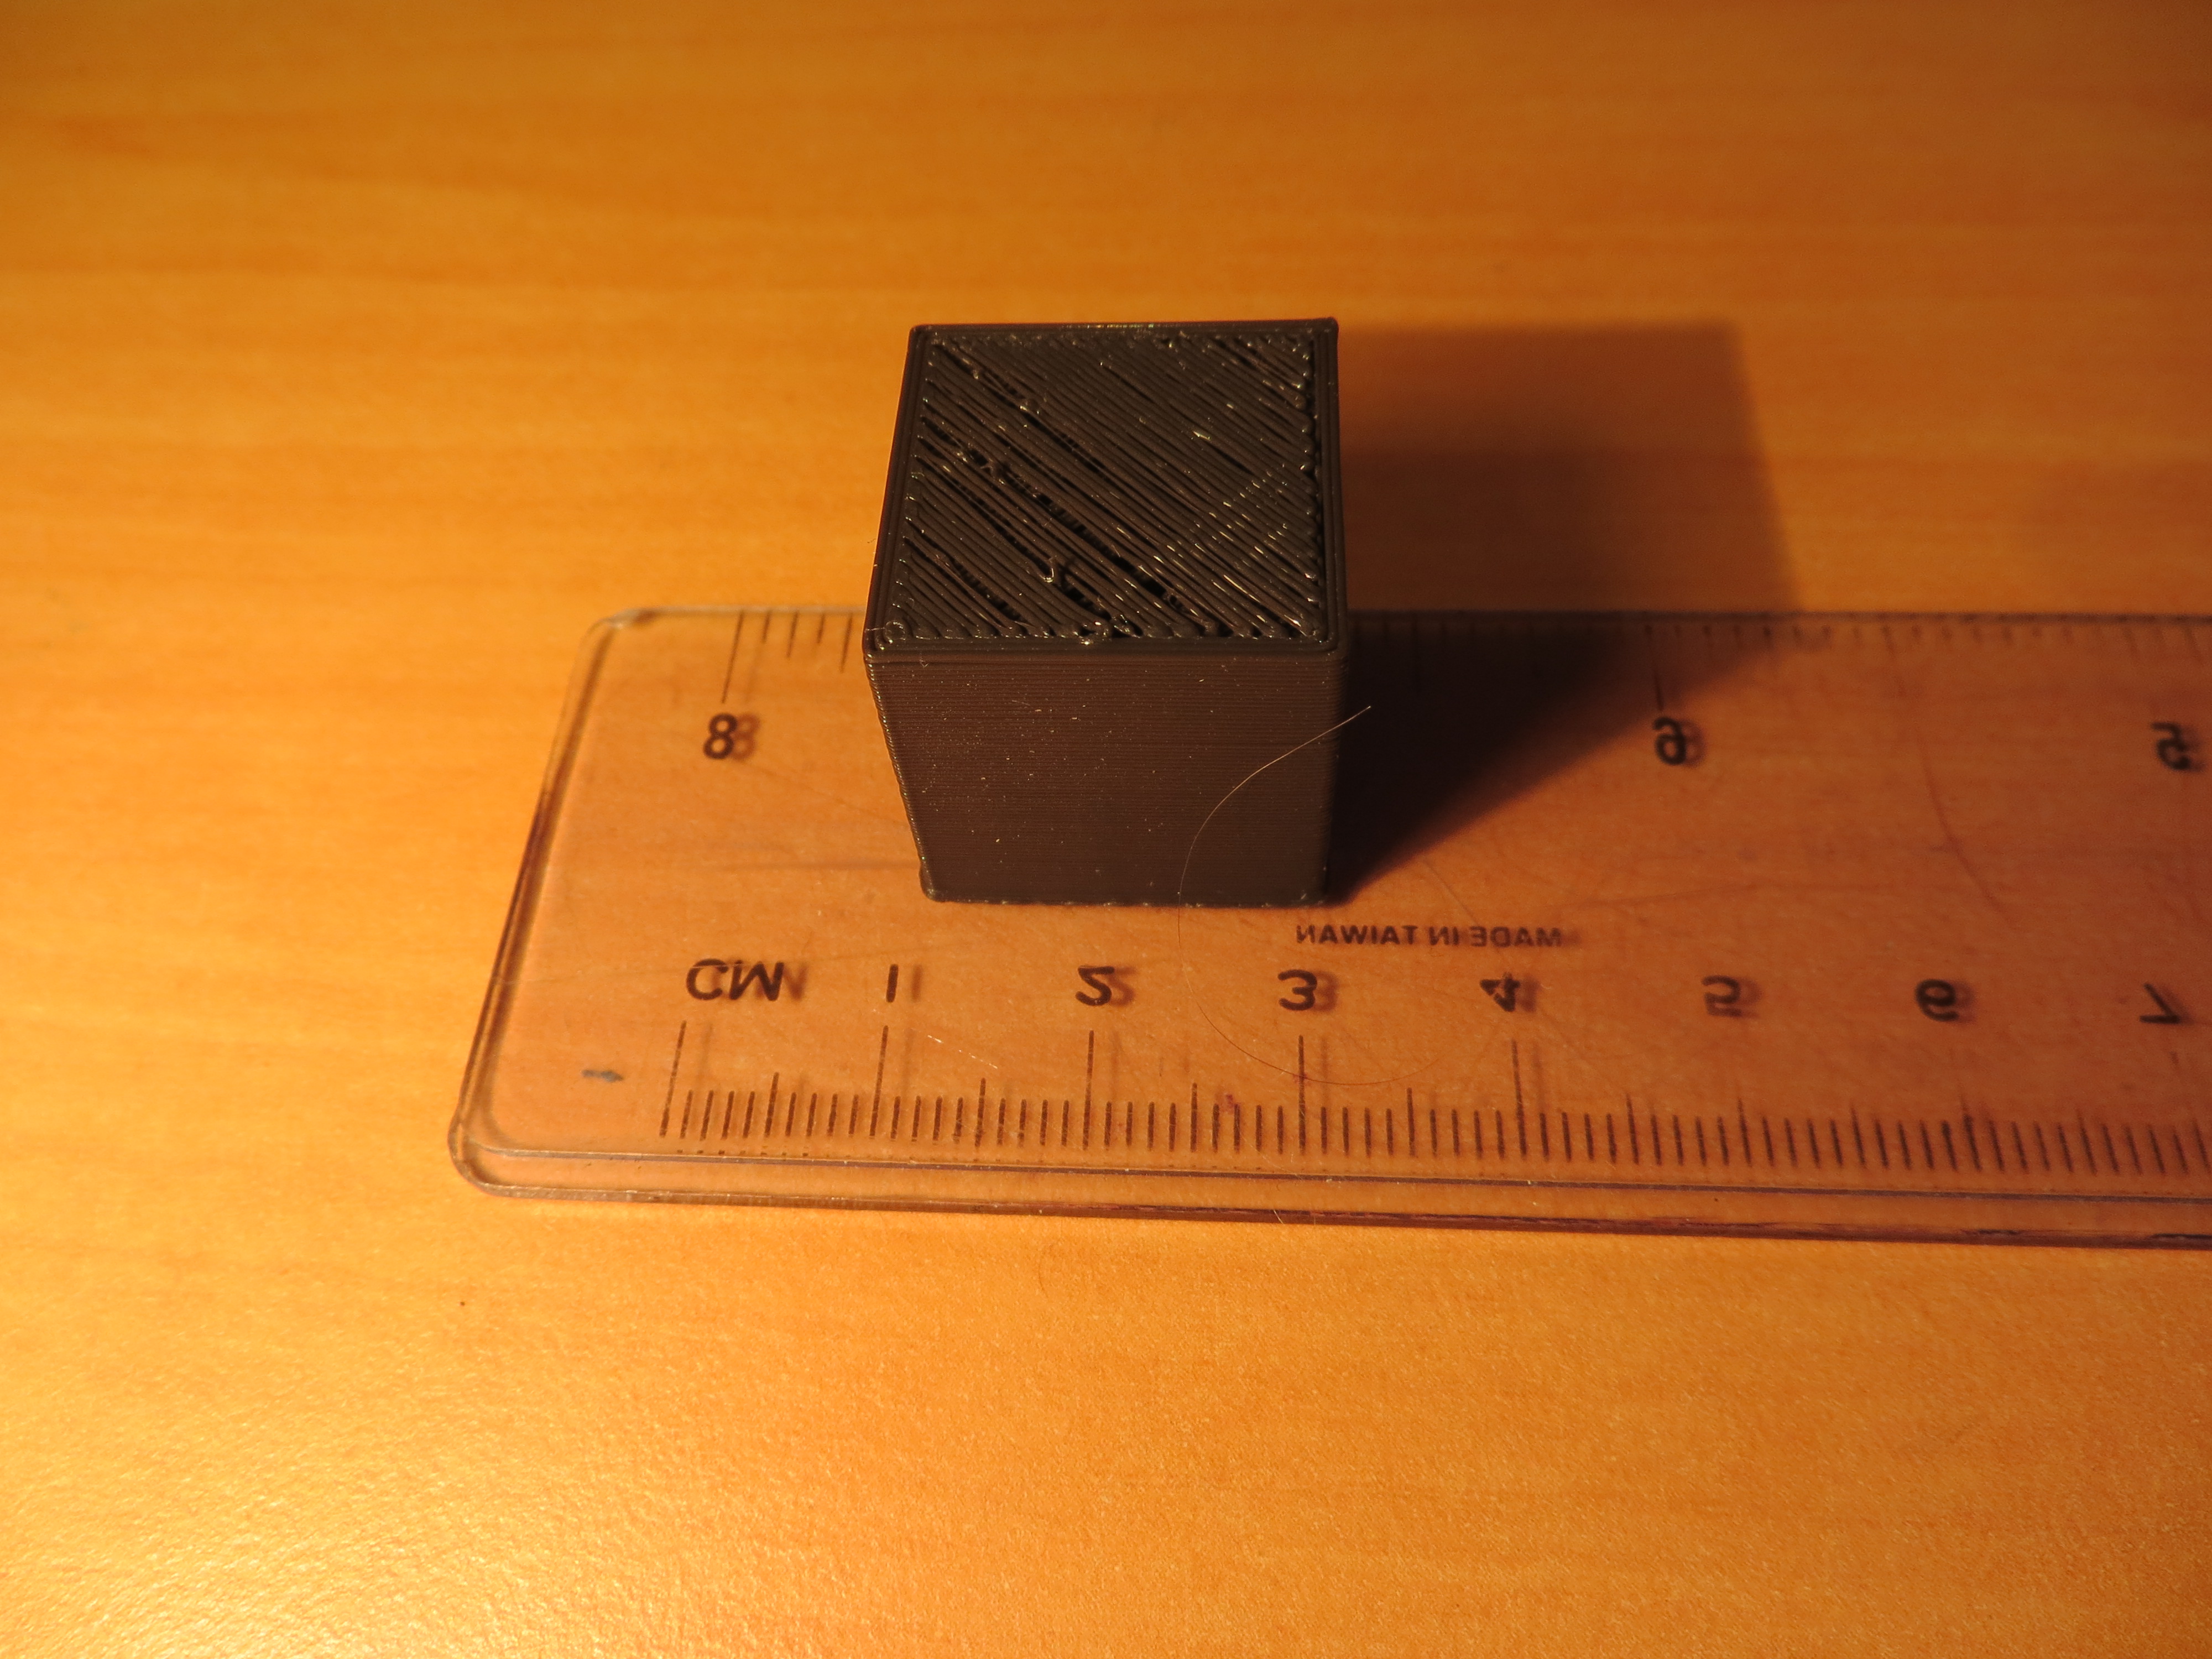
So, I decided to do what I should have done all along, and attack the problem methodically (well, I am a professional engineer, after all!). I downloaded the 20mm hollow calibration cube from ThingiVerse and printed it. This experiment started with an STL file, which was then sliced and diced in Repetier, thereby testing the entire STL – Repetier – GCode chain. The result, as shown below, convinced me that both the Repetier and PrintrBot parts of the system were working properly.

20mm Hollow Calibration Cube
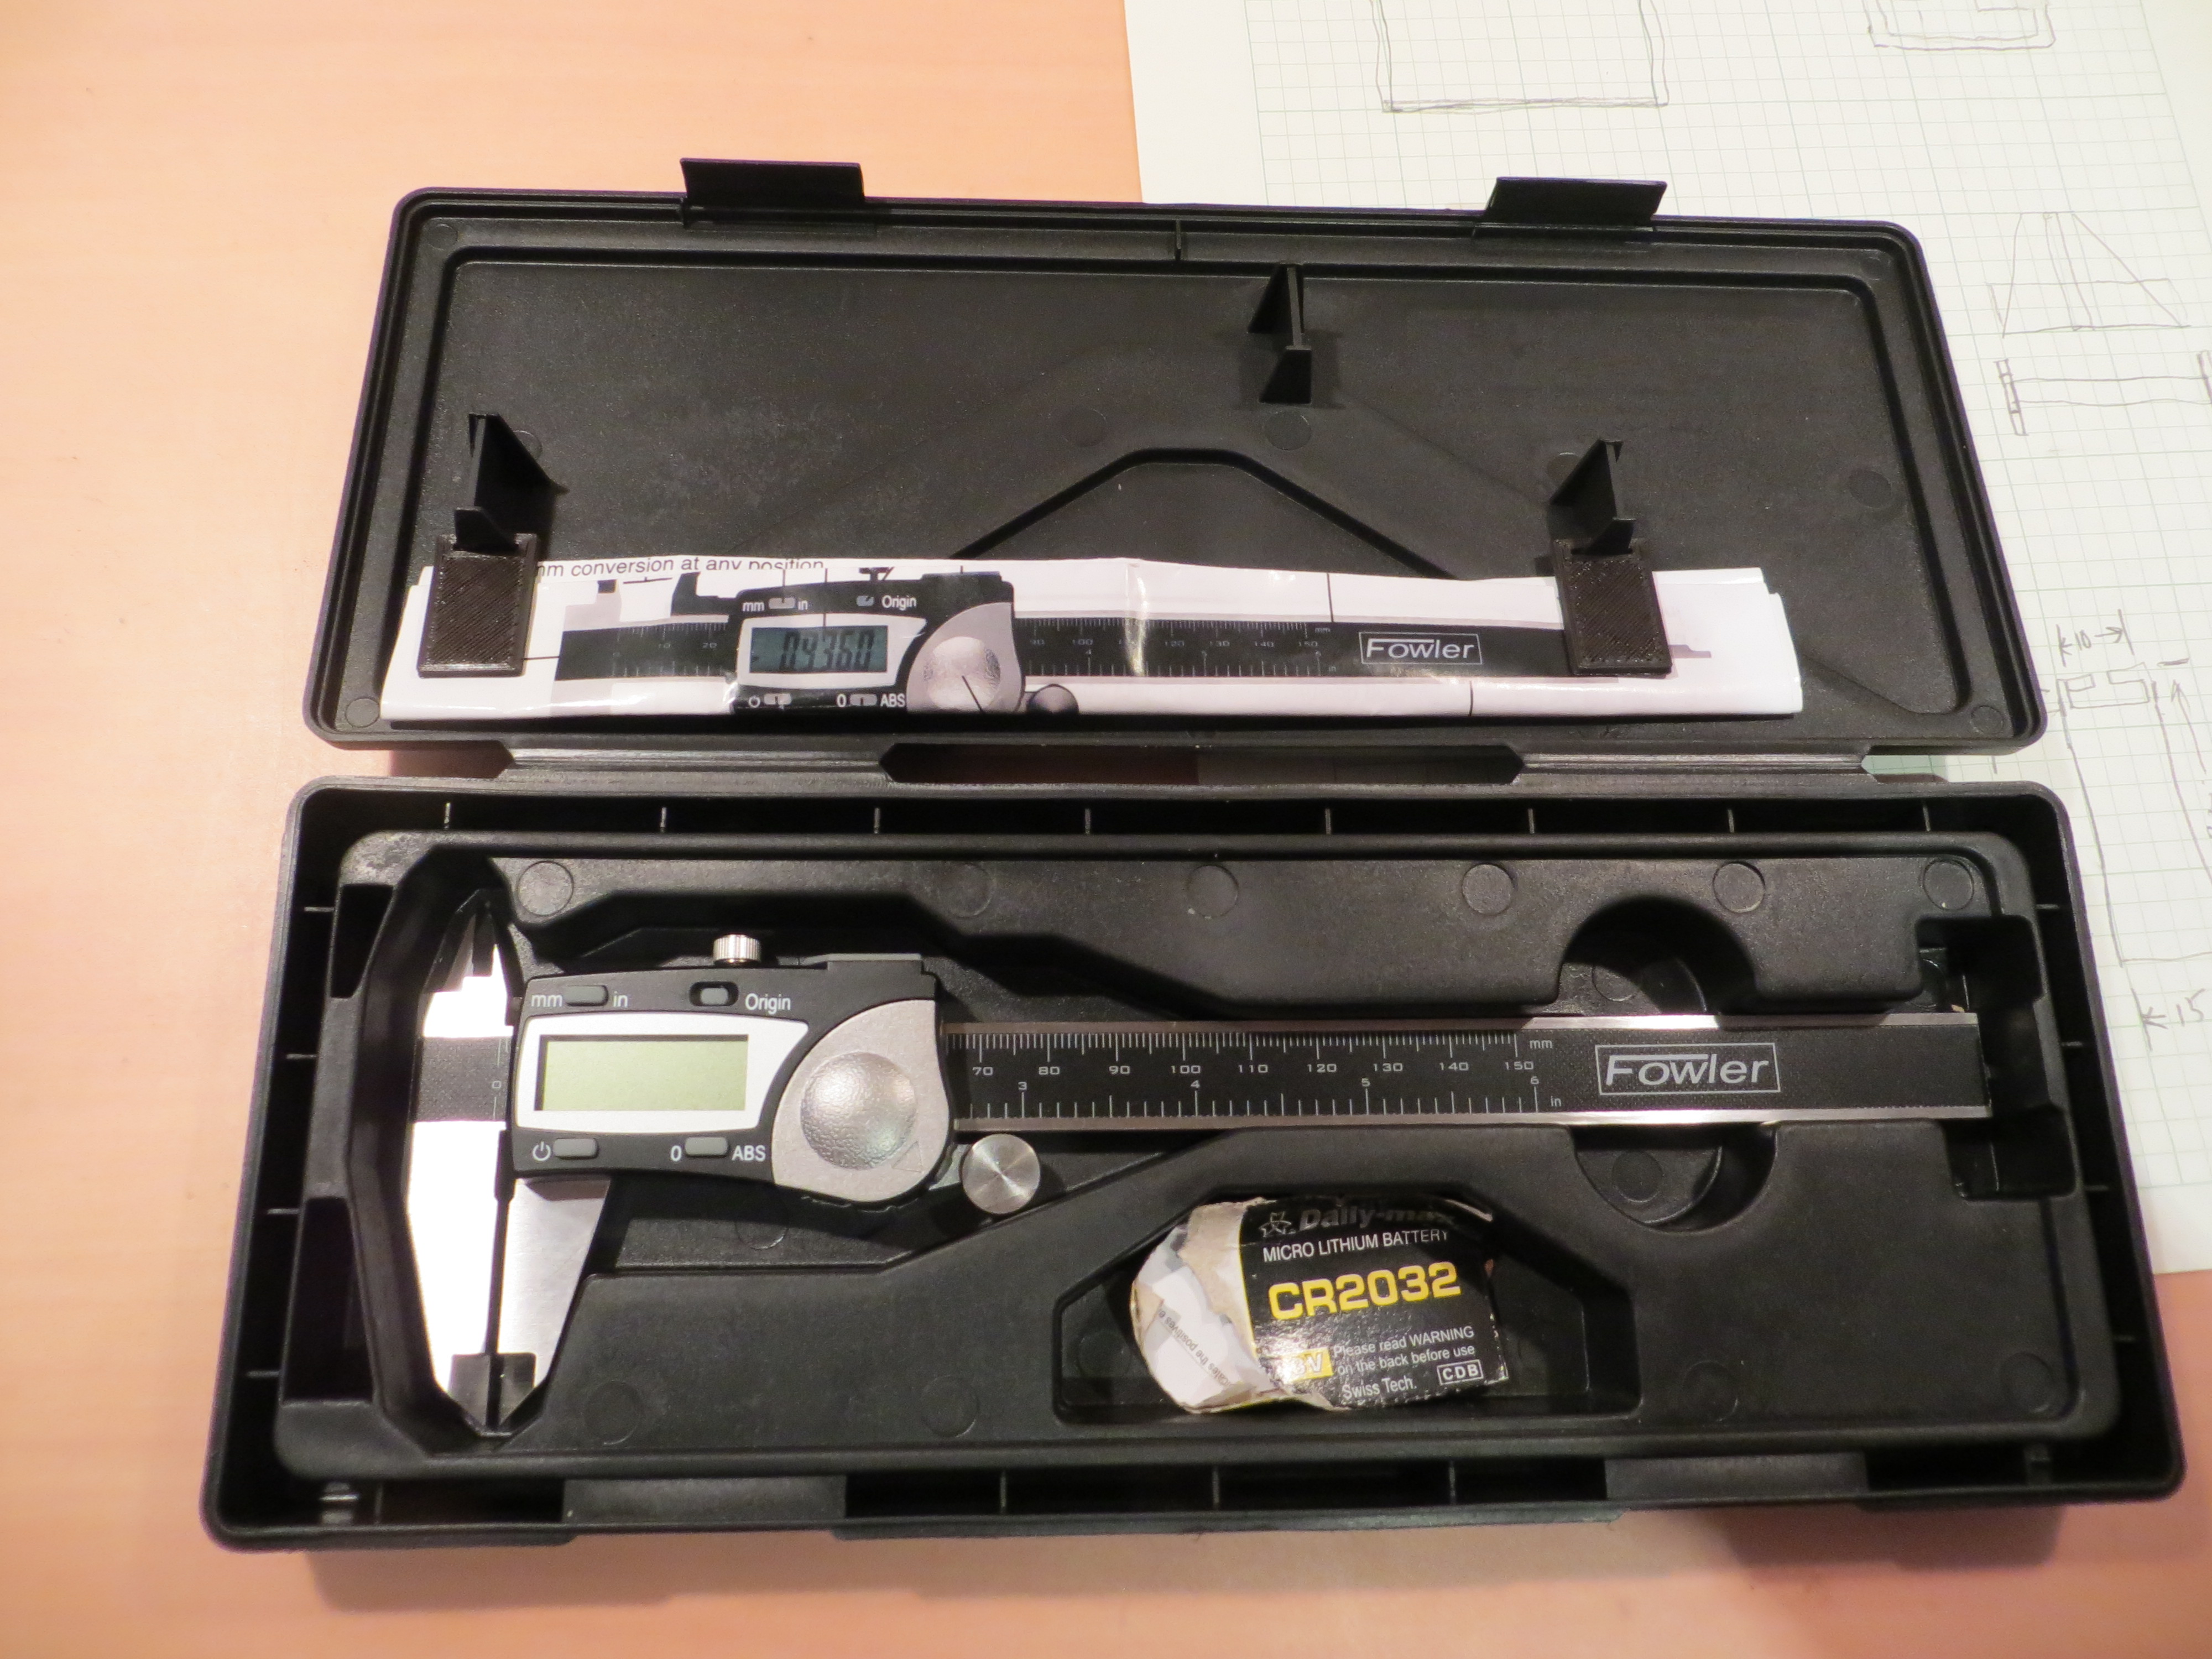
Unfortunately, there were only two things left in the system – TinkerCad where I created the 3D model of the bicycle clamp, and the person (that would be me) who created the model. After a couple of quick experiments with models of known dimensions, it rapidly became clear that TinkerCad was not at fault – leaving only the nut behind the wheel as the causal factor for the errant dimensions. In my defense, I really didn’t have a good set of calipers, and the measuring tools I did have were all calibrated in inches, so I plead for mercy from the sentencing judge (I did jump on the McMaster-Carr site and order a decent set of mm/in digital inside/outside/depth calipers).
By the way, I have been using my wife’s really nice Canon ‘PowerShot’ SX260HS digital camera for this work, and I’m really pleased with the results. It’s super easy to use, and produces 3000 x 4000 pixel images – way more than enough for everything I need. Easy to upload photos via the built-in USB connection, too! In fact, I’ve been using it so much that my wife has pretty much given up on ever getting it back ;-).
Stay tuned!
Frank