A couple of months ago, I got some 3DXTech carbon fiber PETG filament to play with, and I have been having mixed success printing with it on my PowerSpec 3D PRO (FlashForge Creator PRO clone) dual-extruder machine. My first few prints were pretty nice, but lately I’ve been having problems. The prints turn out messy and stringy, with almost no strength – as if the layers aren’t fusing at all. I can easily snap pieces apart, where before they were quite robust.
In an effort to troubleshoot the problem, I have done the following:
- Replaced both nozzles with 3DxTech hardened steel models
- Re-leveled the build plate
- Gone through the excellent XYZFABS PETG printing tips here.
- Set the z-axis offset to 0.02mm in S3D gcode
- Set the filament feed multiplier to 0.88 as recommended
- Set the extruder temp to 220, bed temp to 100
With the above settings, I tried a 20mm cal cube, but it started ‘air-printing’ after about 15mm from the base (filament under feeding?).
- Set the filament feed multiplier to 1.20 and tried again. This time I got a nicer print, but it still failed at 15mm with a feed jam and obvious gear tooth wear on the filament – clearly over-feeding.
- Set feed multiplier back to 1.10 and tried again. This time it started ‘air-printing’ at about 4mm up.
- Changed extruder temp to 230 and tried again. This time it failed to adhere 1st layer to print bed. This caused a ‘blob’ on the extruder tip, which resulted in sidewalls that were over-printed and ragged.
- Changed print multiplier to 1.00 and tried again. This time the print didn’t adhere to the print bed at all
- Changed z-axis offset back to 0.00. This resulted in an almost perfect print. Sidewalls were very nice, and although there was some ‘globbing’ during bridging on the top, the final top layer was almost perfect.
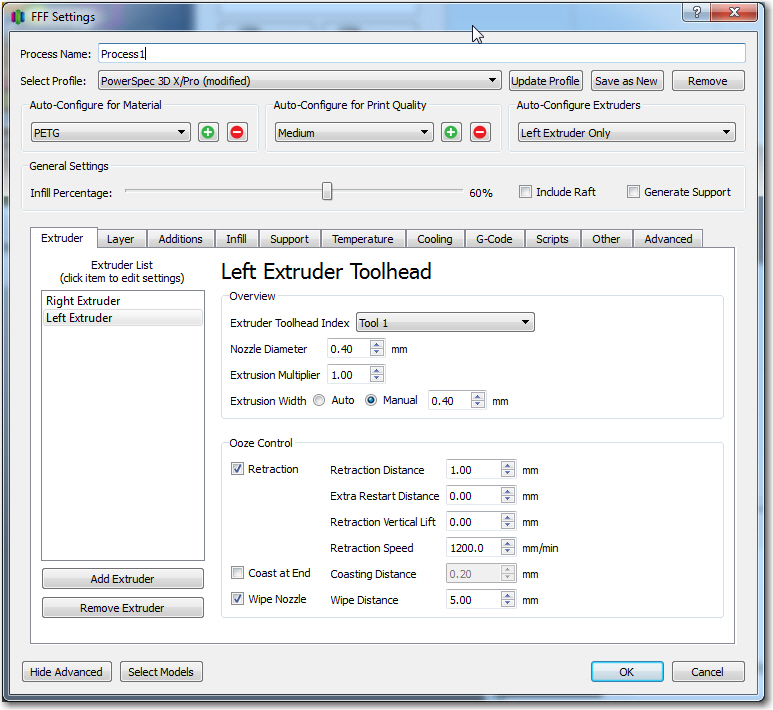
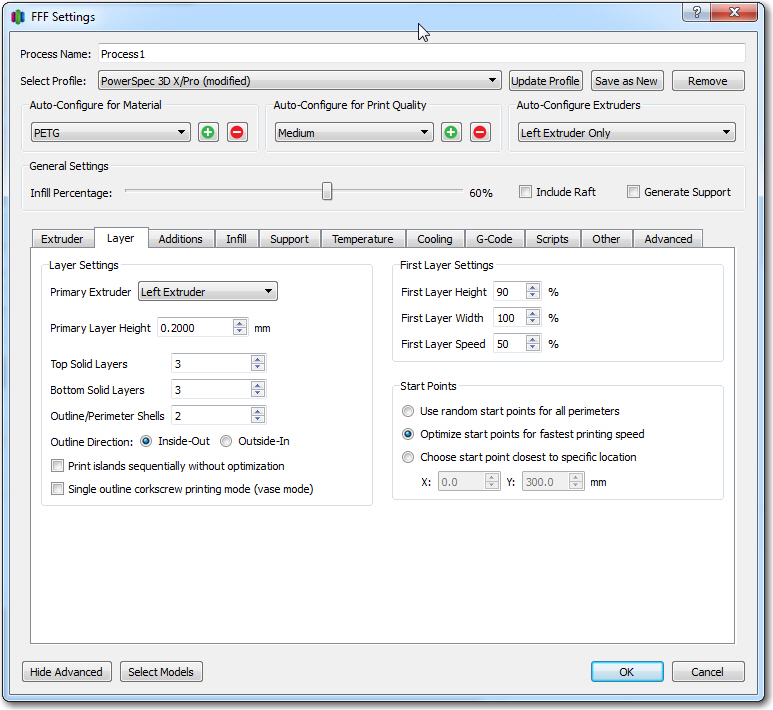
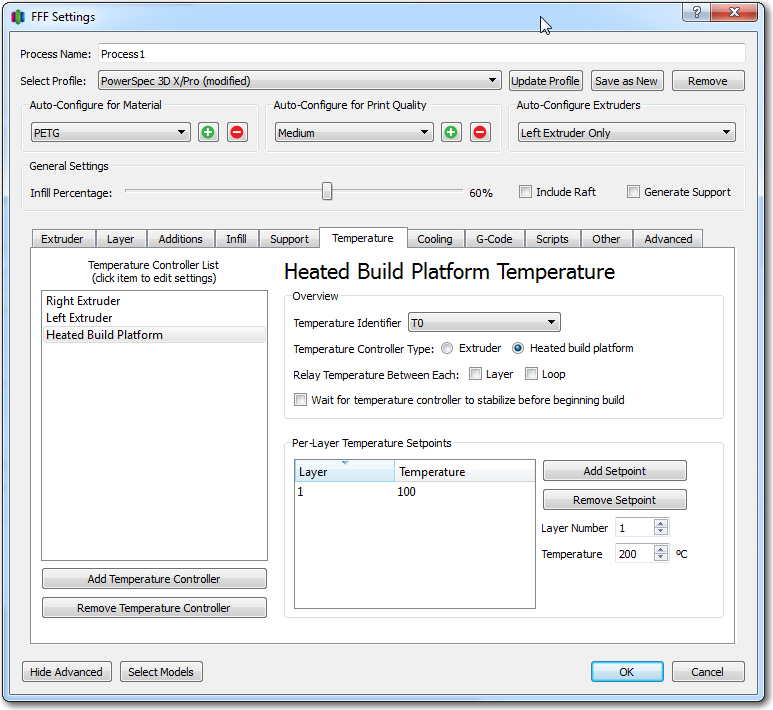
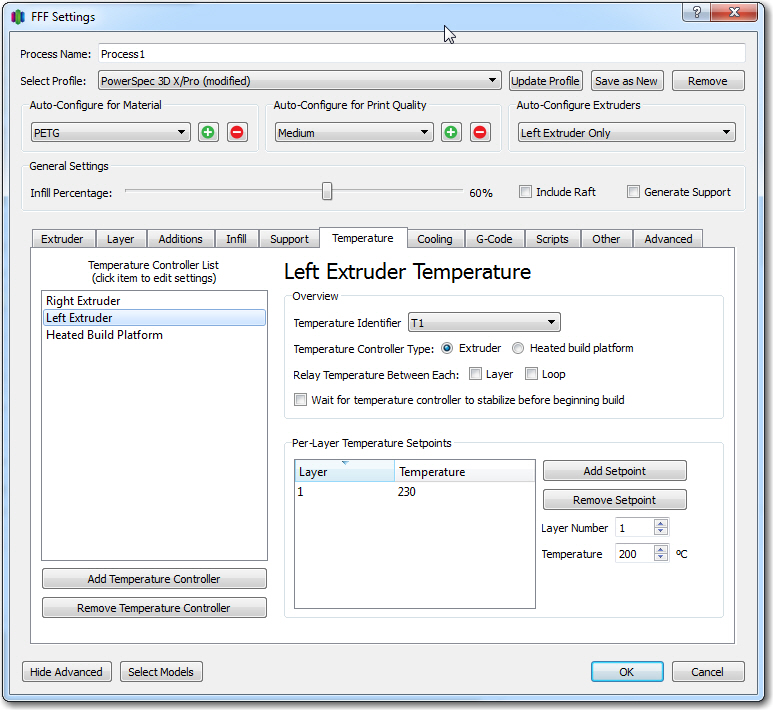
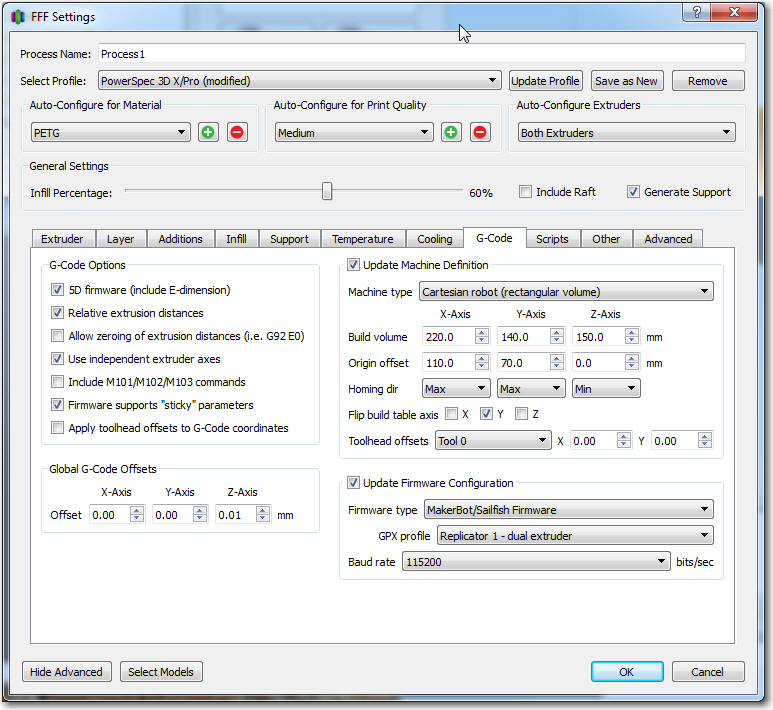
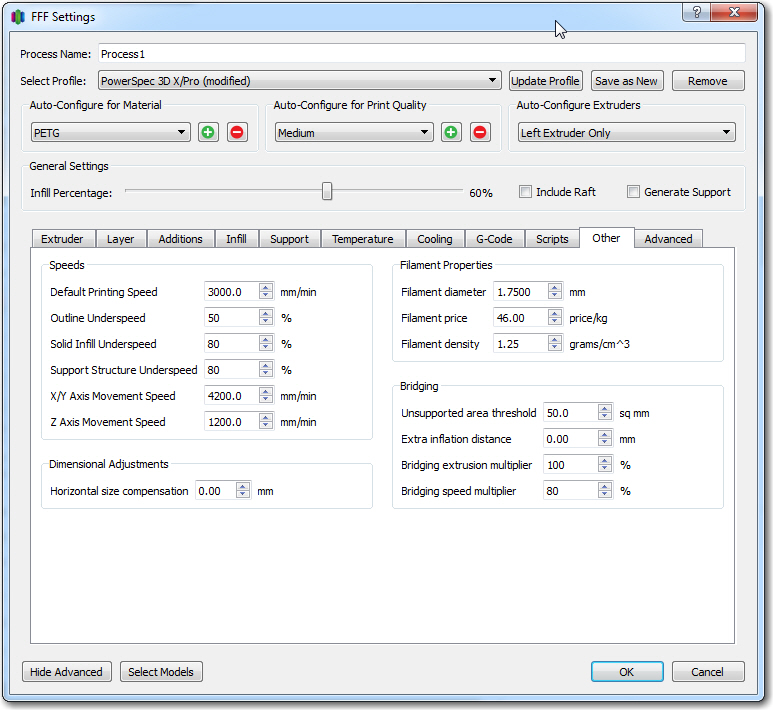
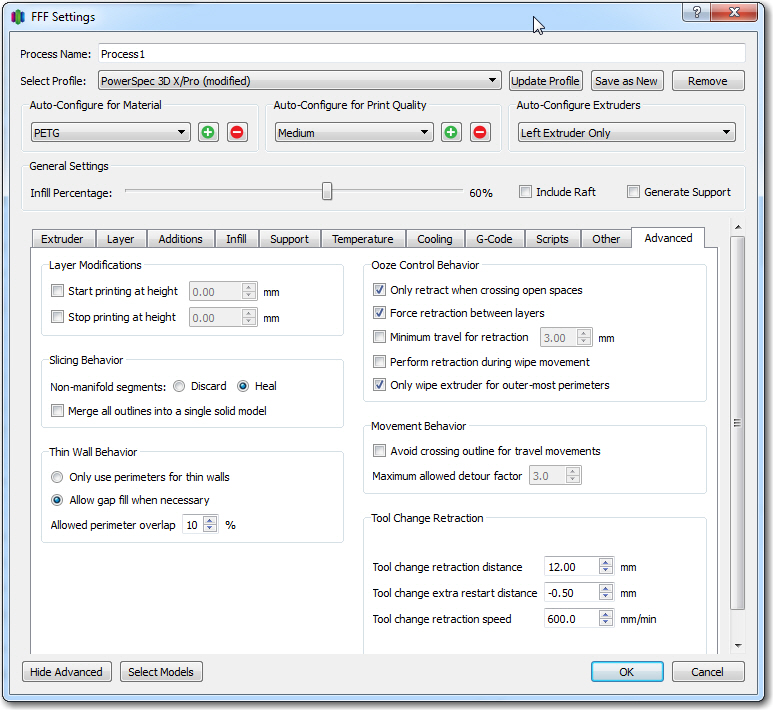
So, the final settings for a good print are: Feed multiplier = 1.00, Bed temp = 100, extruder temp 230, z-axis offset 0.00, unused extruder temp set to 25 (can’t set to 0, as this gets overwritten by printer), as shown below in the S3D process settings screenshots

23 March Update:
Last night I printed a second 20mm cal cube using the same settings as above, and this time the bottom layers did not print correctly (sides and top did OK). So I tried again this morning, with the following change:
- Changed z-axis offset from 0.00 to +0.01mm, and changed the unused extruder temp from 25 to 75 (this last settings change is an attempt to fool the printer into showing percentage completion as normal. With an unused extruder setting of 25, the top line of the display shows ‘heating’ continuously)
With the above changes, I got an essentially perfect cal cube print, *and* the top line of the display showed percentage completion instead of just ‘heating’ (the right extruder temp display showed 75/75, so that pretty much confirms my theory about the printer having to match actual and requested temps in order to progress to the ‘percentage completion’ display mode)
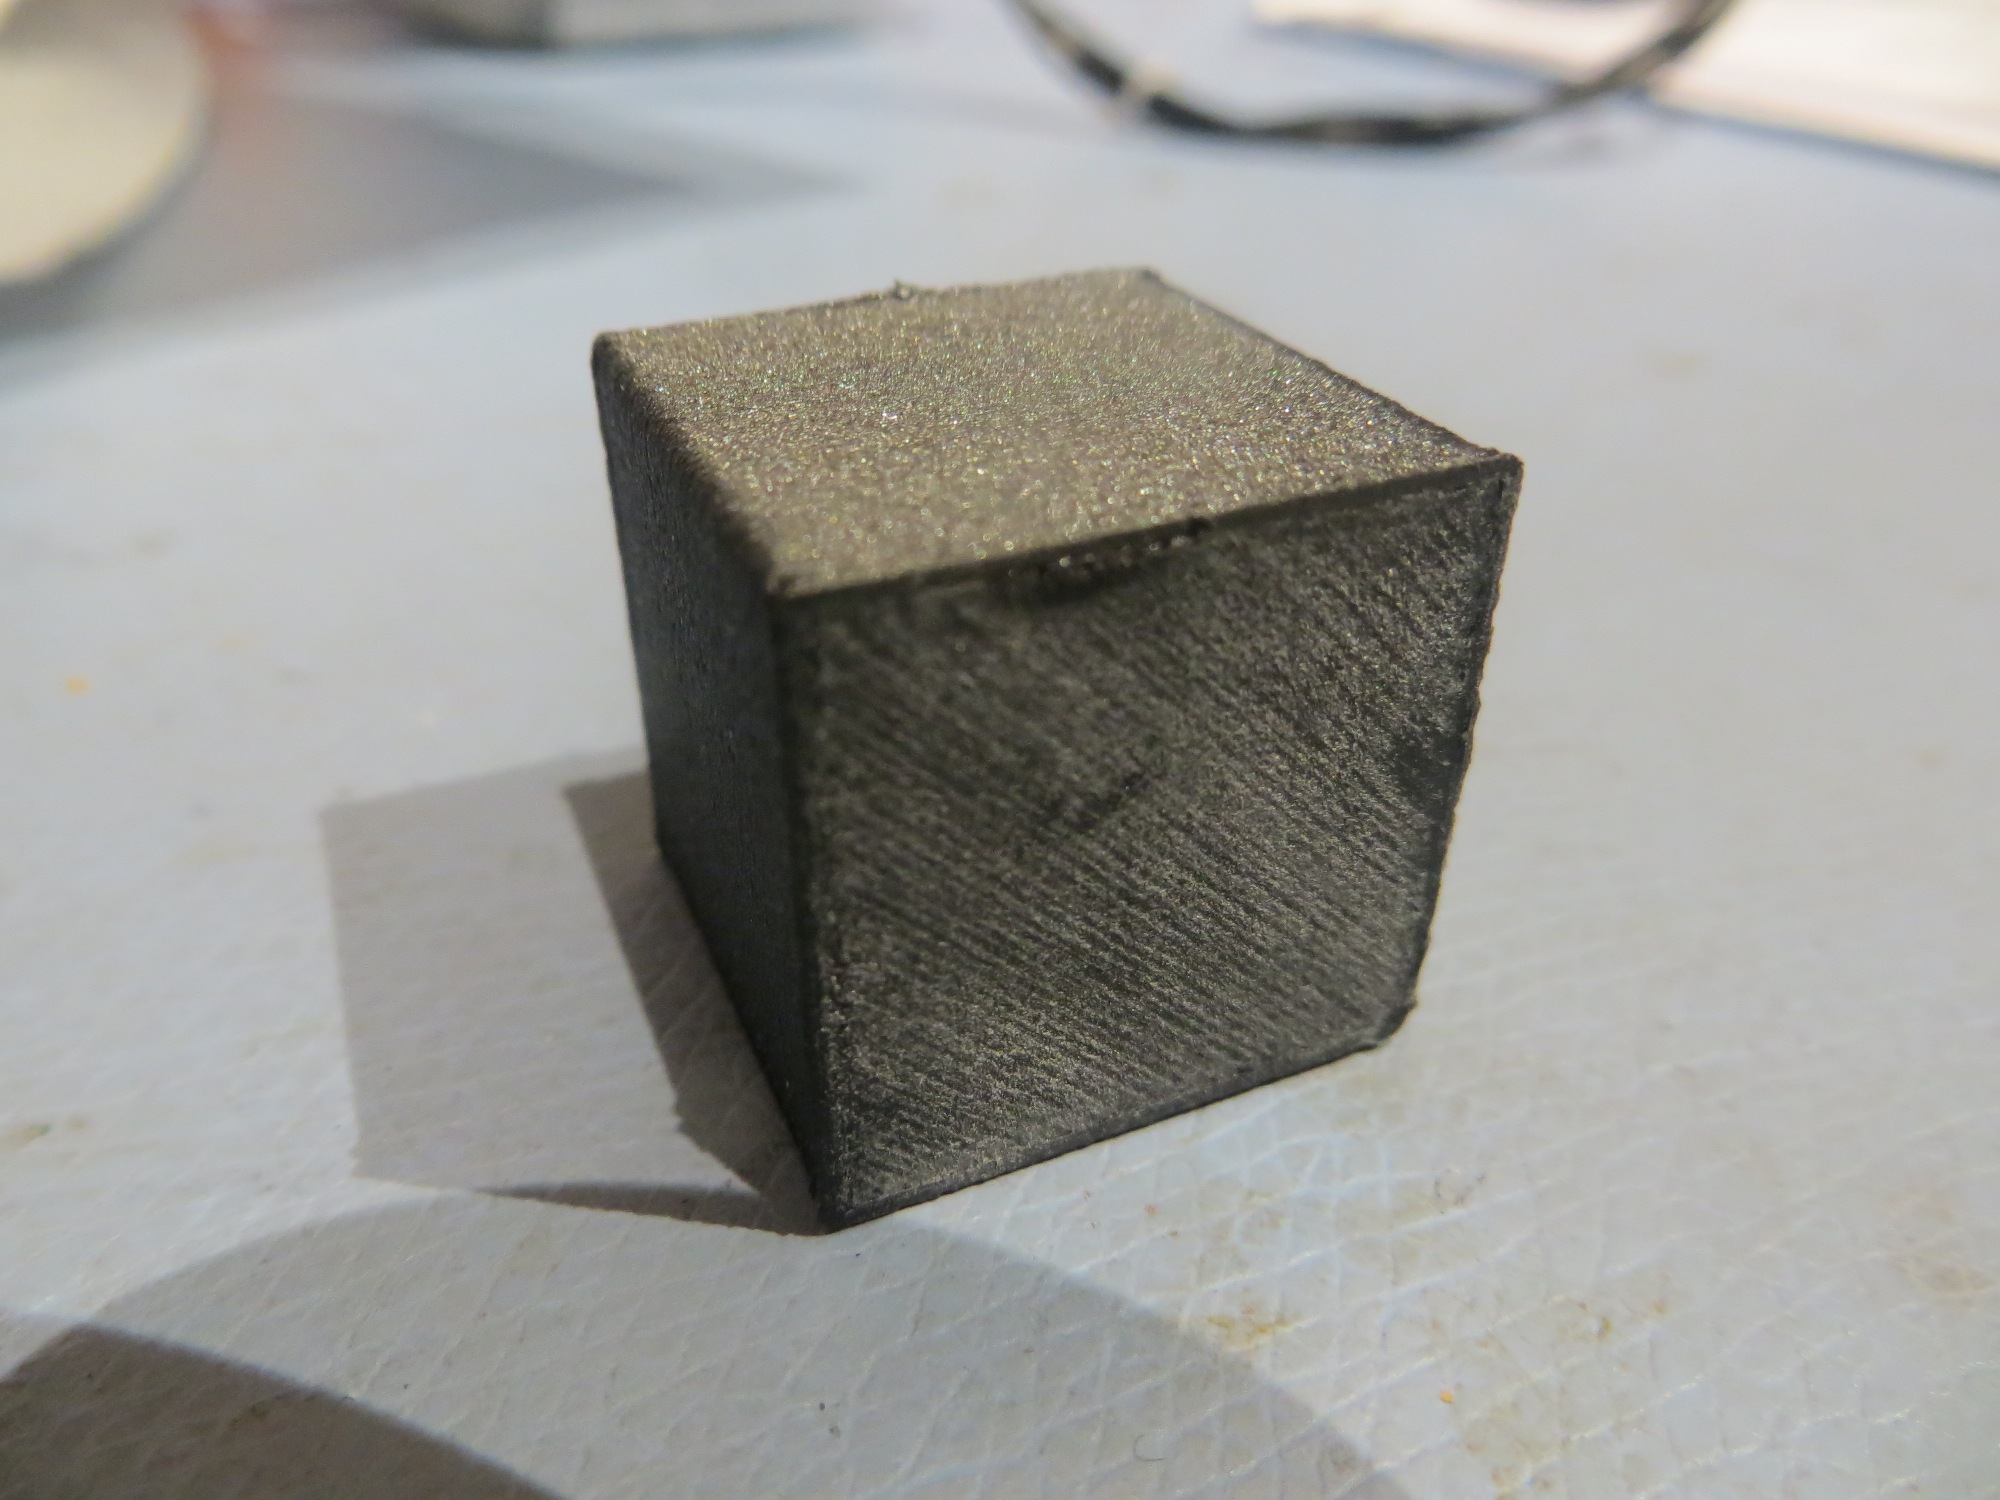
Essentially perfect 20mm cal cube print with 3DXTech Carbon Fiber PETG filament
Unfortunately, when I tried to print the TinkerCad model shown below (it’s the front right wheel bumper for my robot), I could not get a decent print no matter what I did. Either the first layer wouldn’t adhere, or the filament feed failed partway through the print, or the finished print was way to fragile for use. I finally had to give up on the 3DXTech filament entirely and print the bumper using ABS (which printed perfectly the first time!). This was very disappointing to me, as I had previously successfully printed two of these wheelguards using the 3DXTech filament – so I’m not sure what changed to make it difficult/impossible to do it now 🙁

Right wheel guard for Wall-E2 (blue material is support). Printed perfectly the first time with ABS, but not with 3DXTech Carbon Fiber

ABS with ABS support printed perfectly on the first try
Frank
25 March Update:
Yesterday I did what I should have done when I first started having problems with the filament, namely shooting off an email to 3DXTECH. I quickly got a response back from Matt Howlett, the company’s founder, with a what looks like their stock reply for people having problems. Most of the stuff in the list I had already covered, but there were a couple I hadn’t tried, and one of them was raising the extruder temp from 230 to 240-245.
So, I reloaded the carbon fiber PETG on my printer, and printed a 20 mm cal cube with Matt’s recommended settings, except for a bed temp of 90 vs 65 (because I have a PEI bed and don’t want to use hairspray, and print speed of 3000mm/min vs 4000. This time the cal cube printed perfectly, and I could not damage the finished cube with finger pressure like I could before.
Next, I tried a full print of my right wheel guard model for Wall-E2. To simplify things, I used the carbon fiber PETG filament for both the model and the support material (I was having trouble before getting the support material to stick at the bed temperature I was using for the carbon fiber PETG material), and lo-and-behold, this print also turned out perfectly, as shown in the following shots.
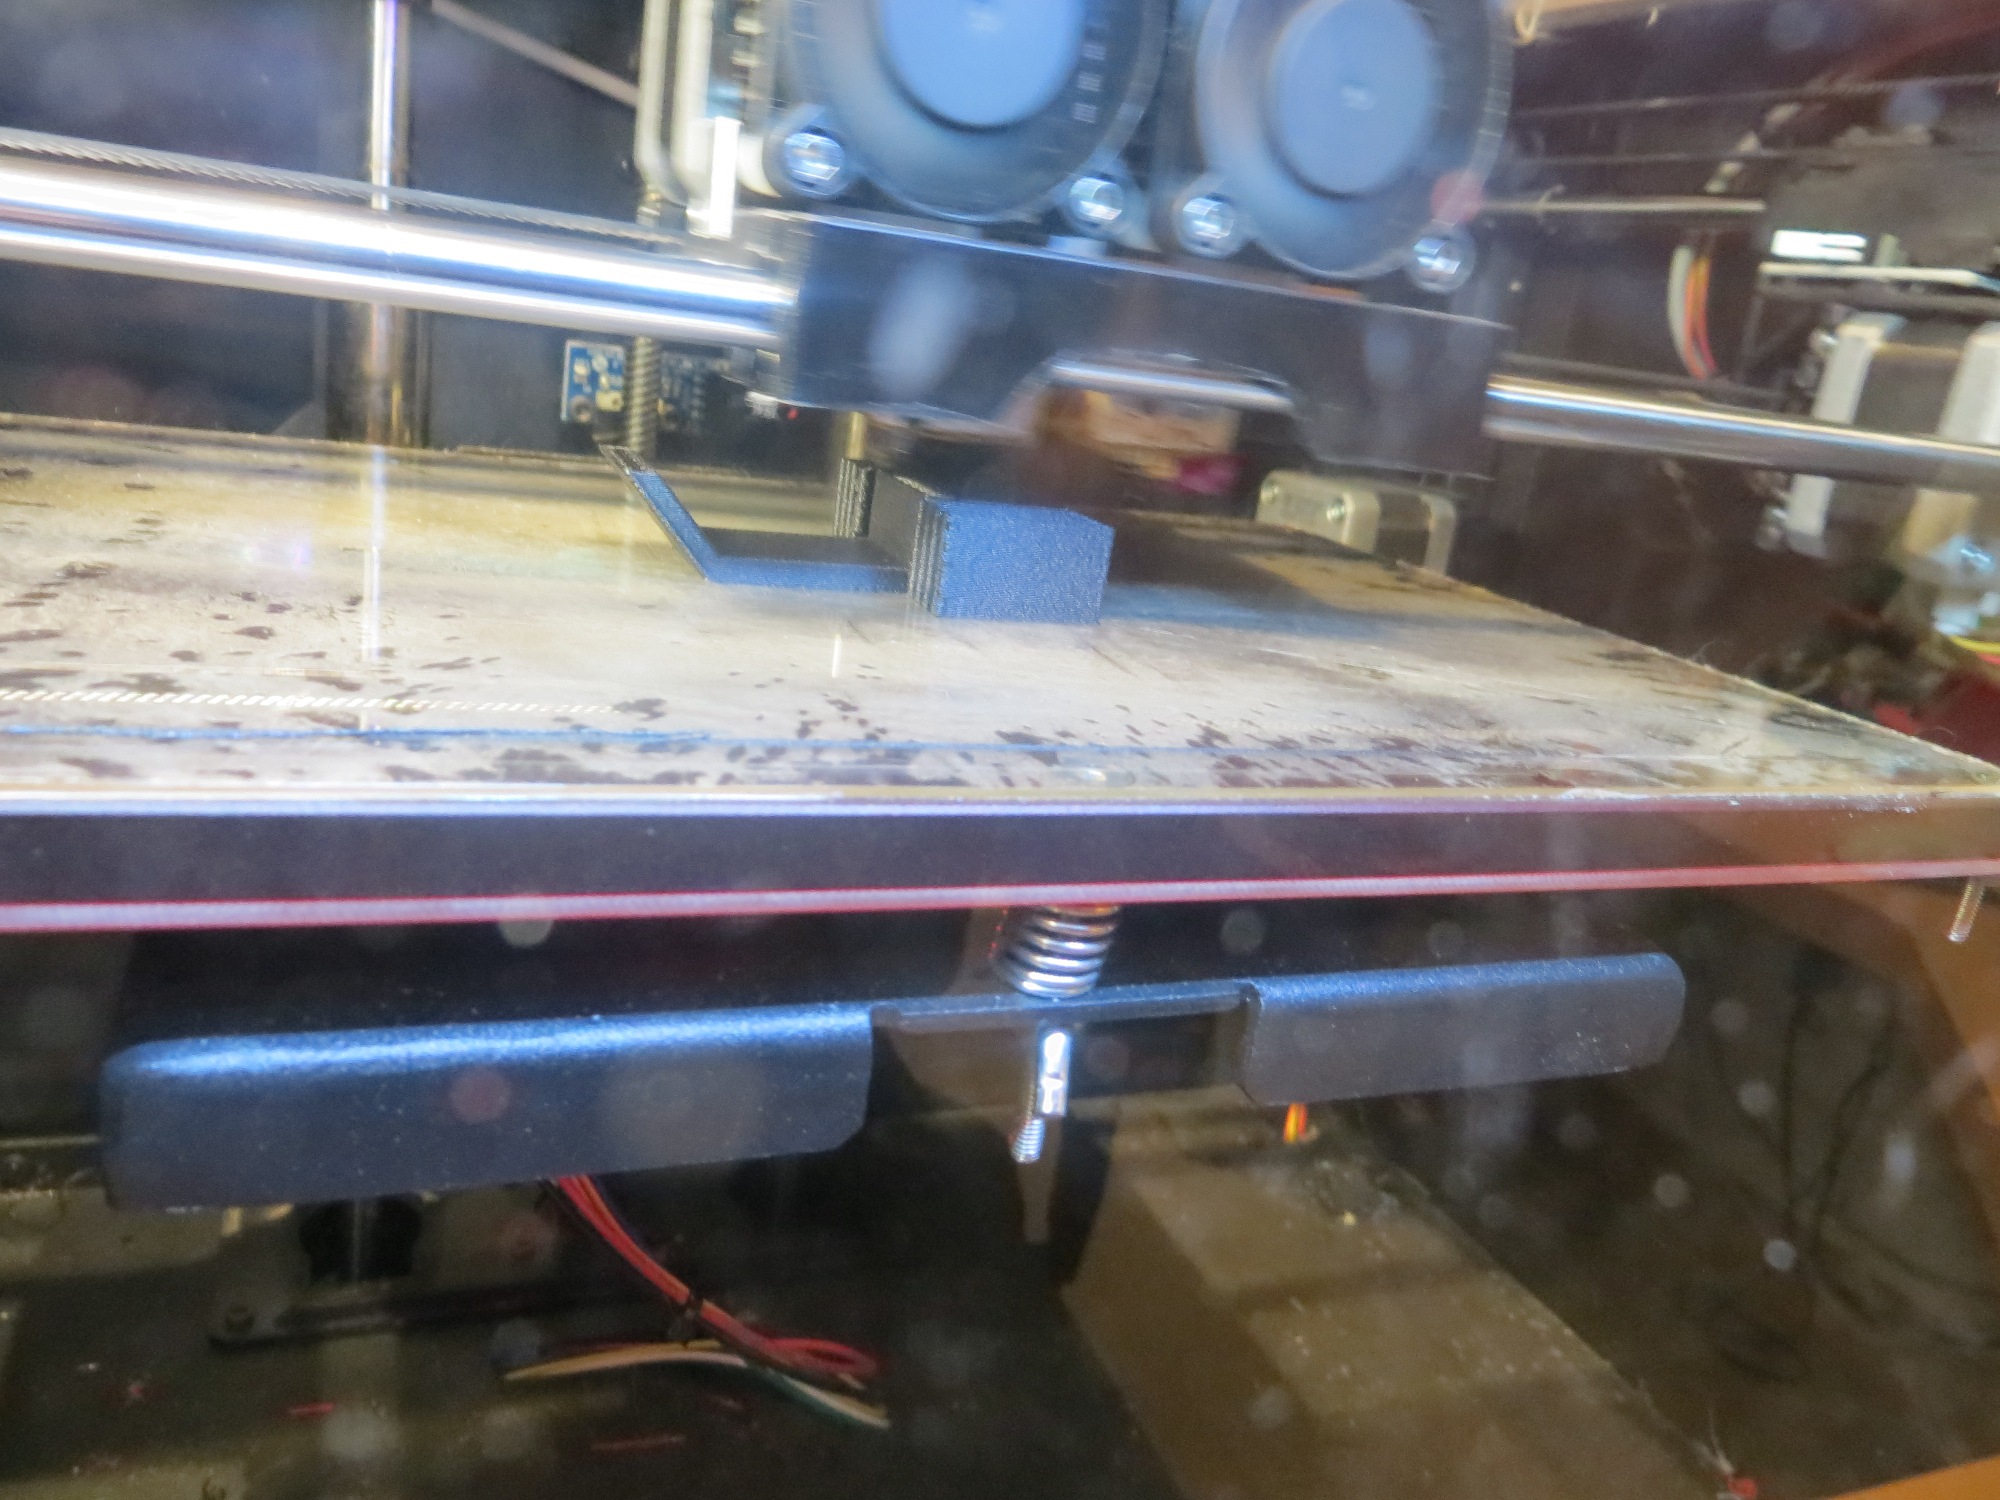
Just starting the print
About 1/4 the way through, printing nicely

About 2/3 of the way. Note how well both the model and the support area adhered to the bed
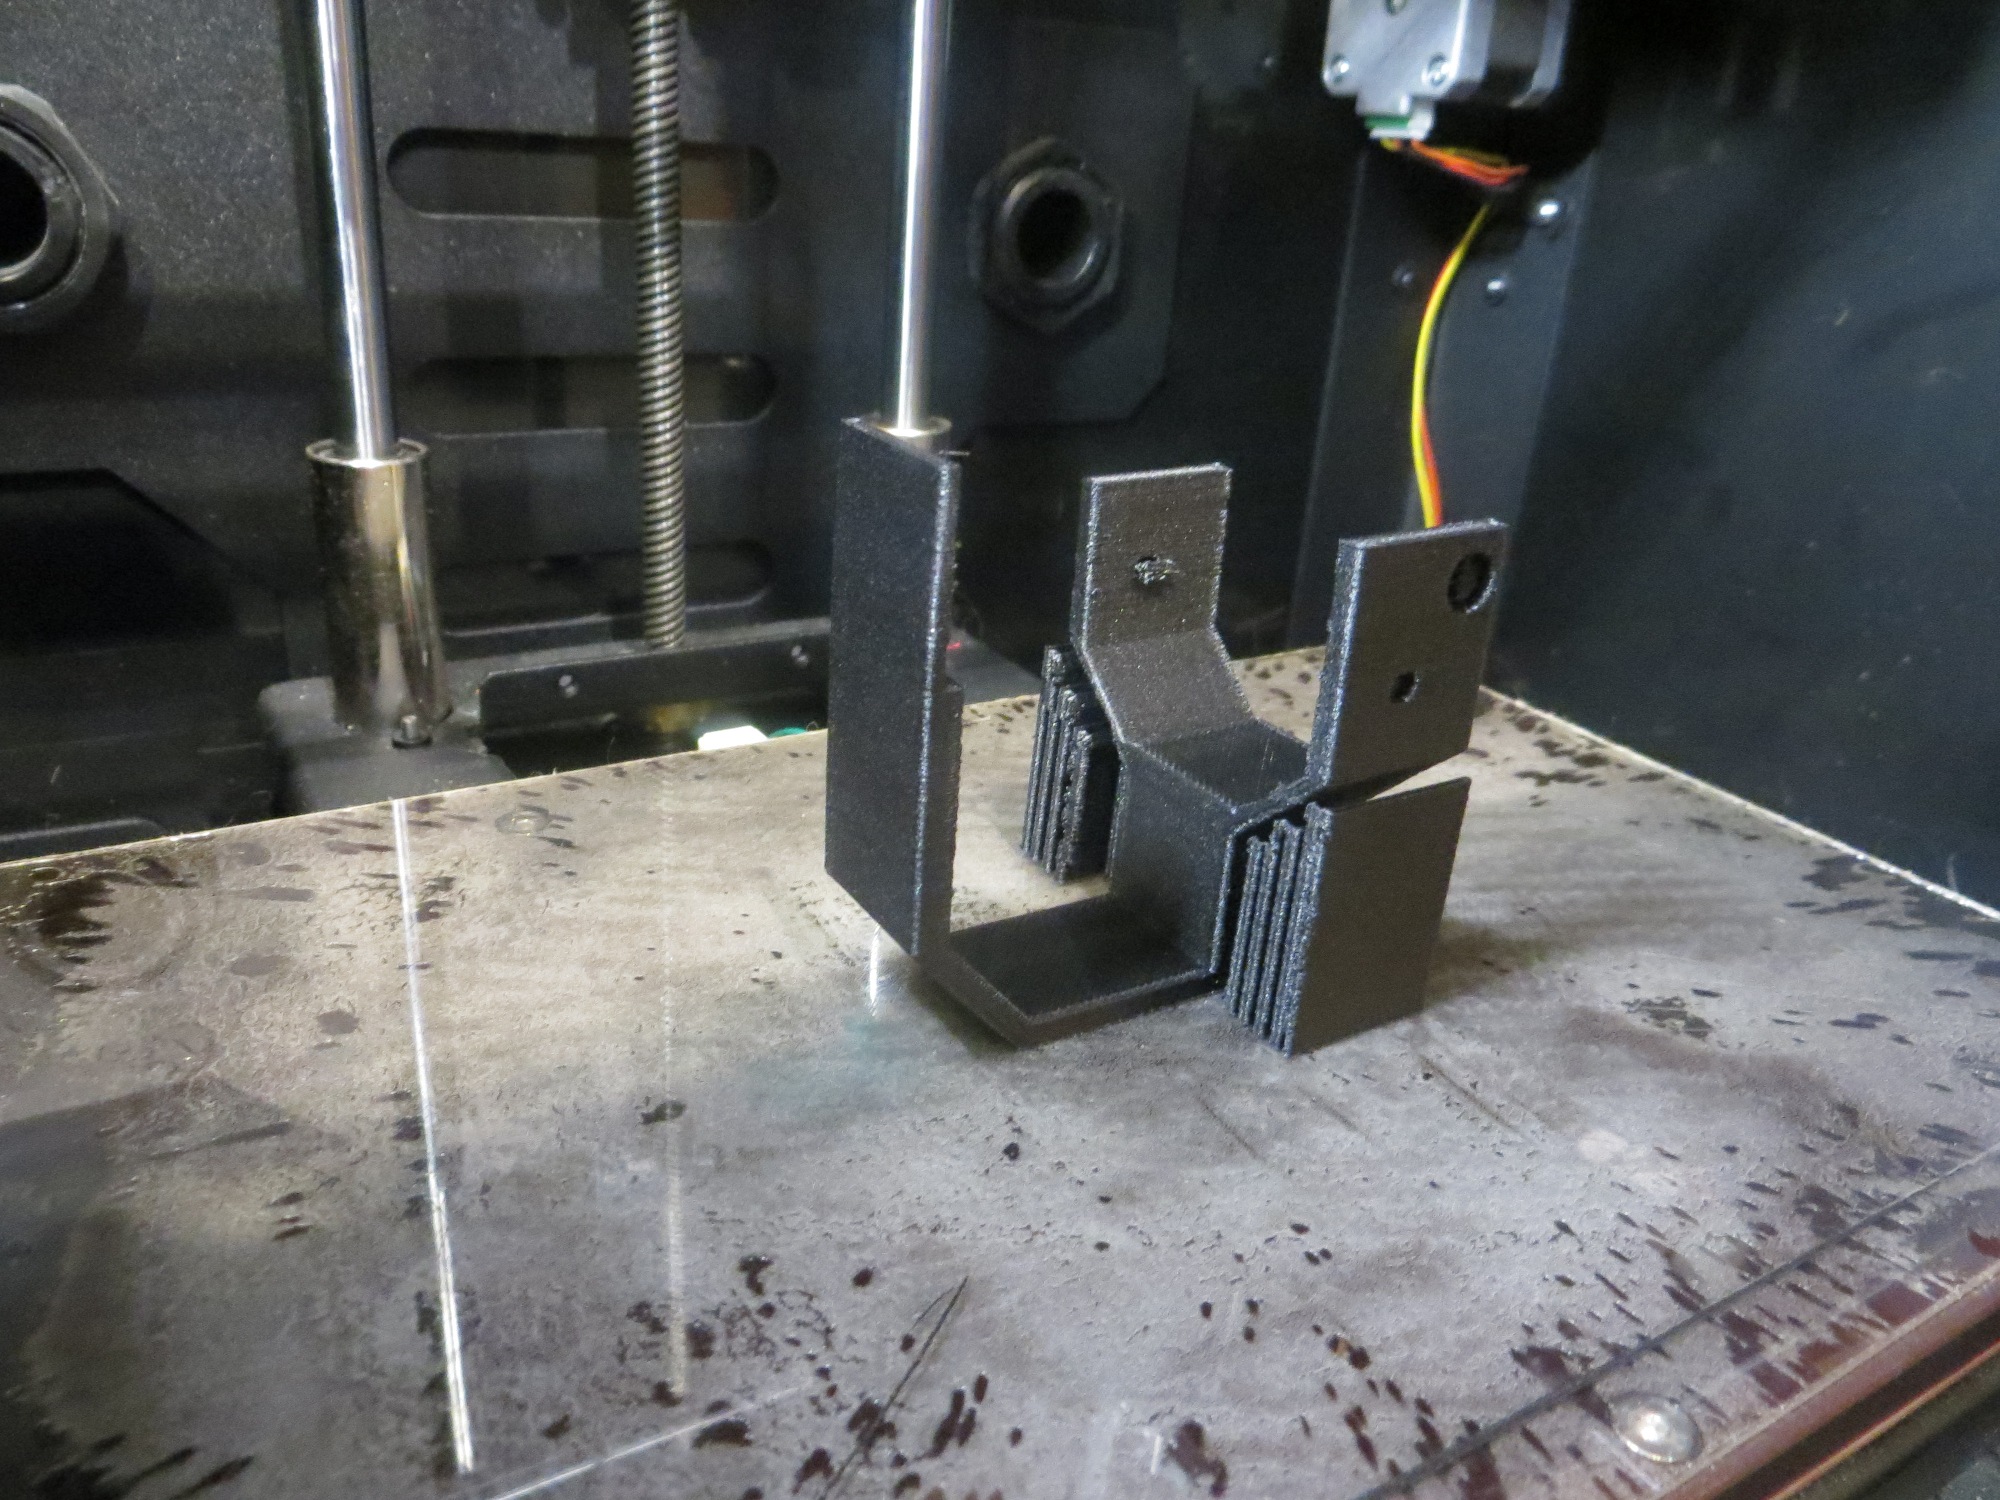
Finished print!
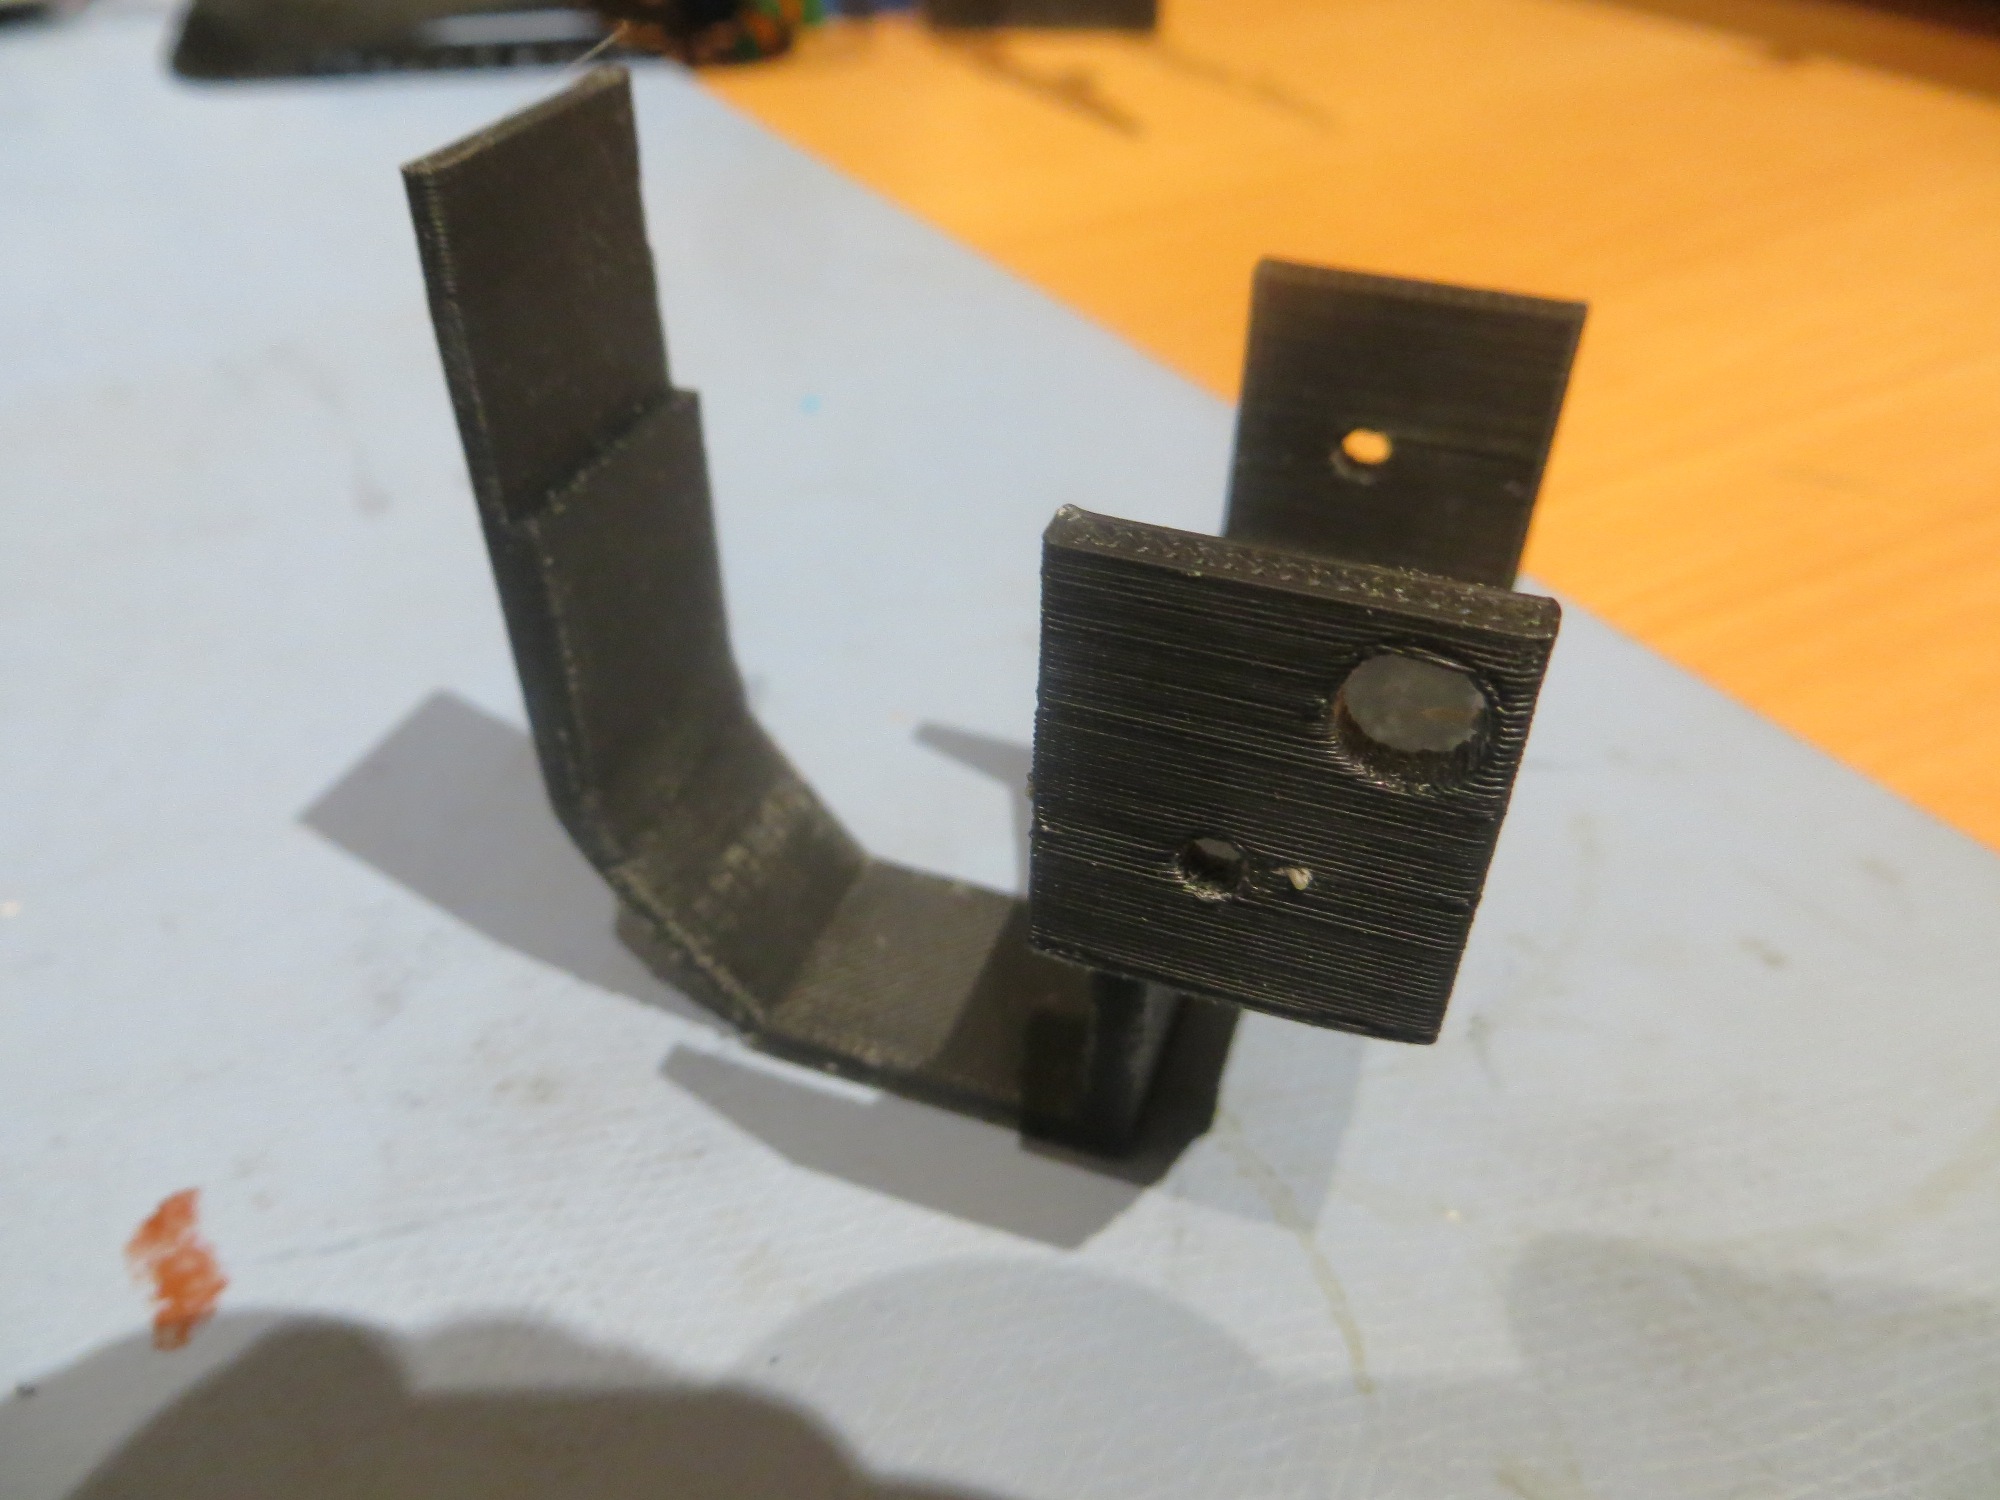
Finished product – and quite strong.
When I made this one change, all of a sudden I was getting almost perfect prints! Now I feel like an idiot for going through all this wailing and gnashing of teeth when all I needed to do was raise the extruder temp 10 deg! Now I have been forced to ‘eat my hat’ (and my complaints to 3DXTECH!) – OOPS!! However, since I am now back to being able to make strong carbon fiber prints, I’m more than willing to accept the trade-off! ;-))))
Stay tuned,
Frank