Posted 07 October 2019
I have owned a Microcenter clone of the very popular Flashforge Creator Pro for several years now and just the other day it gave up the ghost and died; the internal LED lighting and the front panel LCD display started flickering, and then went dark altogether. This wasn’t an entirely unexpected event, as for the last week or so I had been smelling burnt insulation every time I used the printer.
So I turned the printer on its side and removed the bottom panel to have a look around. Everything looked normal until I examined the main power connector to the motherboard; this connector looked a bit brown and charred as shown below:
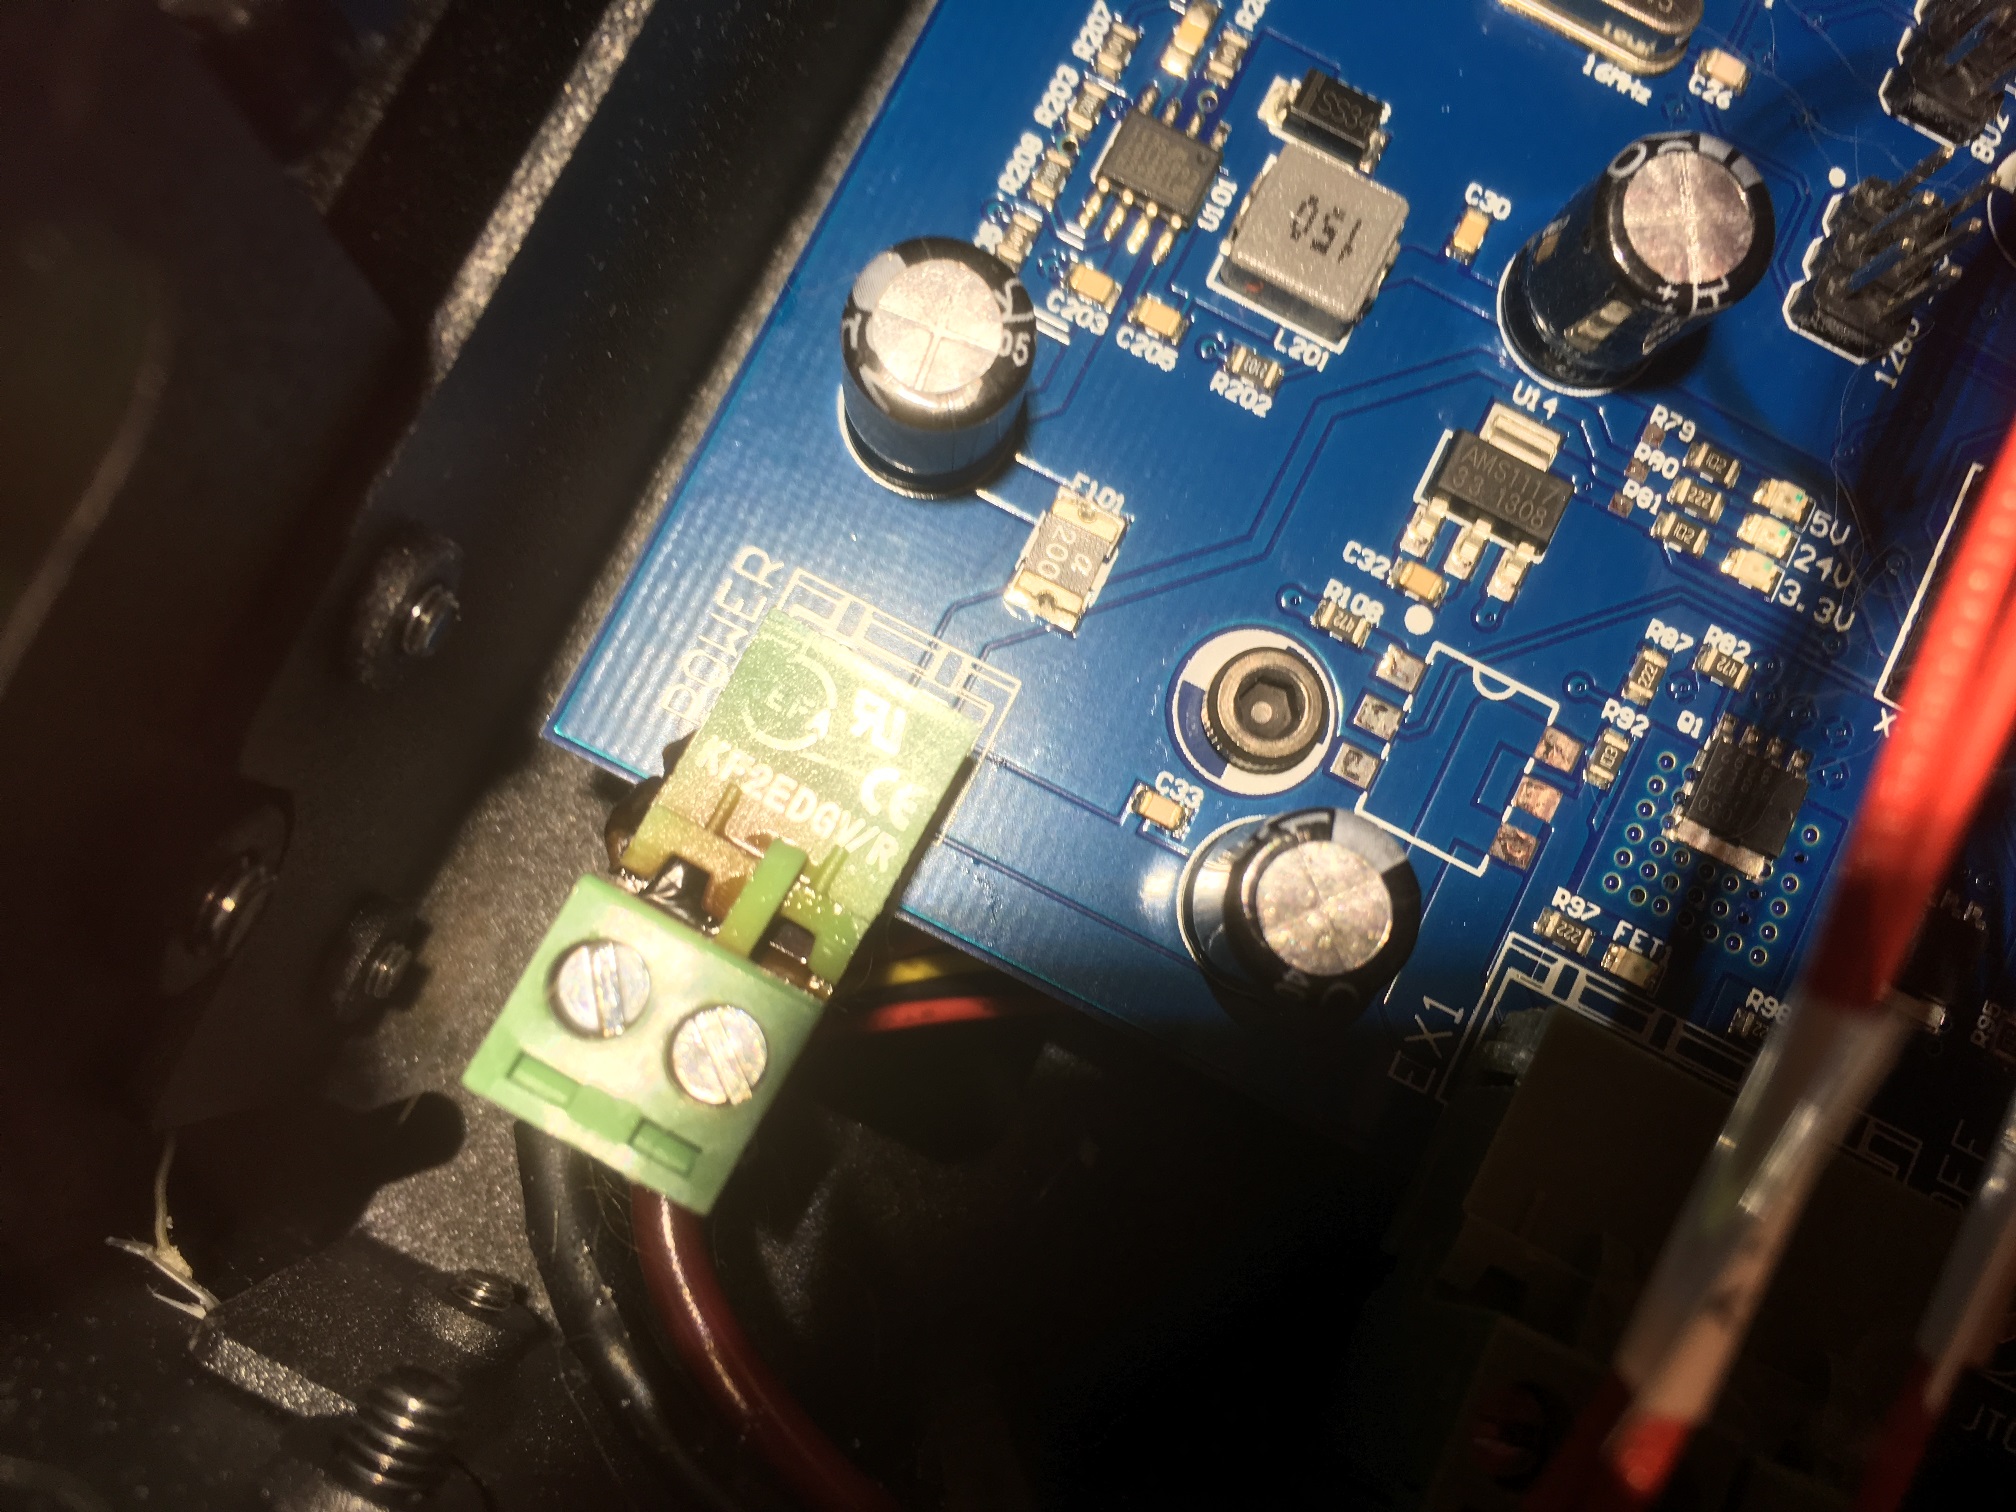
Motherboard power input connector. Note the discoloration and bubbling
If I wiggled this connector with the power to the printer enabled, I could get the display and internal LEDs to light up briefly and then go out again, so it seemed pretty reasonable that this was the problem. After removing the motherboard from its mounting posts, I was able to get a better look at the connector, as shown below:
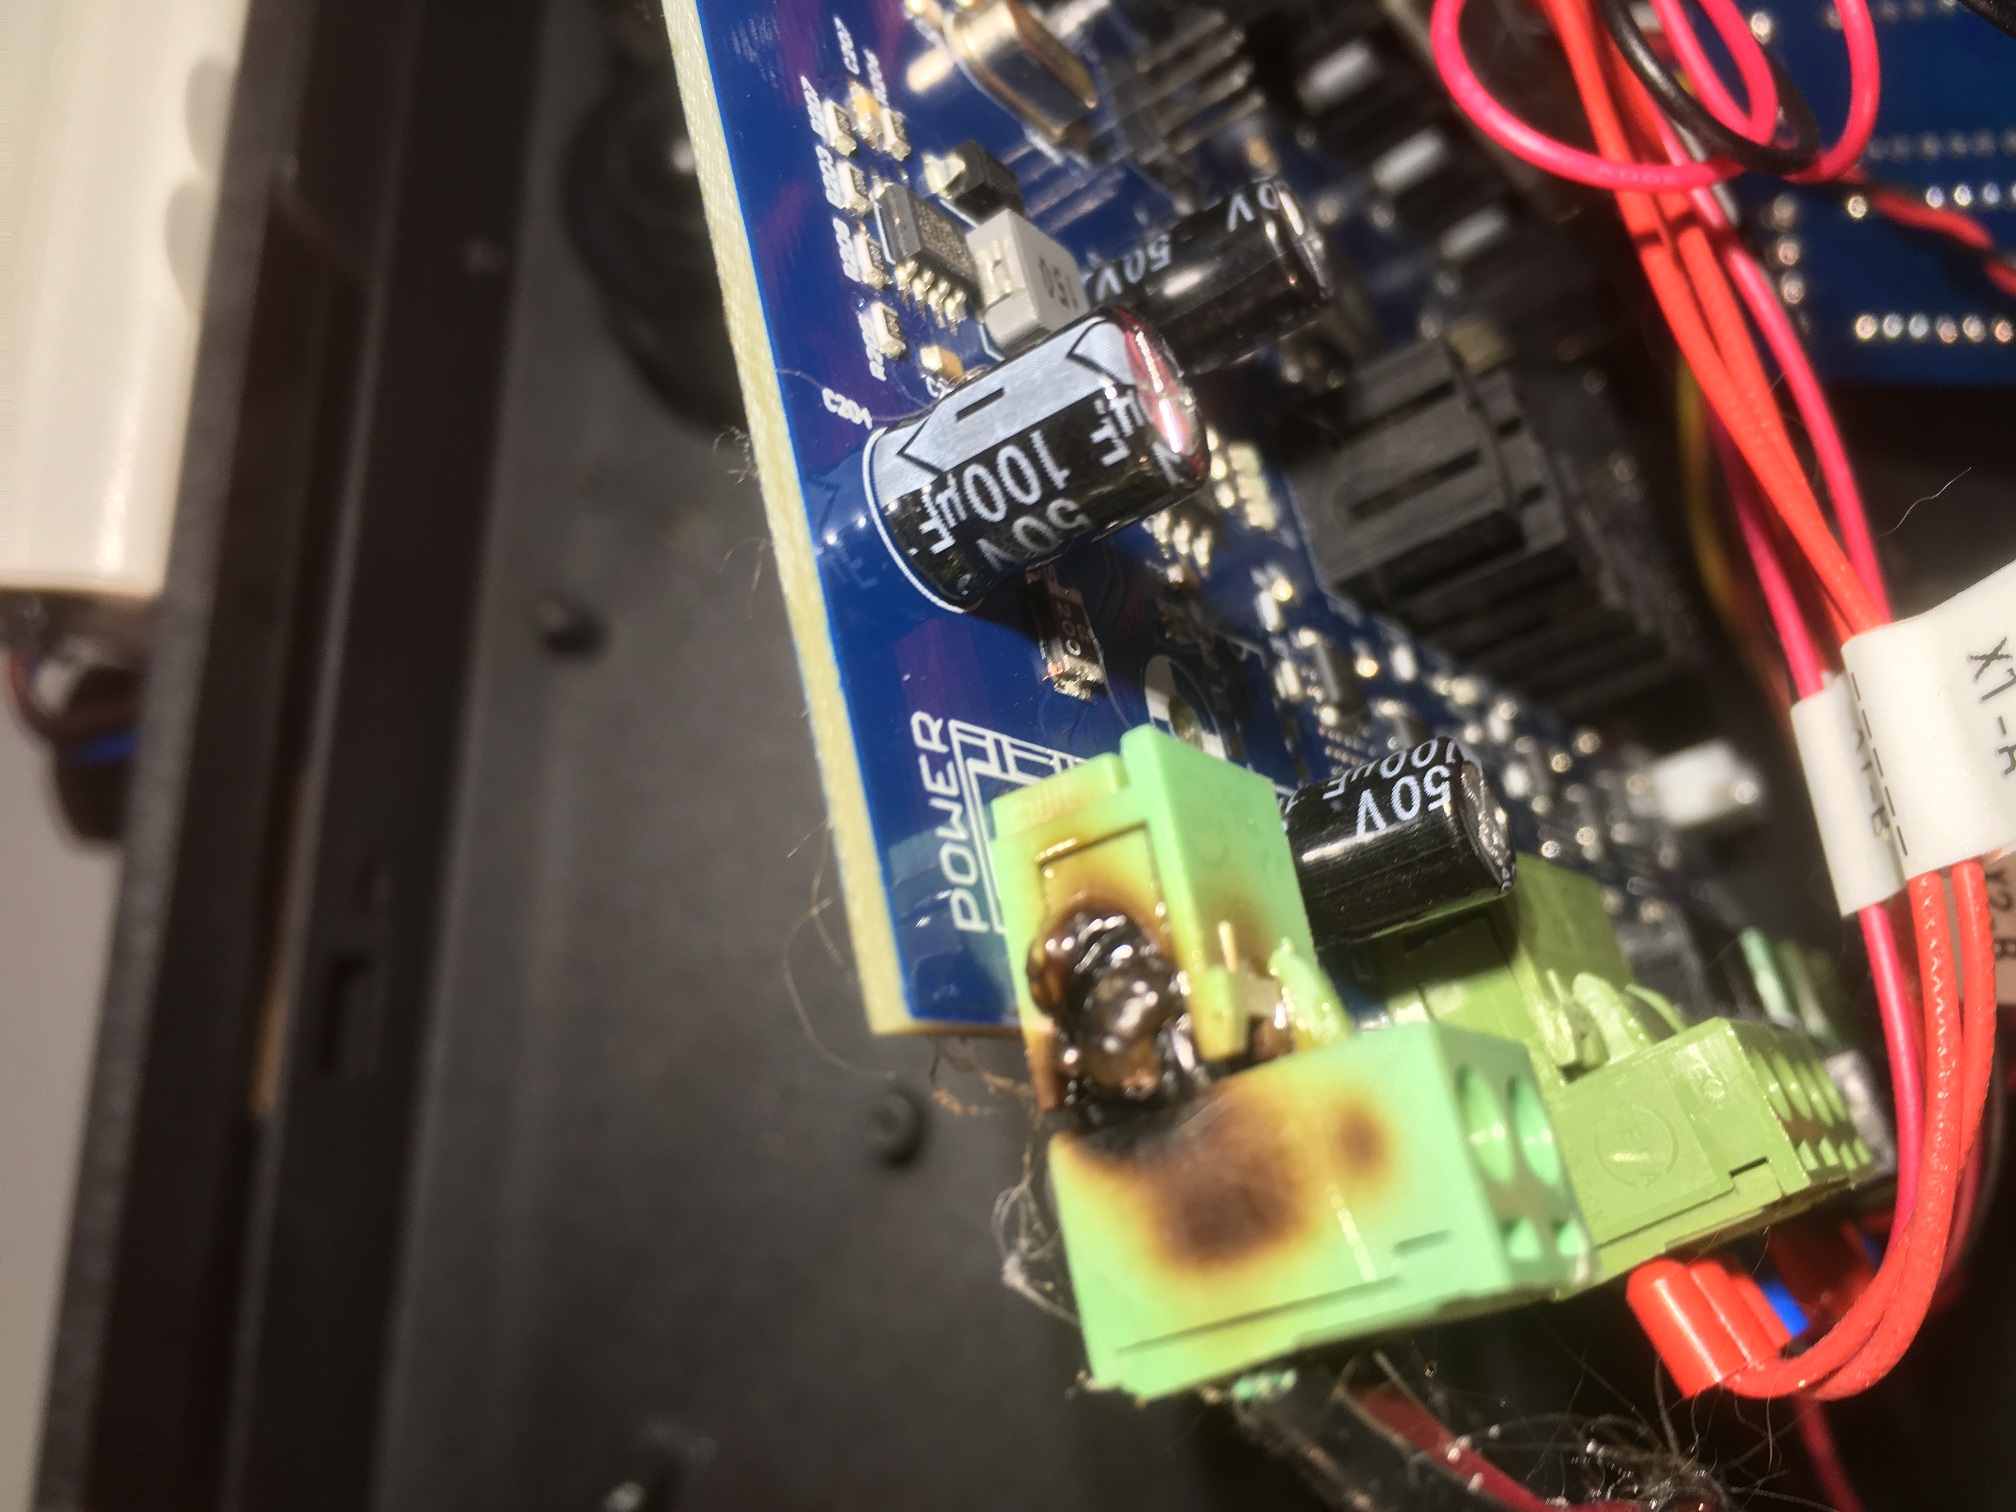
Motherboard power connector as viewed from the side
As can be seen in the photo, the plastic power connector has melted and bubbled out to the side, and the mating halves of the connector are fused together. In order to disconnect the power cable I had to physically pry the two halves apart, as shown in the following photos:
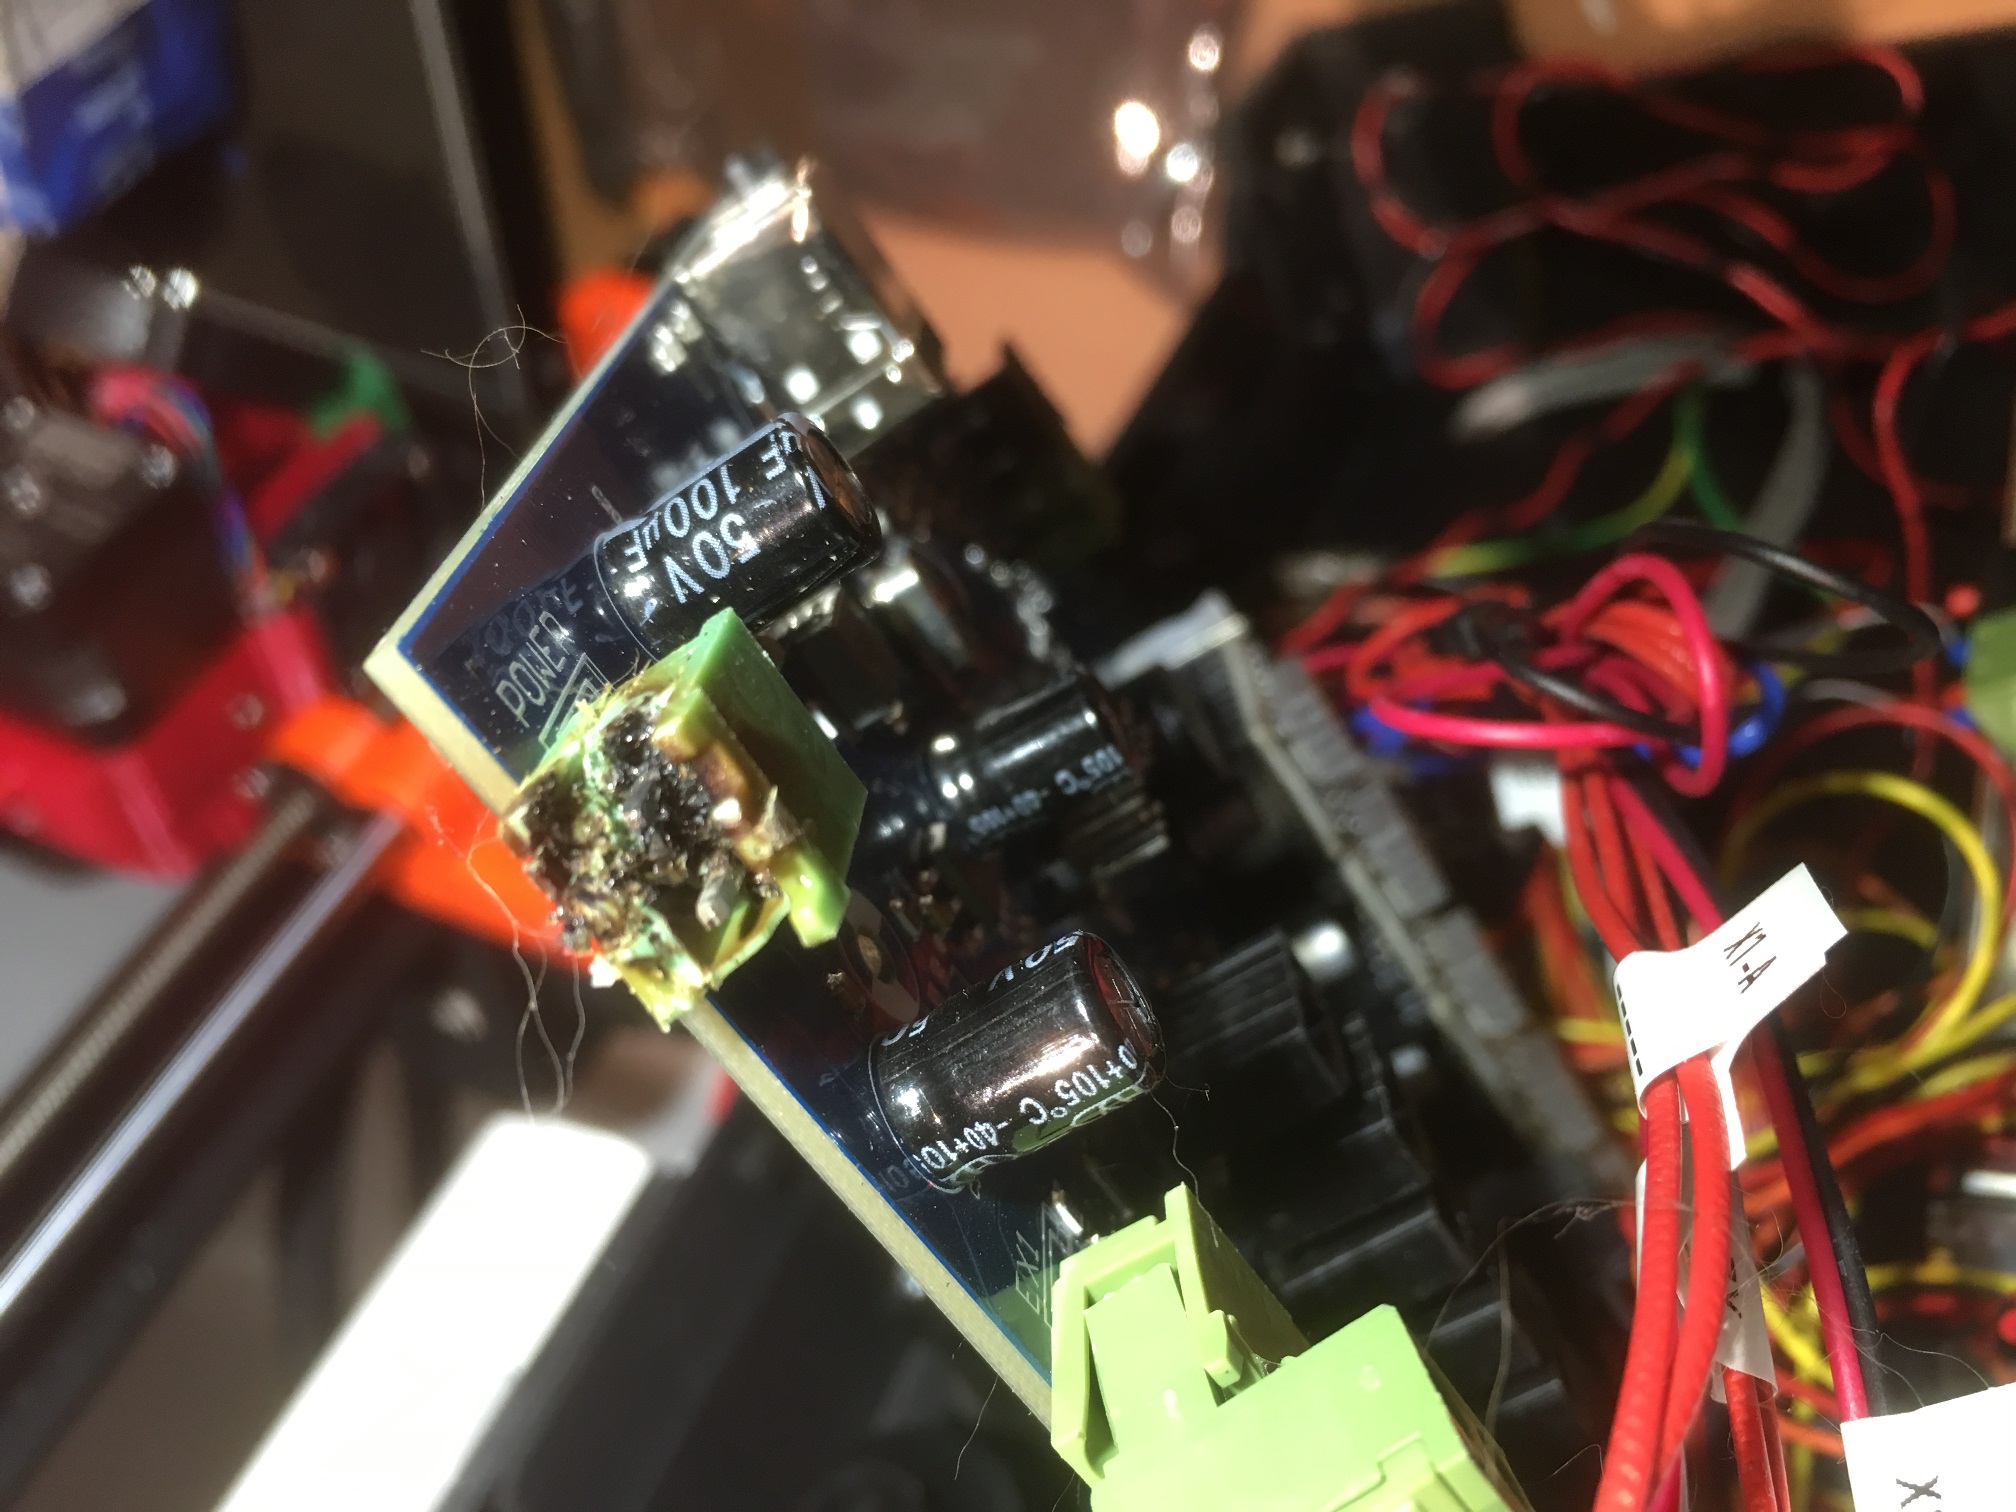
Motherboard half of the burnt power connector
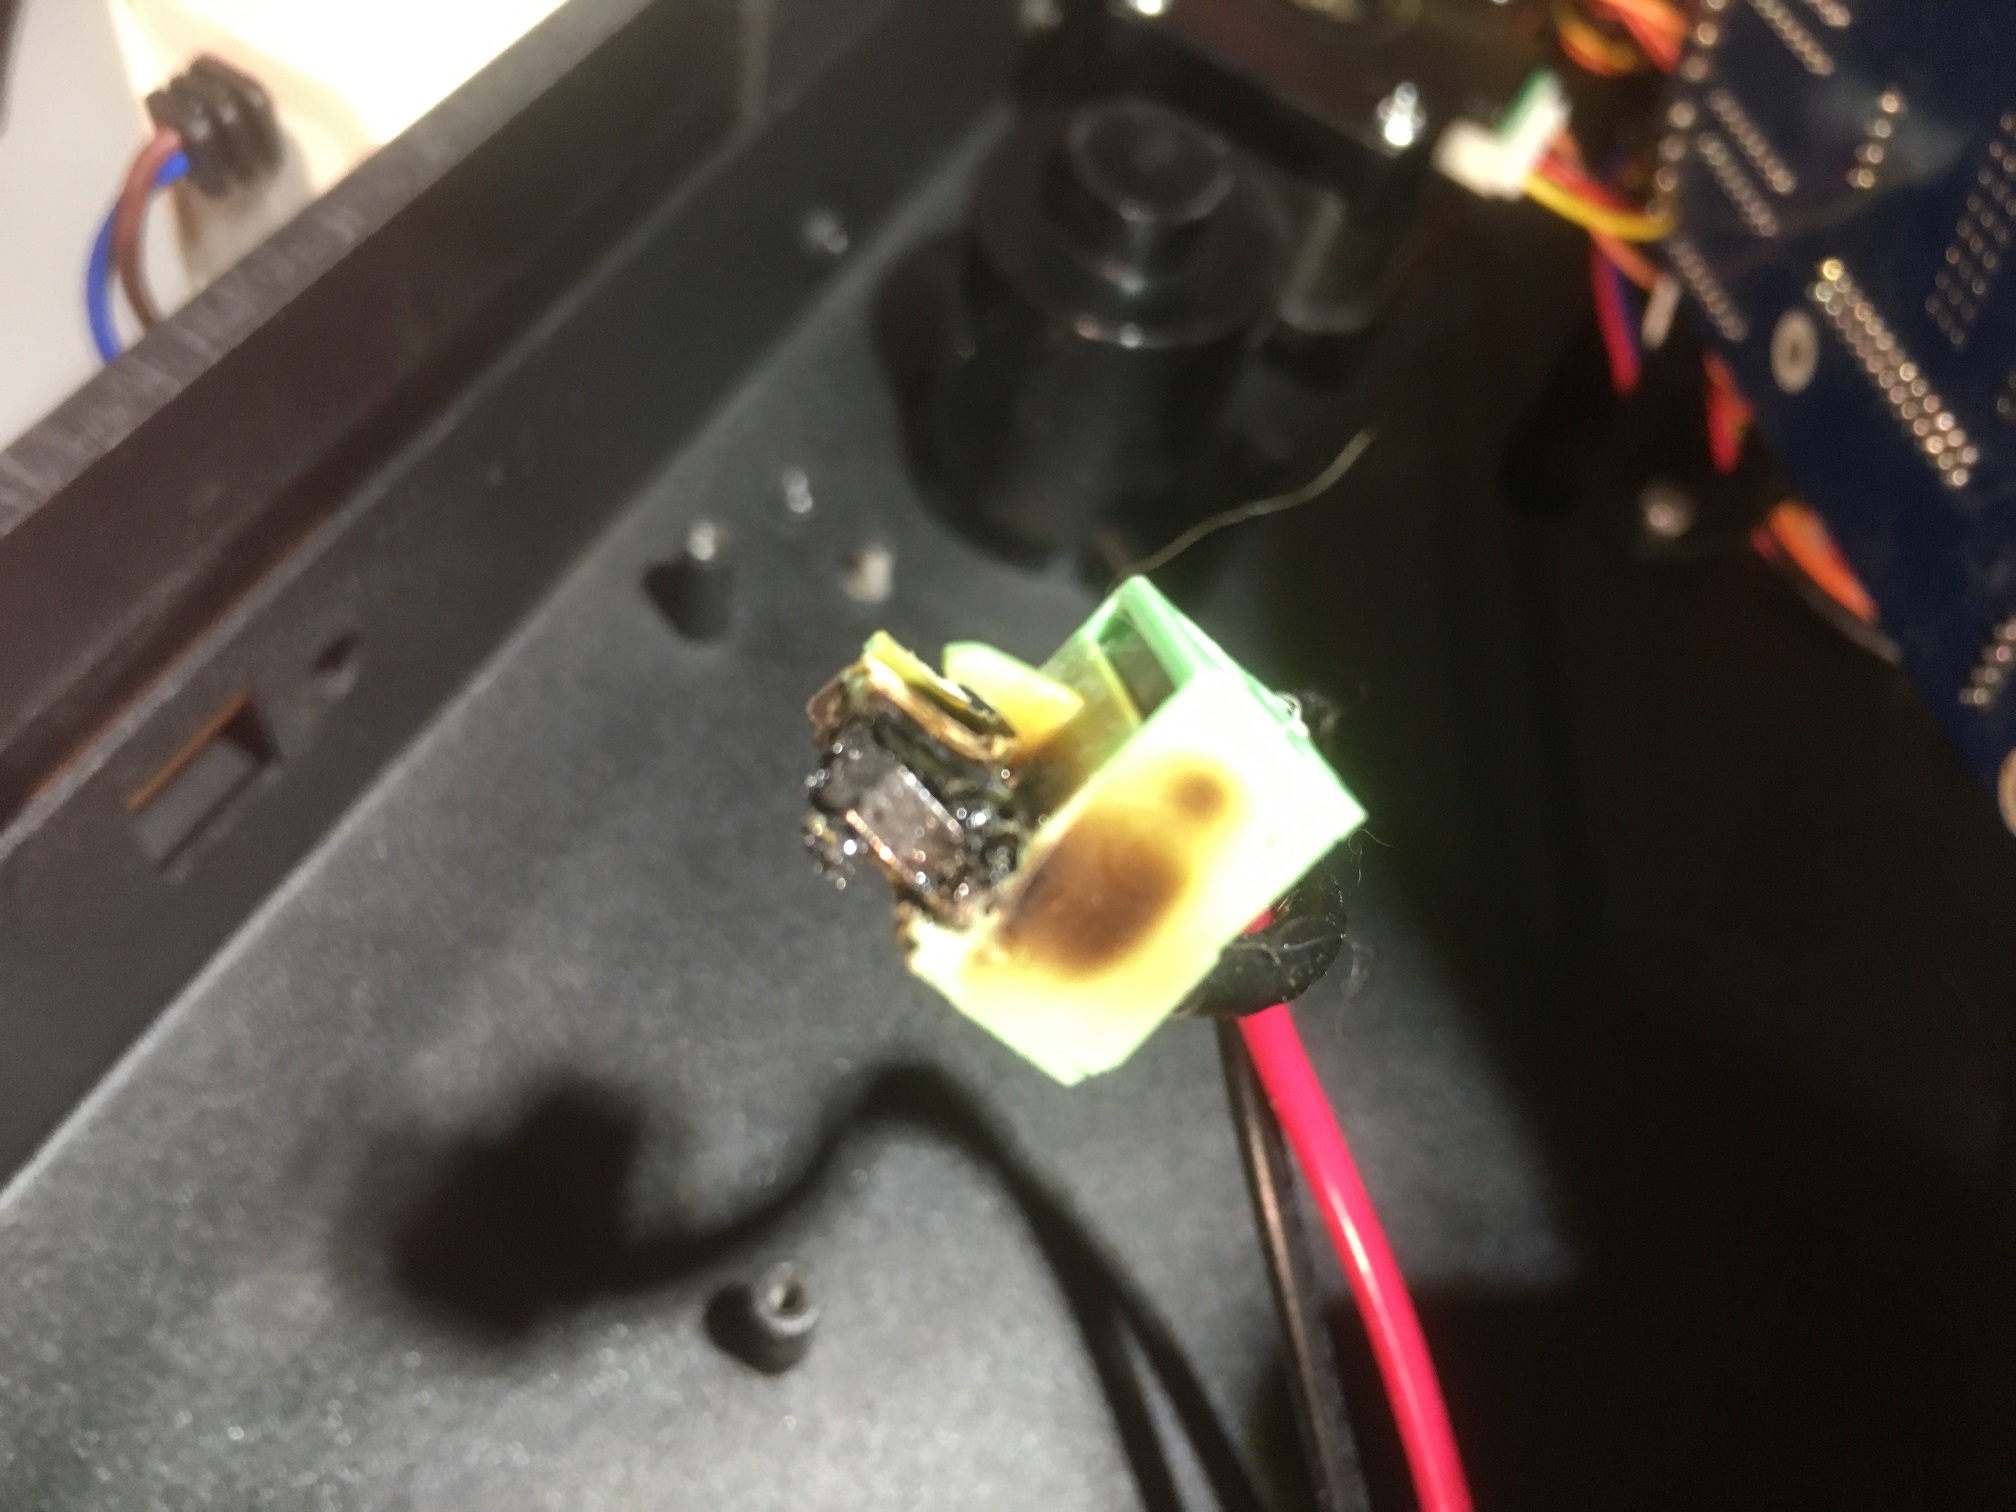
Cable half of the power connector
I didn’t know if the connector fried and caused the motherboard to die, or the motherboard died and caused the connector to die (or maybe a little of both?). Anyway, I decided to try an replace the motherboard with a new one purchased on eBay.
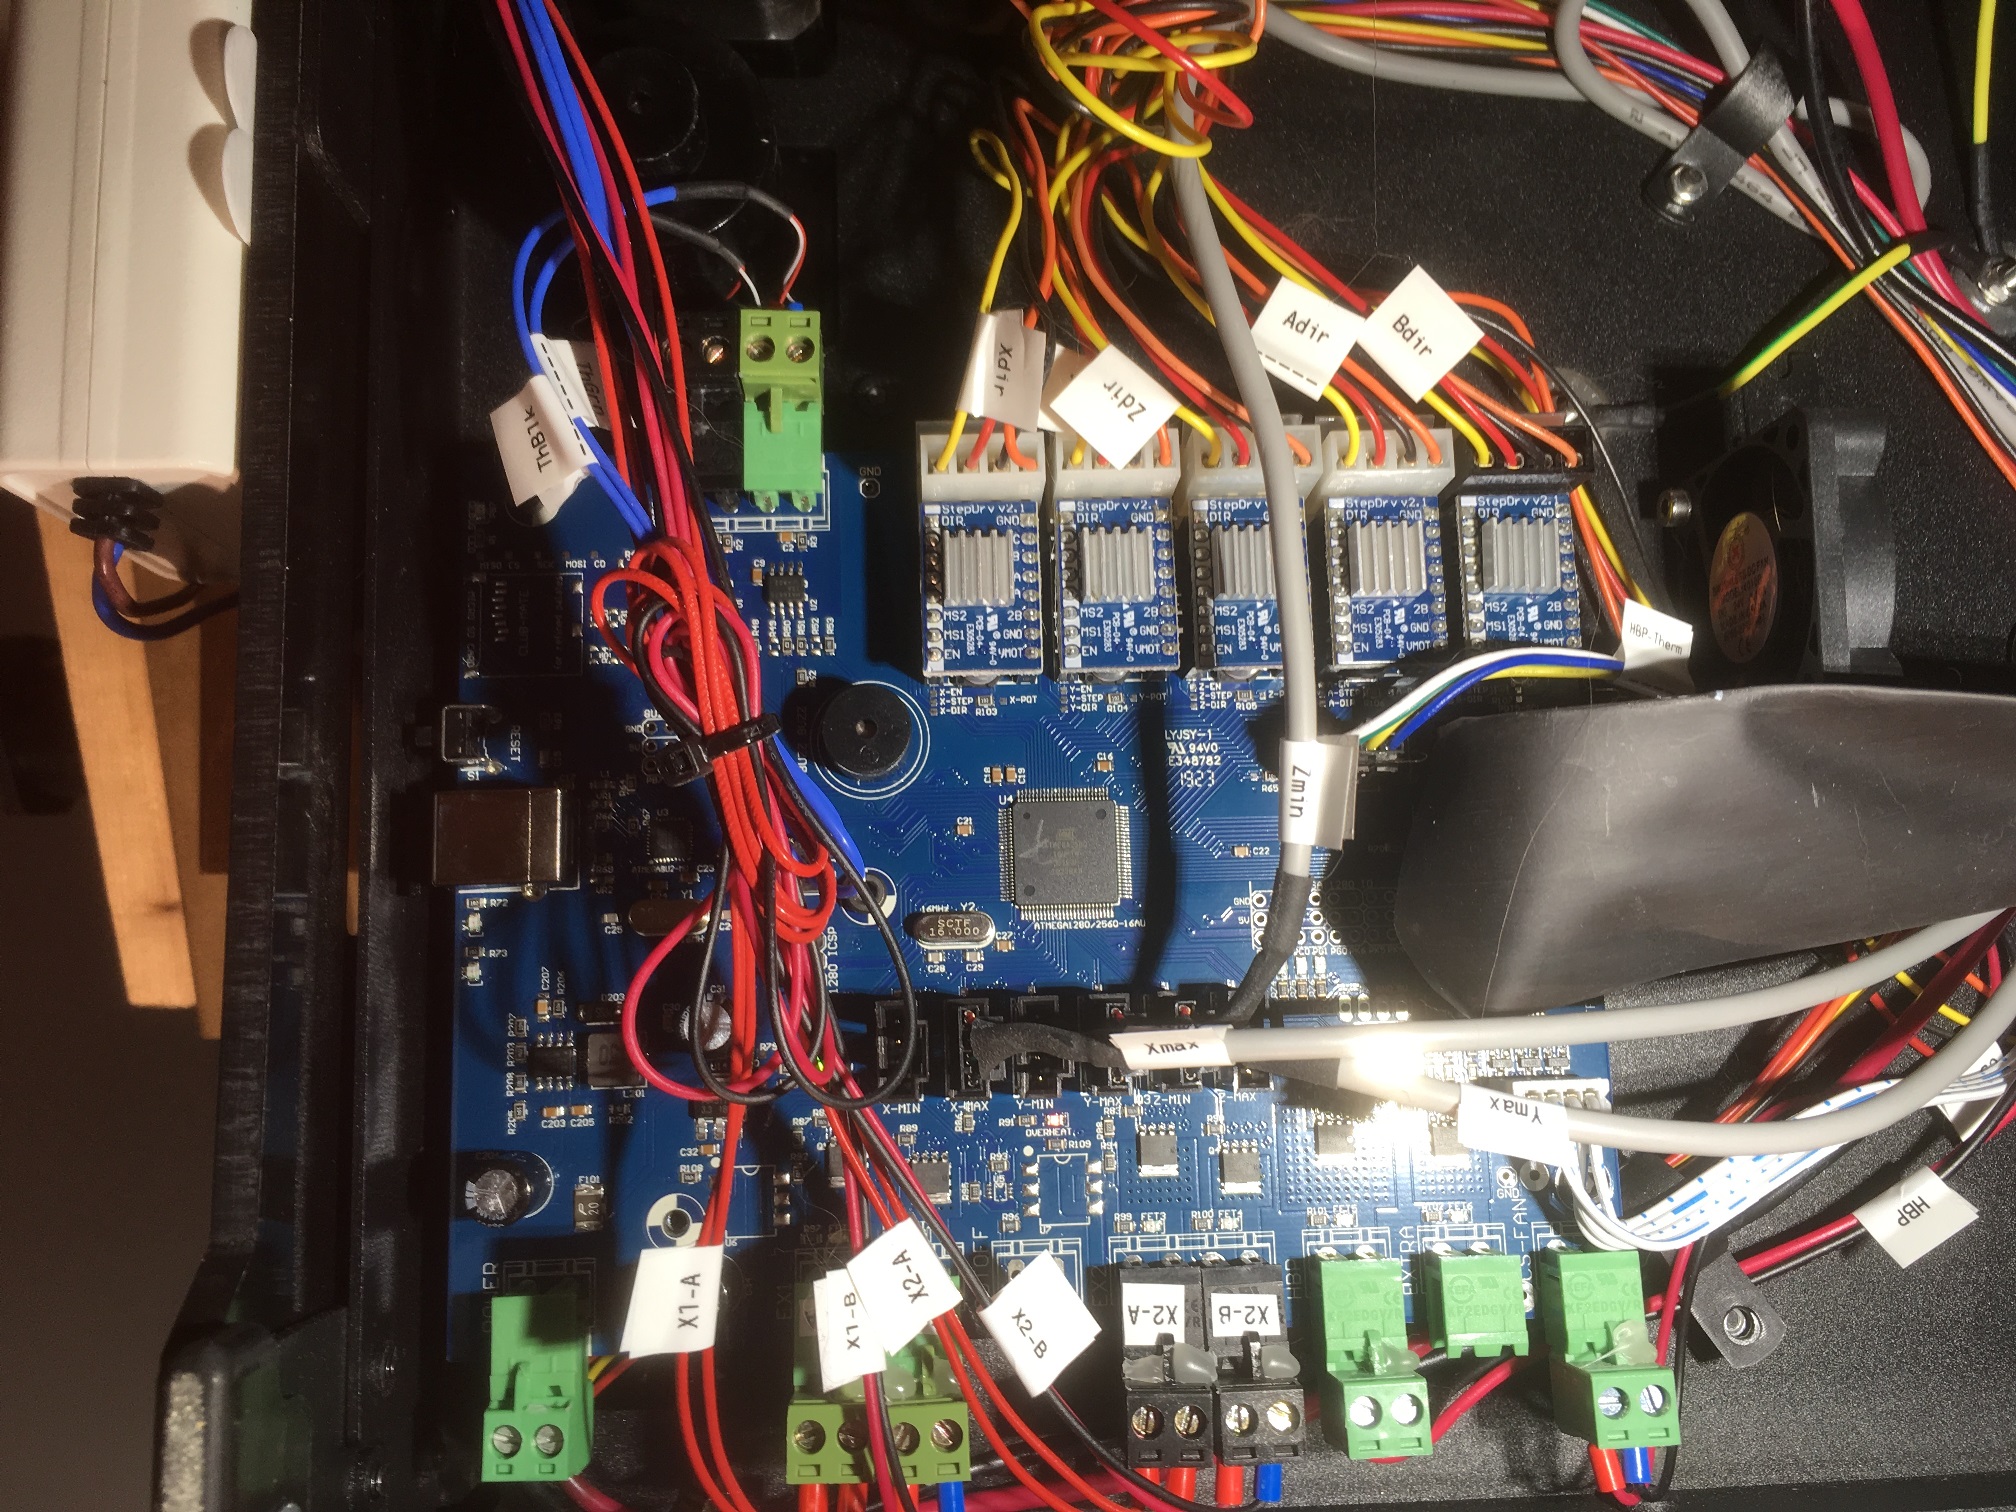
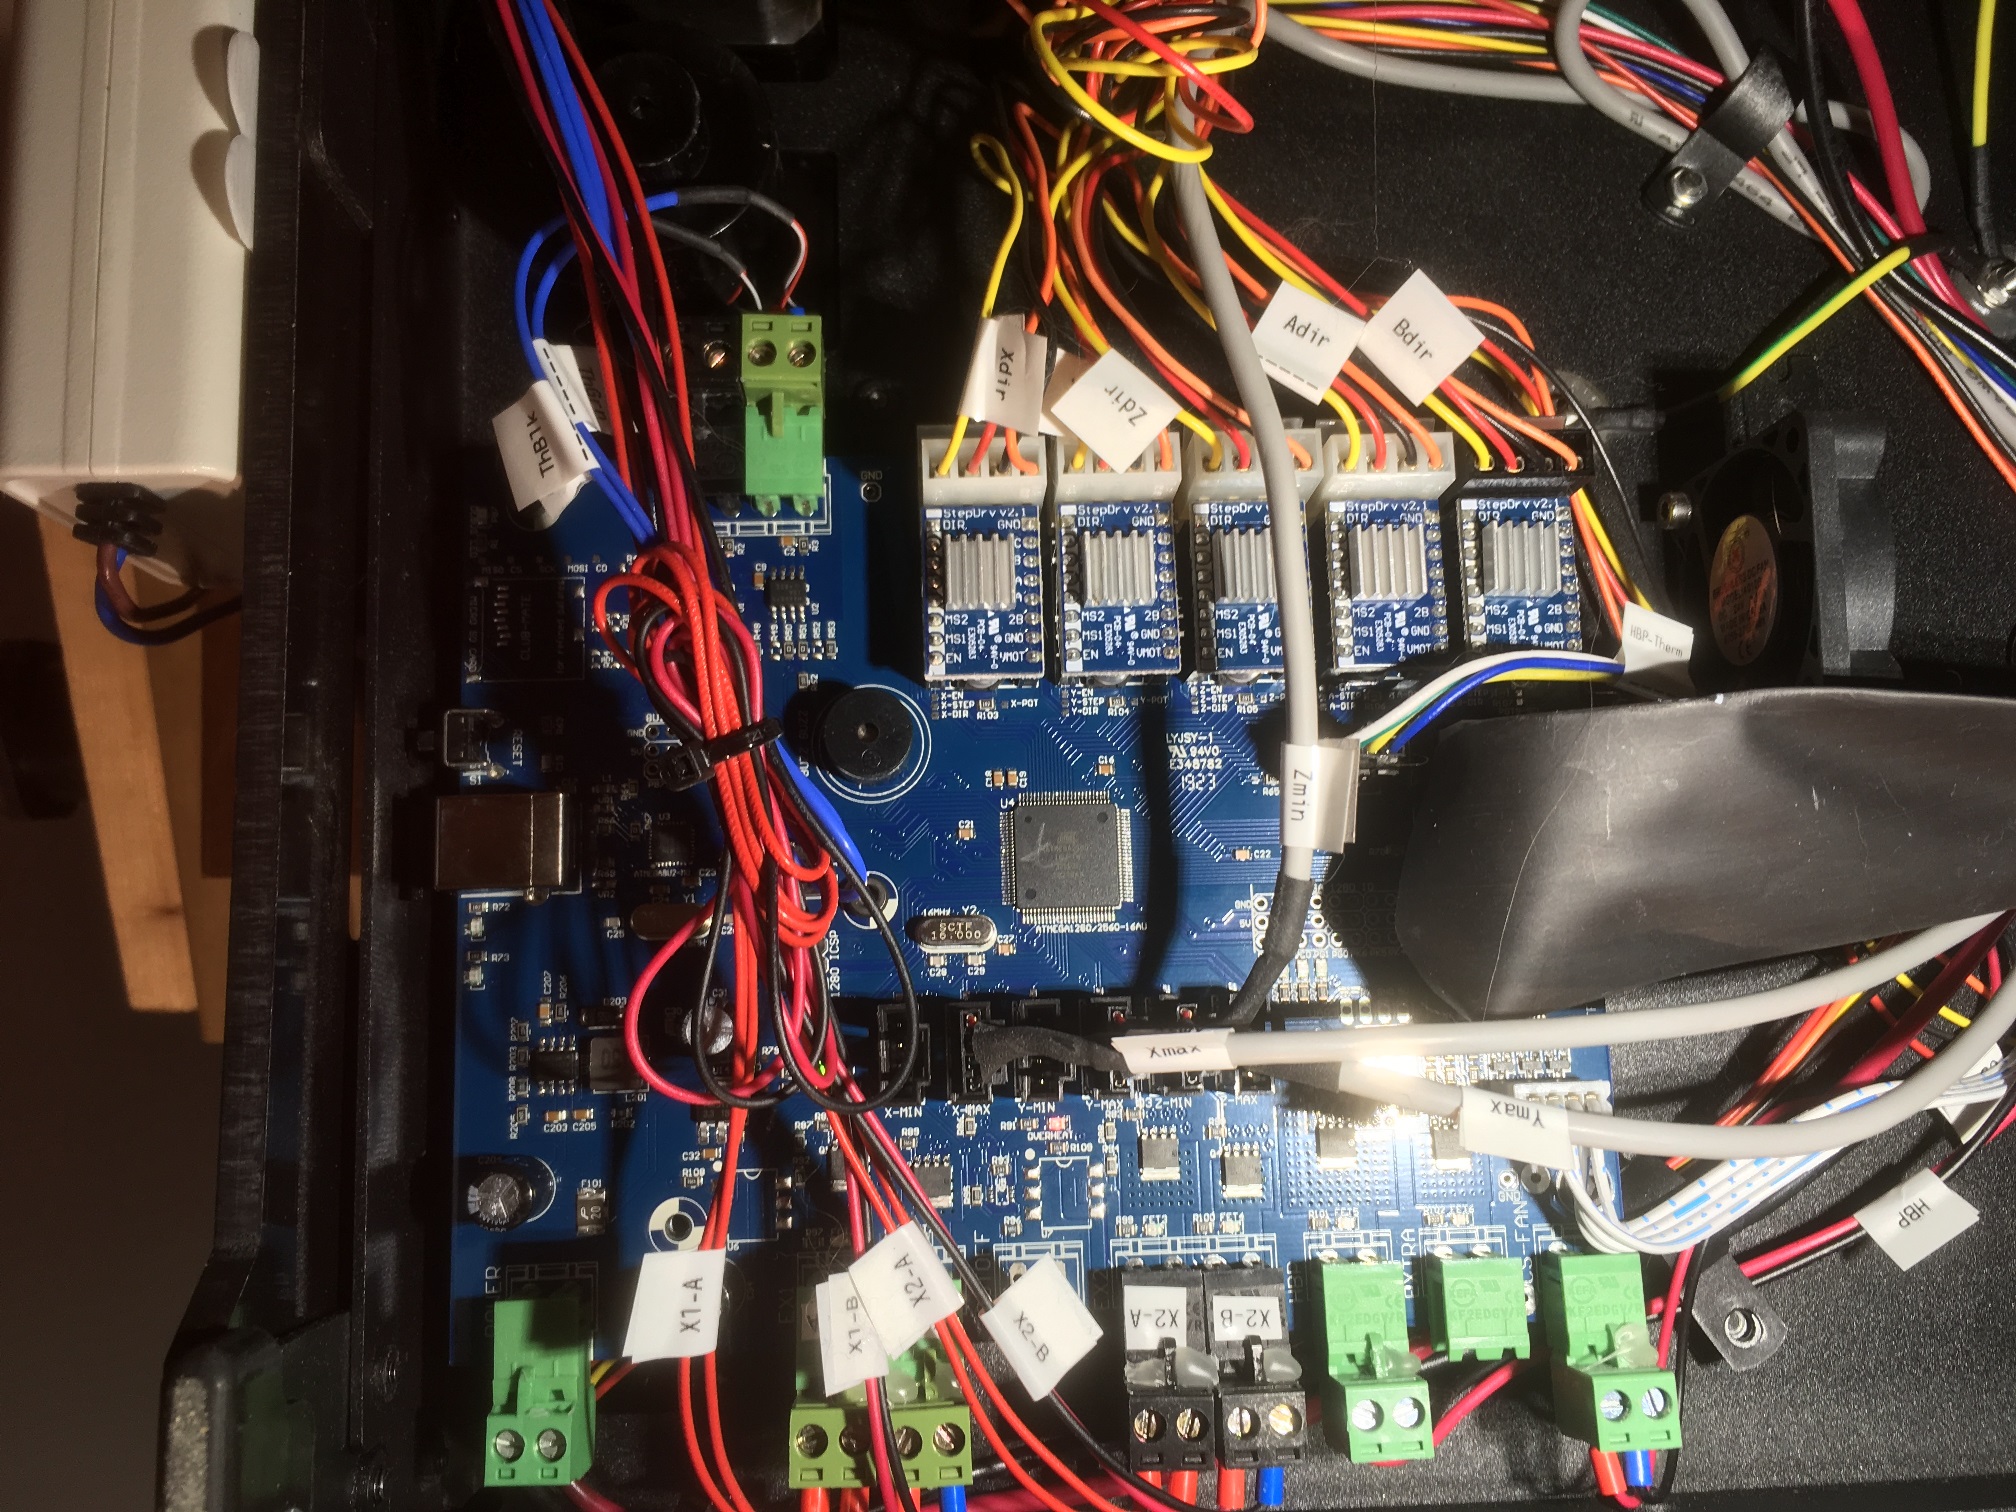
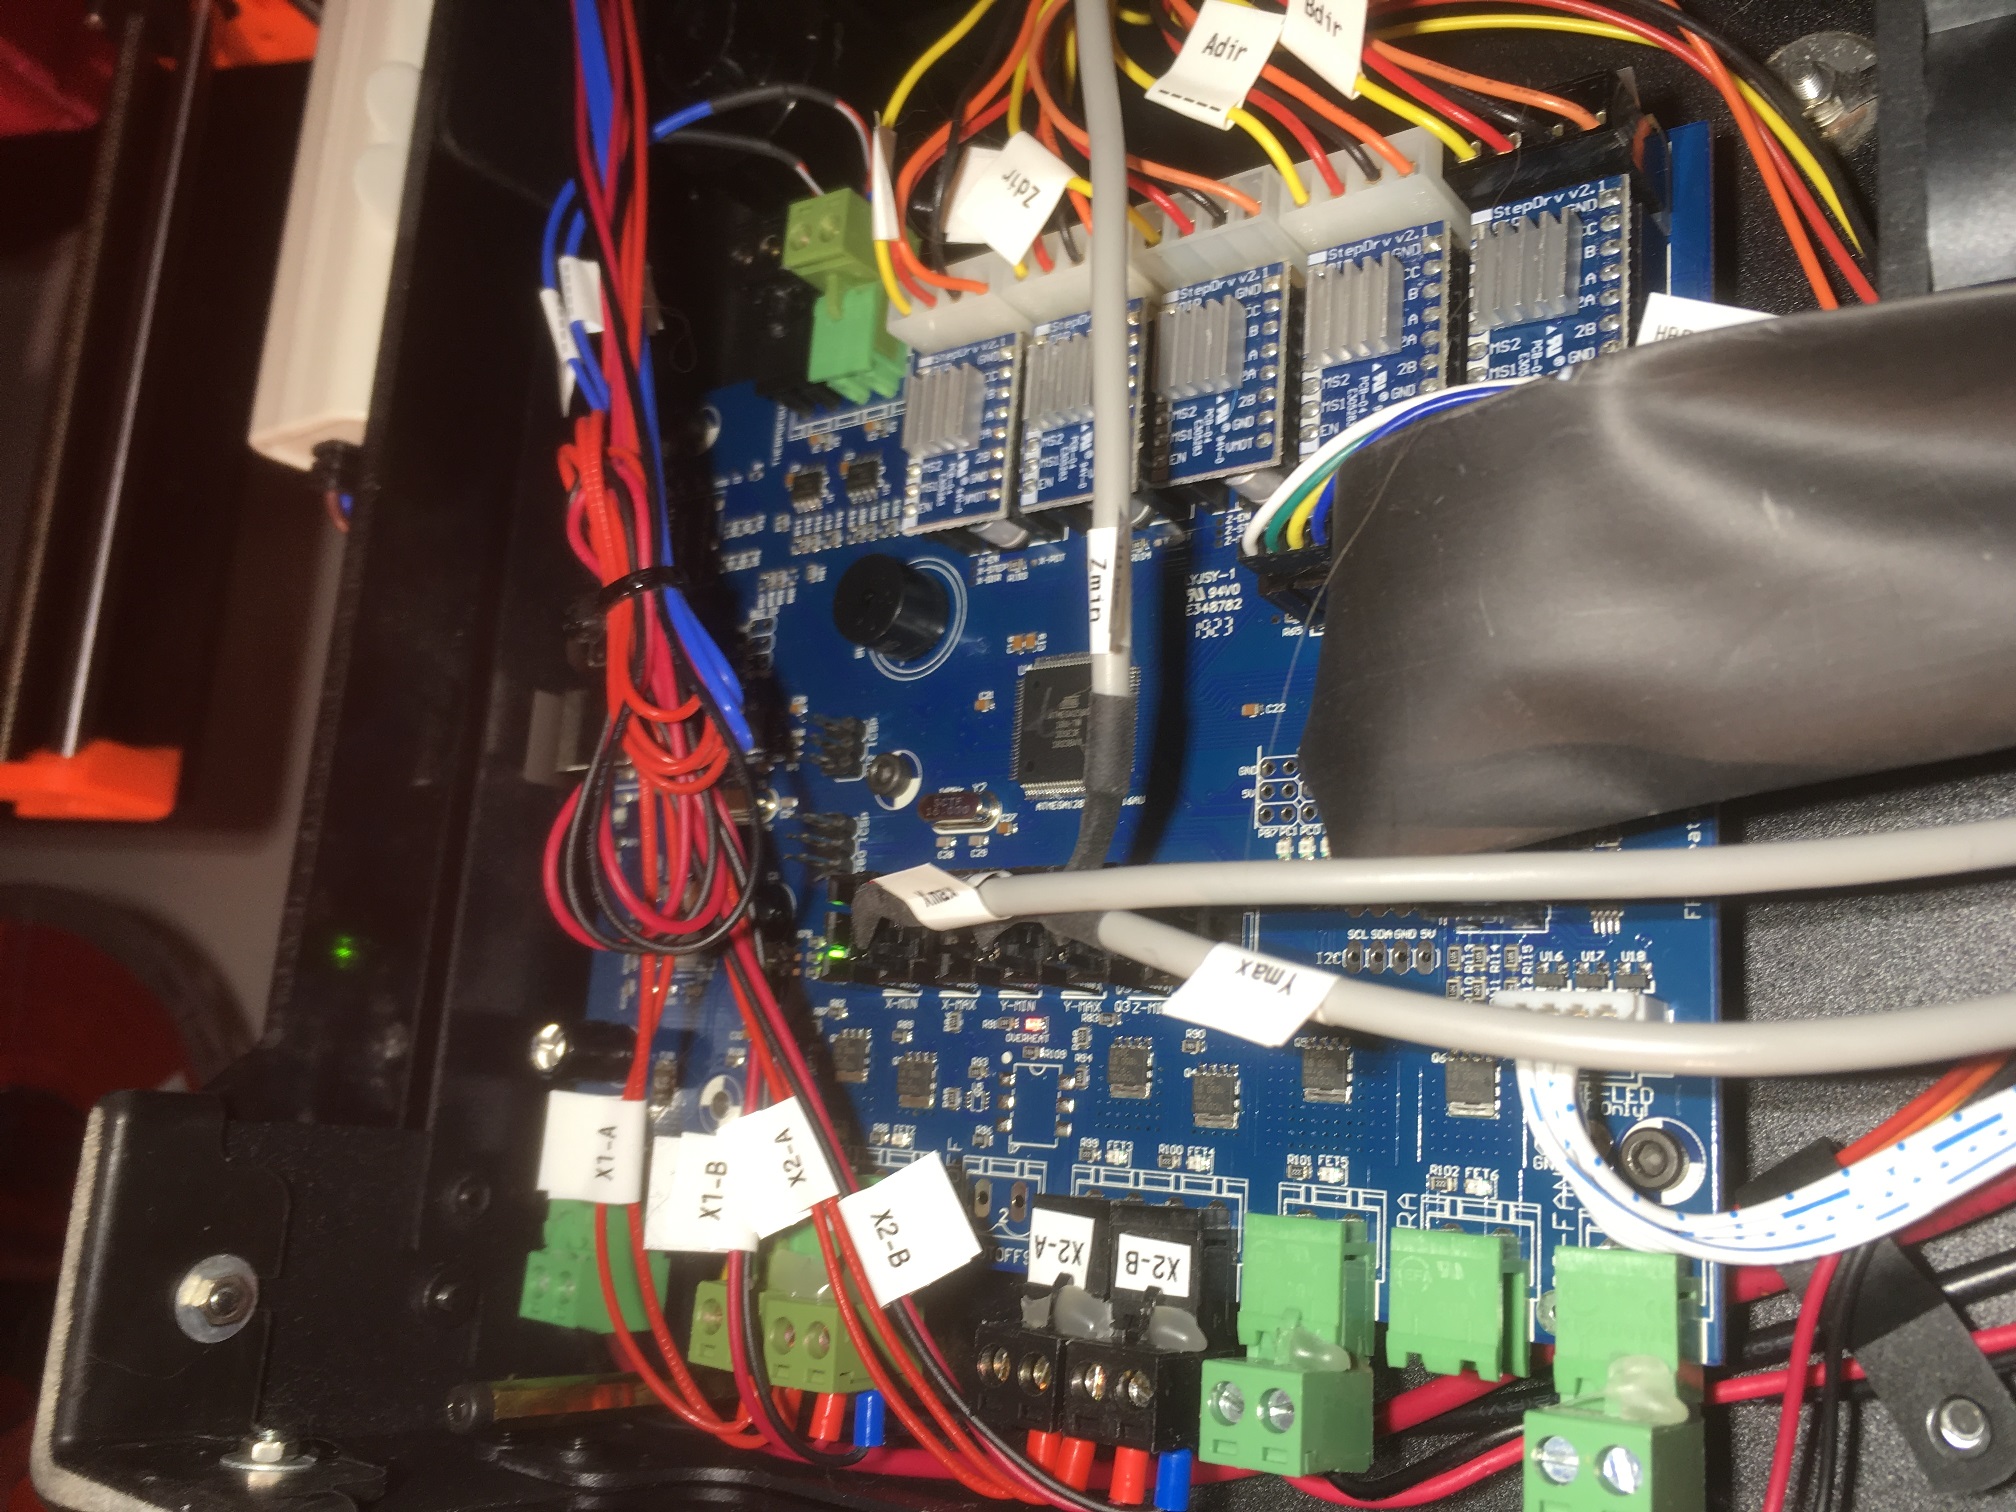
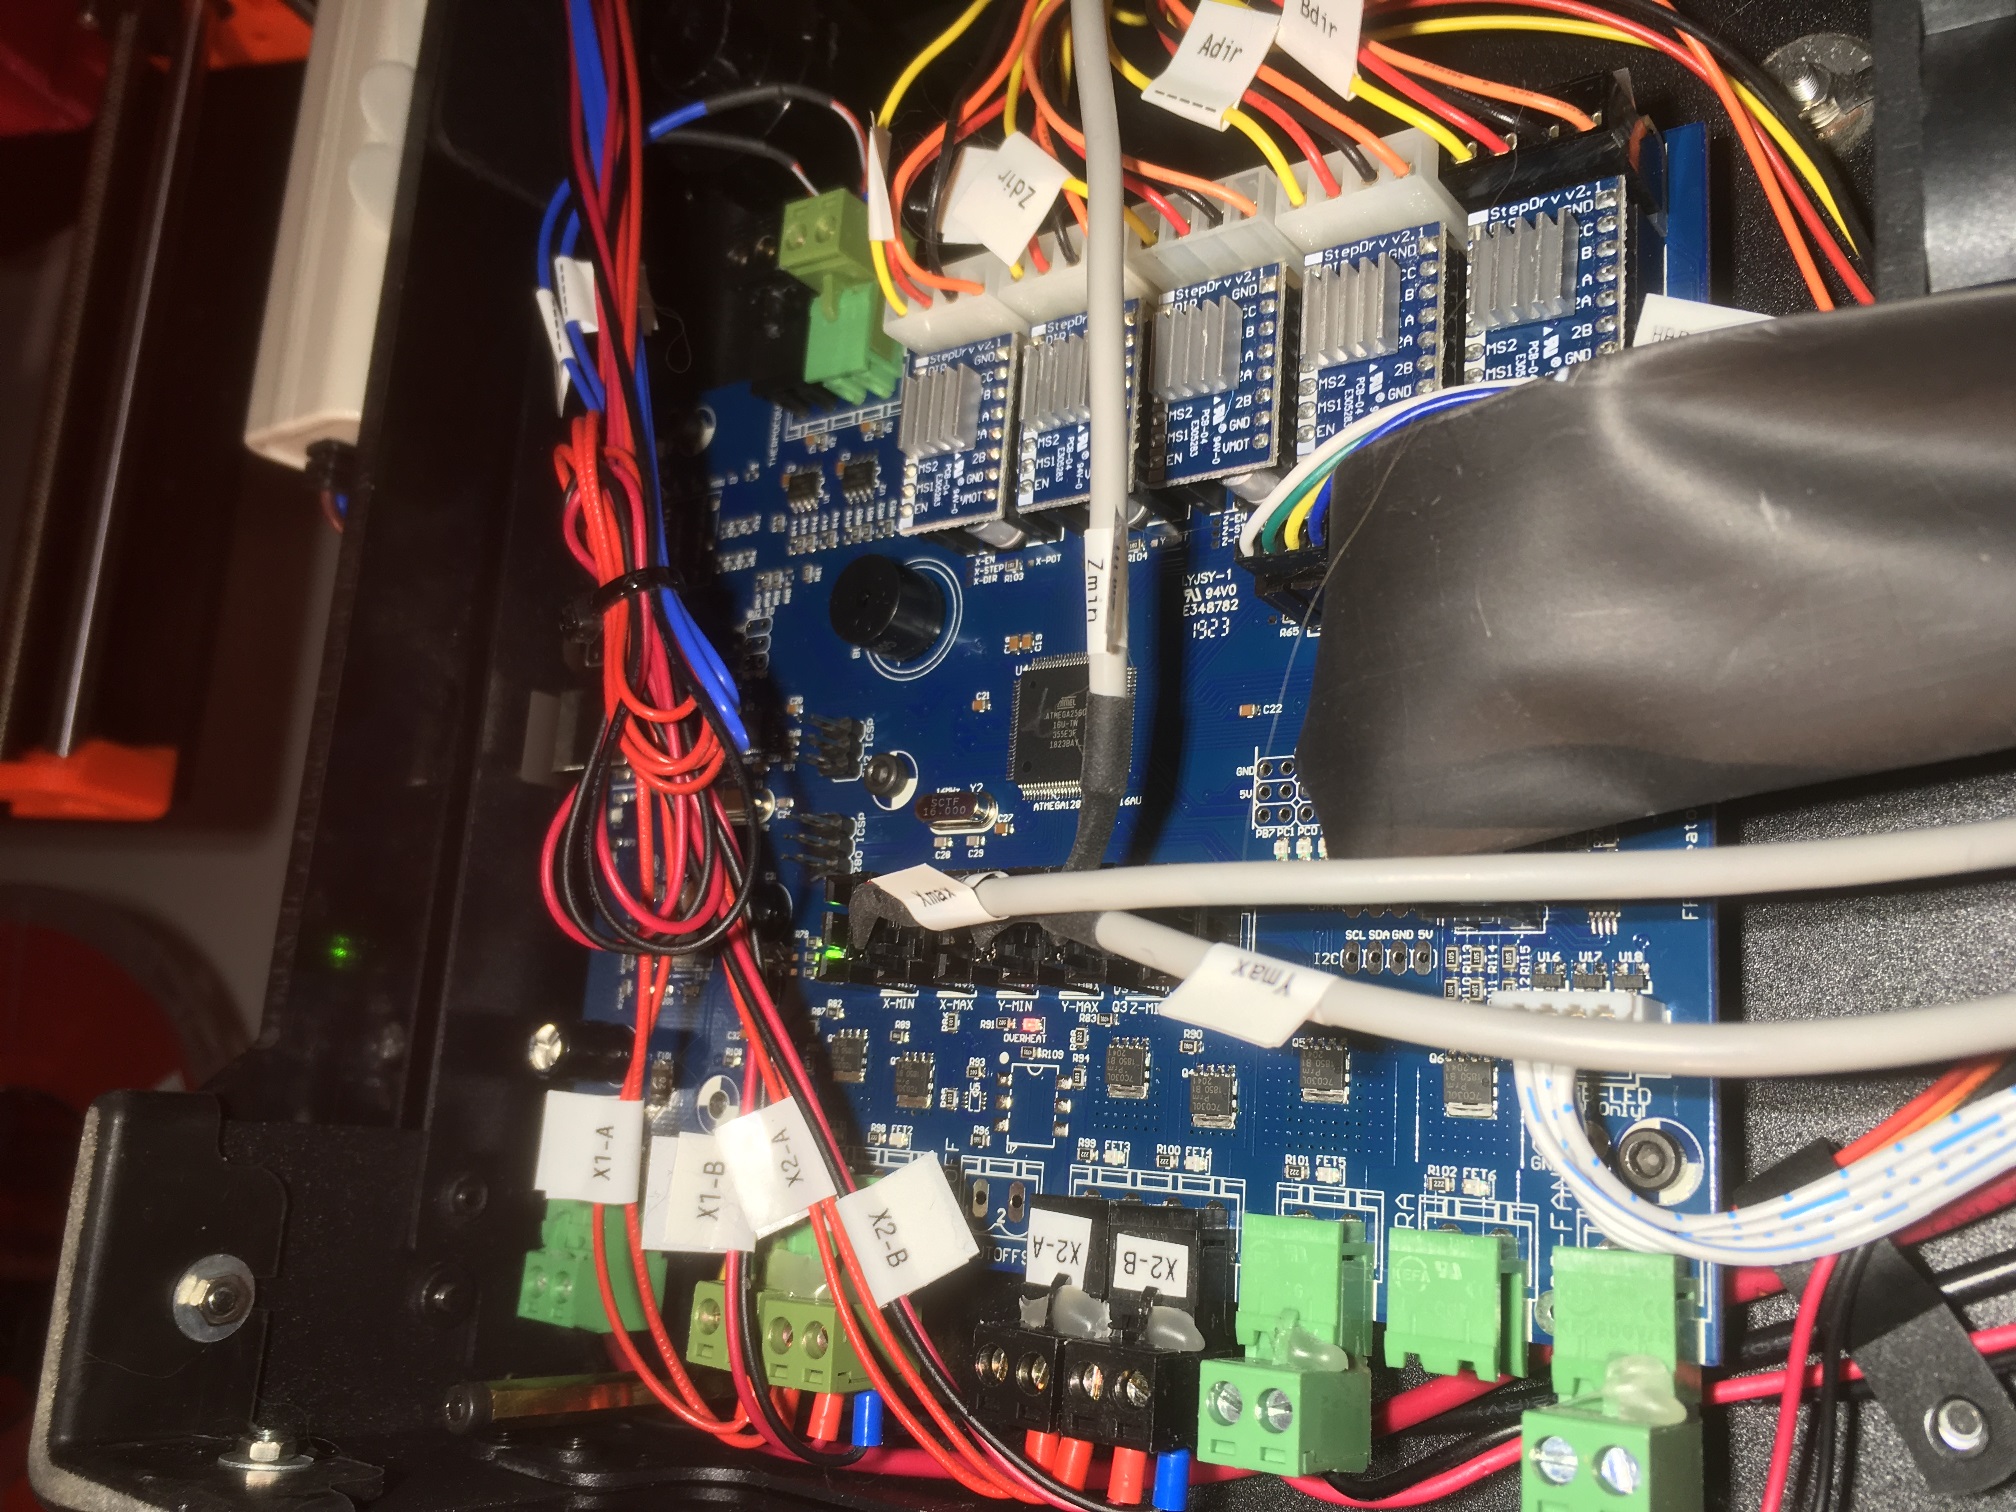
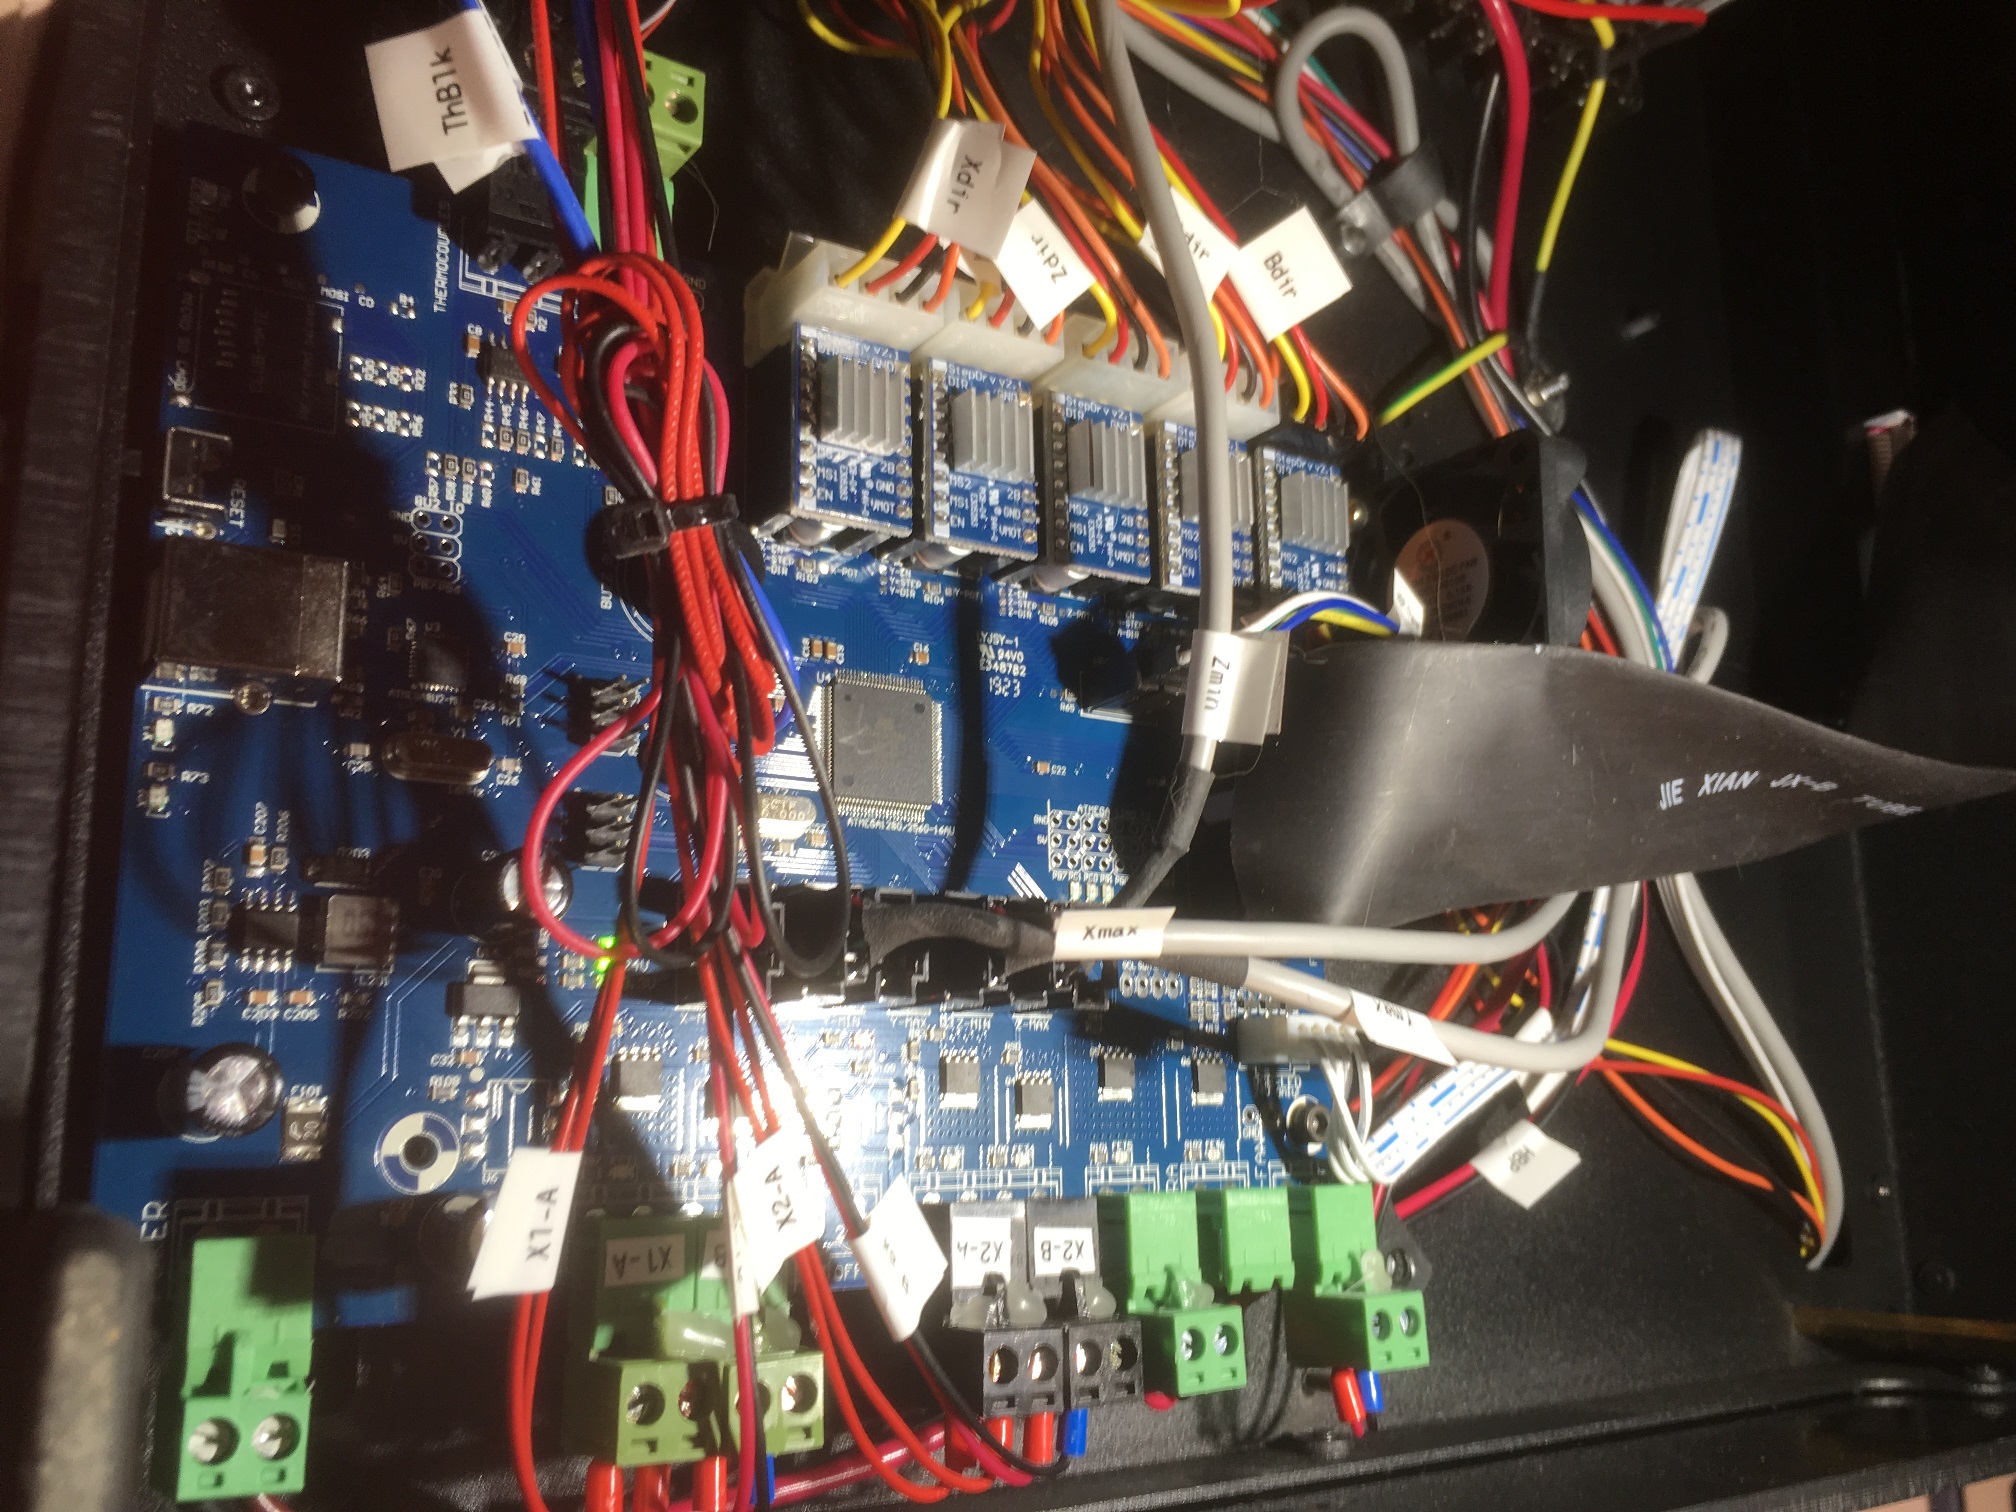
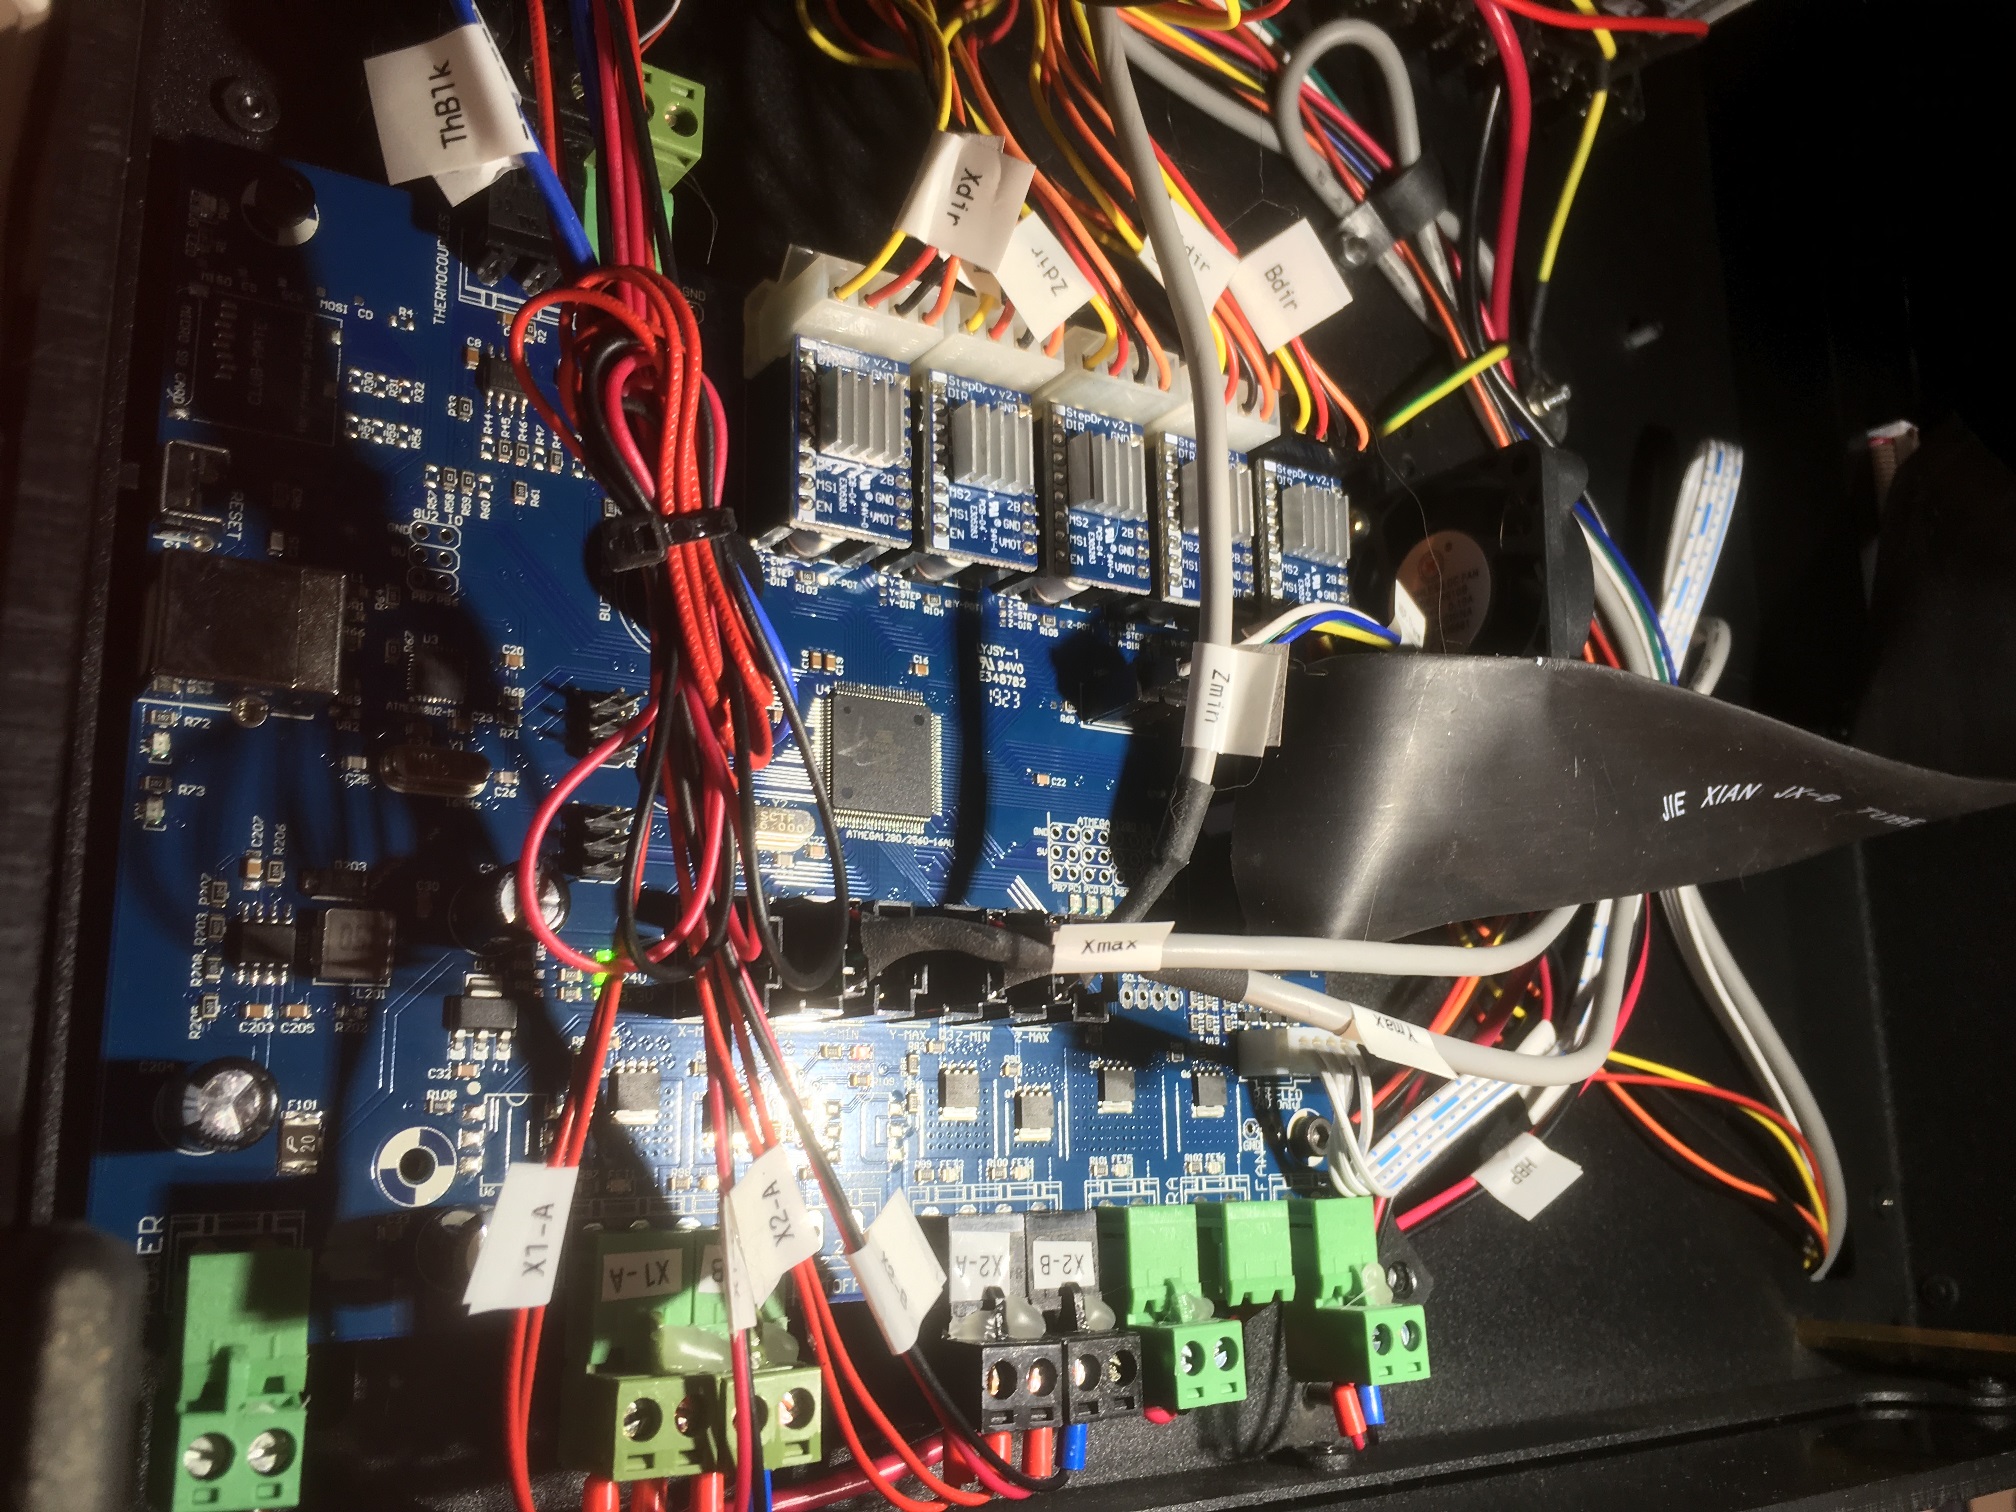
When the new motherboard arrived, I started preparing for the exchange by carefully labelling all the cables, so I could make sure I got them back to the right places after the exchange. The labelling step is critical, as many of the motherboard connectors and the corresponding cables are indistinguishable from each other; without the labels there would be no way to tell which cable goes to which connector. Then I moved all the cables except for the power cable from the old motherboard to the new one, as shown in the following photos:
After moving all the cables, I still had a problem; the cable end of the power connector was so badly damaged that I couldn’t use it on the new motherboard, and without a power connection, there was no way to test the new board. I solved this problem by temporarily disconnecting my after-market extruder cooling fan from the ‘EXTRA’ connector on the motherboard, and using that cable connector for the power connection to the motherboard. After making this change, the printer came up normally when I applied power – YAY!!
So, I still had the problem of not having a connector for my printhead cooling fan cable. After some more web research, I found this link by Aaron Gilliam (on Thingiverse of all places) describing the part numbers for the entire Flashforge Creator Pro in detail – thanks Aaron!
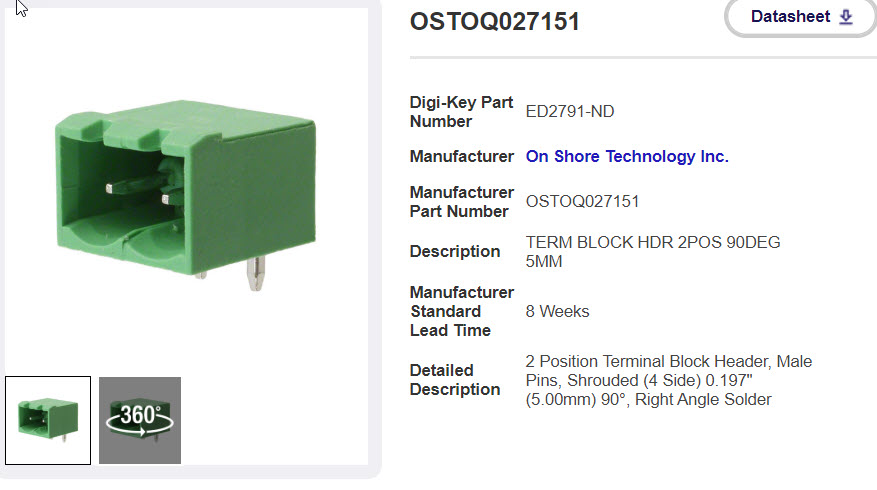
Flashforge Creator Pro Motherboard connector
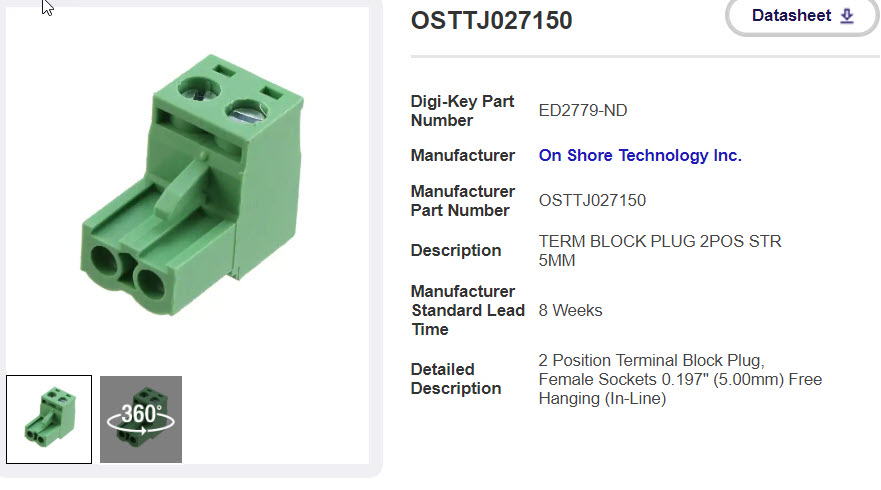
Flashforge Creator Pro cable connector
The connector I was looking for was ‘2 pin DIGIKEY # ED2779-ND’ So, off I went to Digikey where I ordered several of the cable connectors, and also several of the mating motherboard connectors. My plan was to first get the printhead cooling fan back on line, and then maybe try and replace the motherboard connector on the old motherboard to see if that was the only problem; if so, then I would have a complete spare motherboard available – cool!
Stay tuned!
Frank