Tag Archives: Dewalt DWS713

Dewalt DWS713 Miter Saw Dust Port Vacuum Hose Adaptor

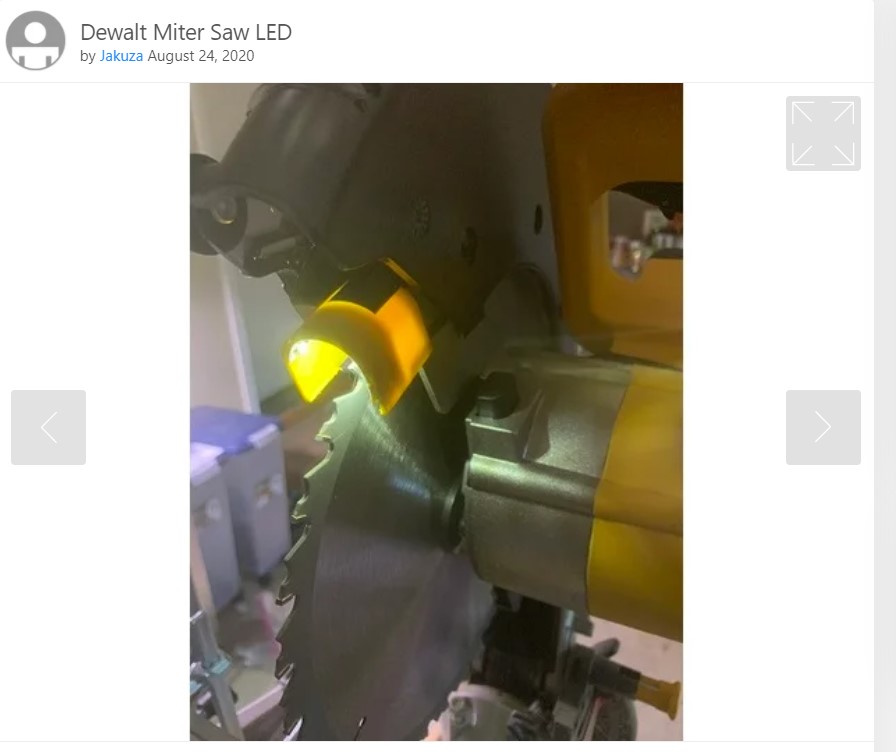
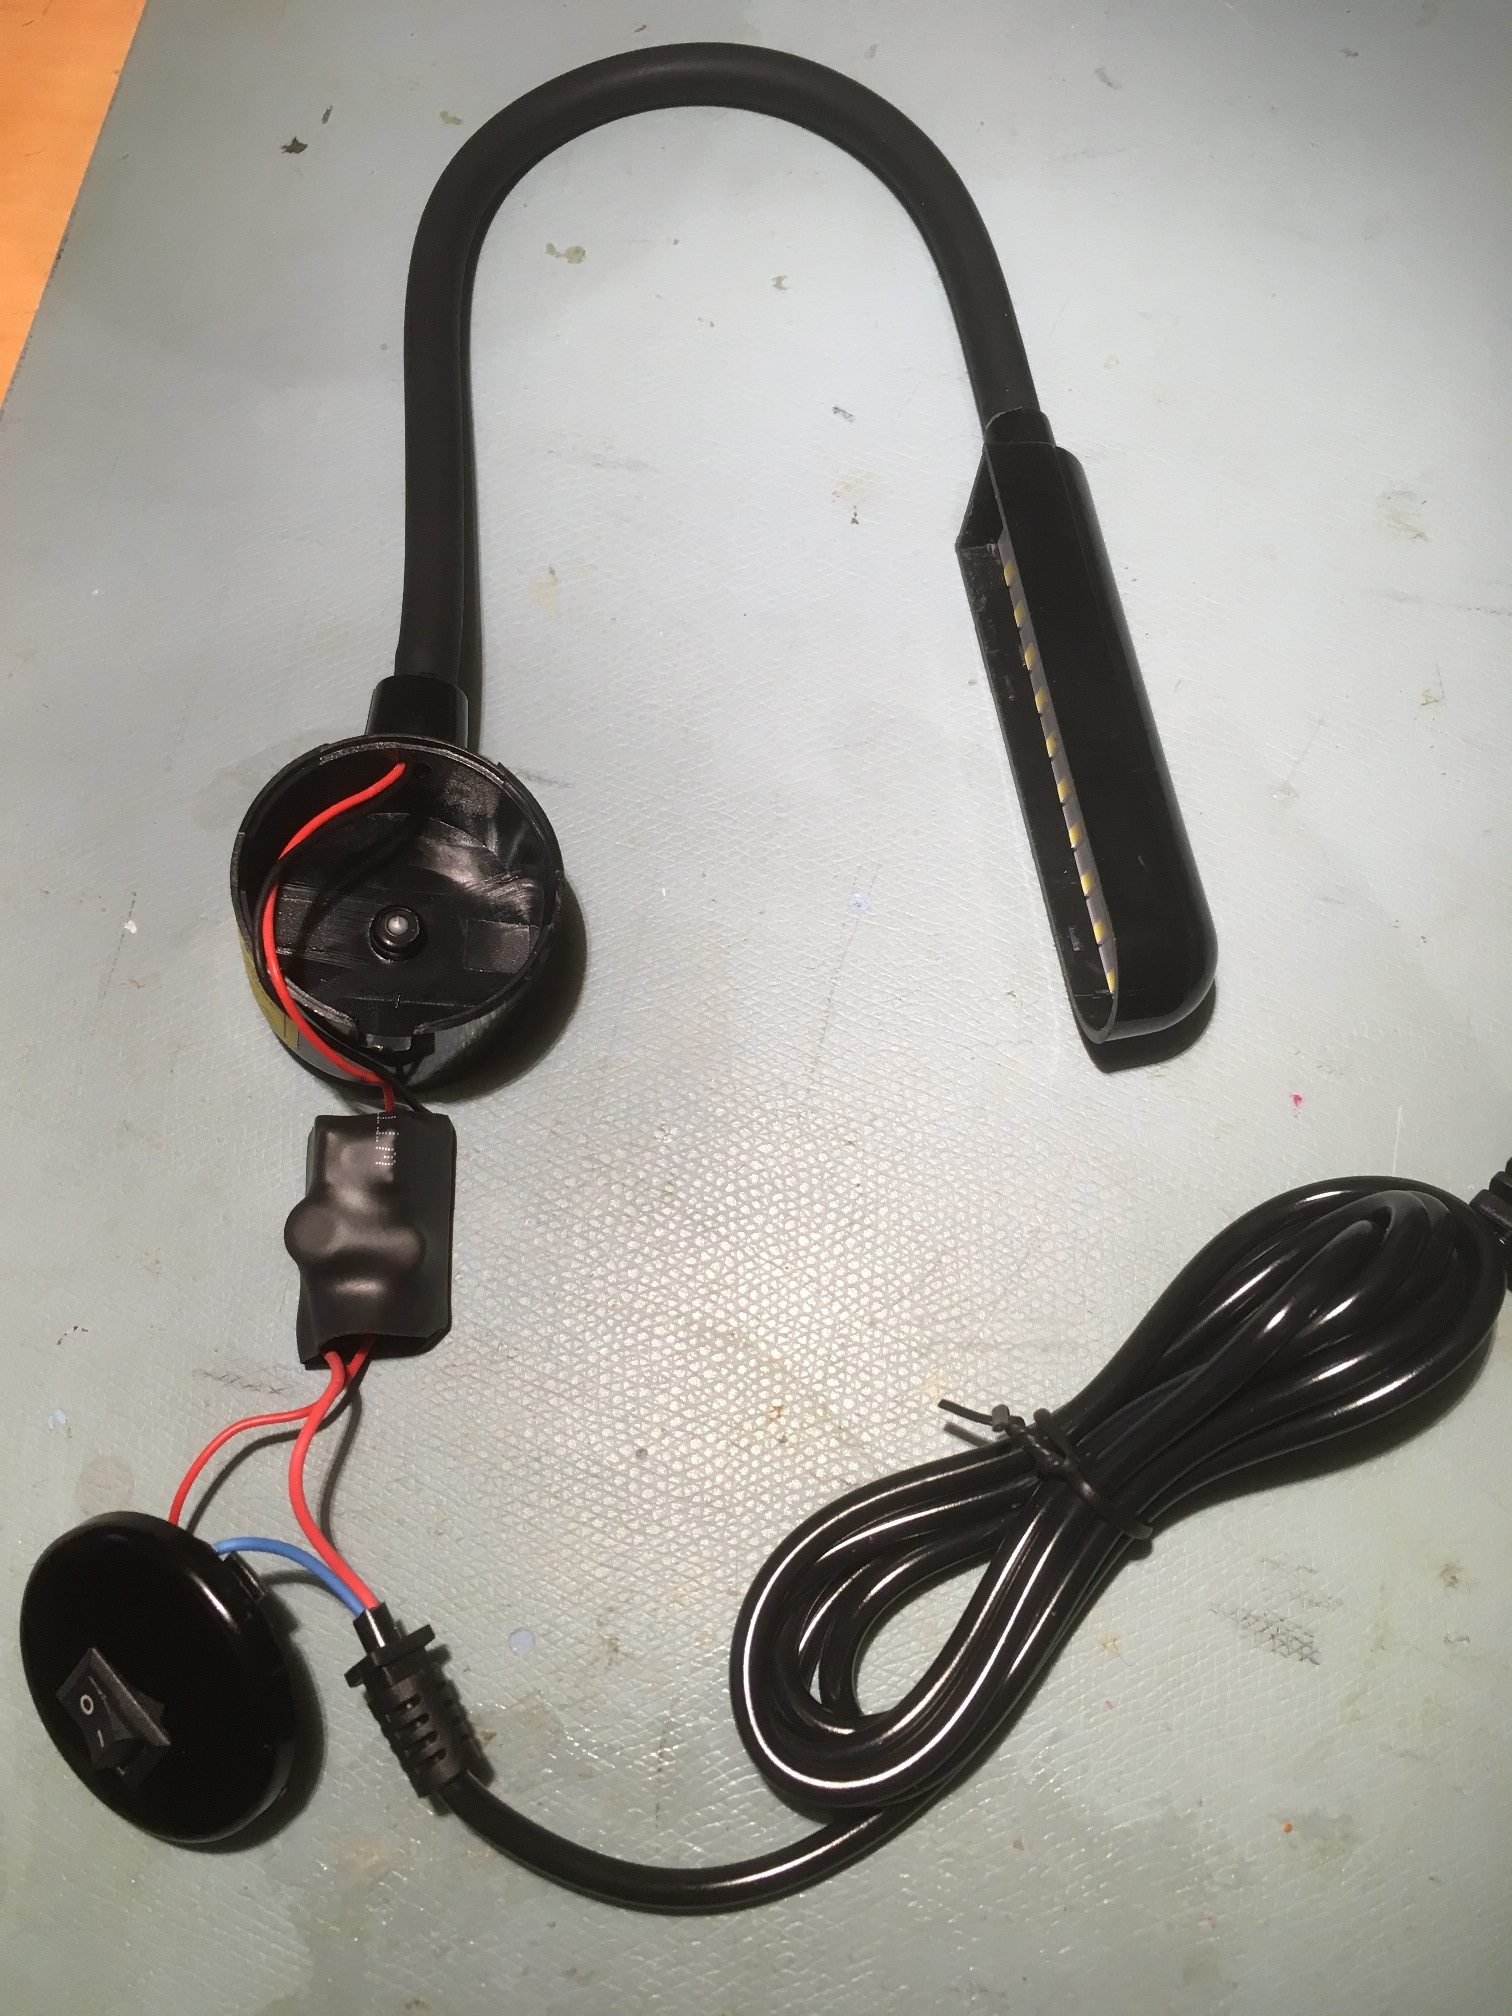
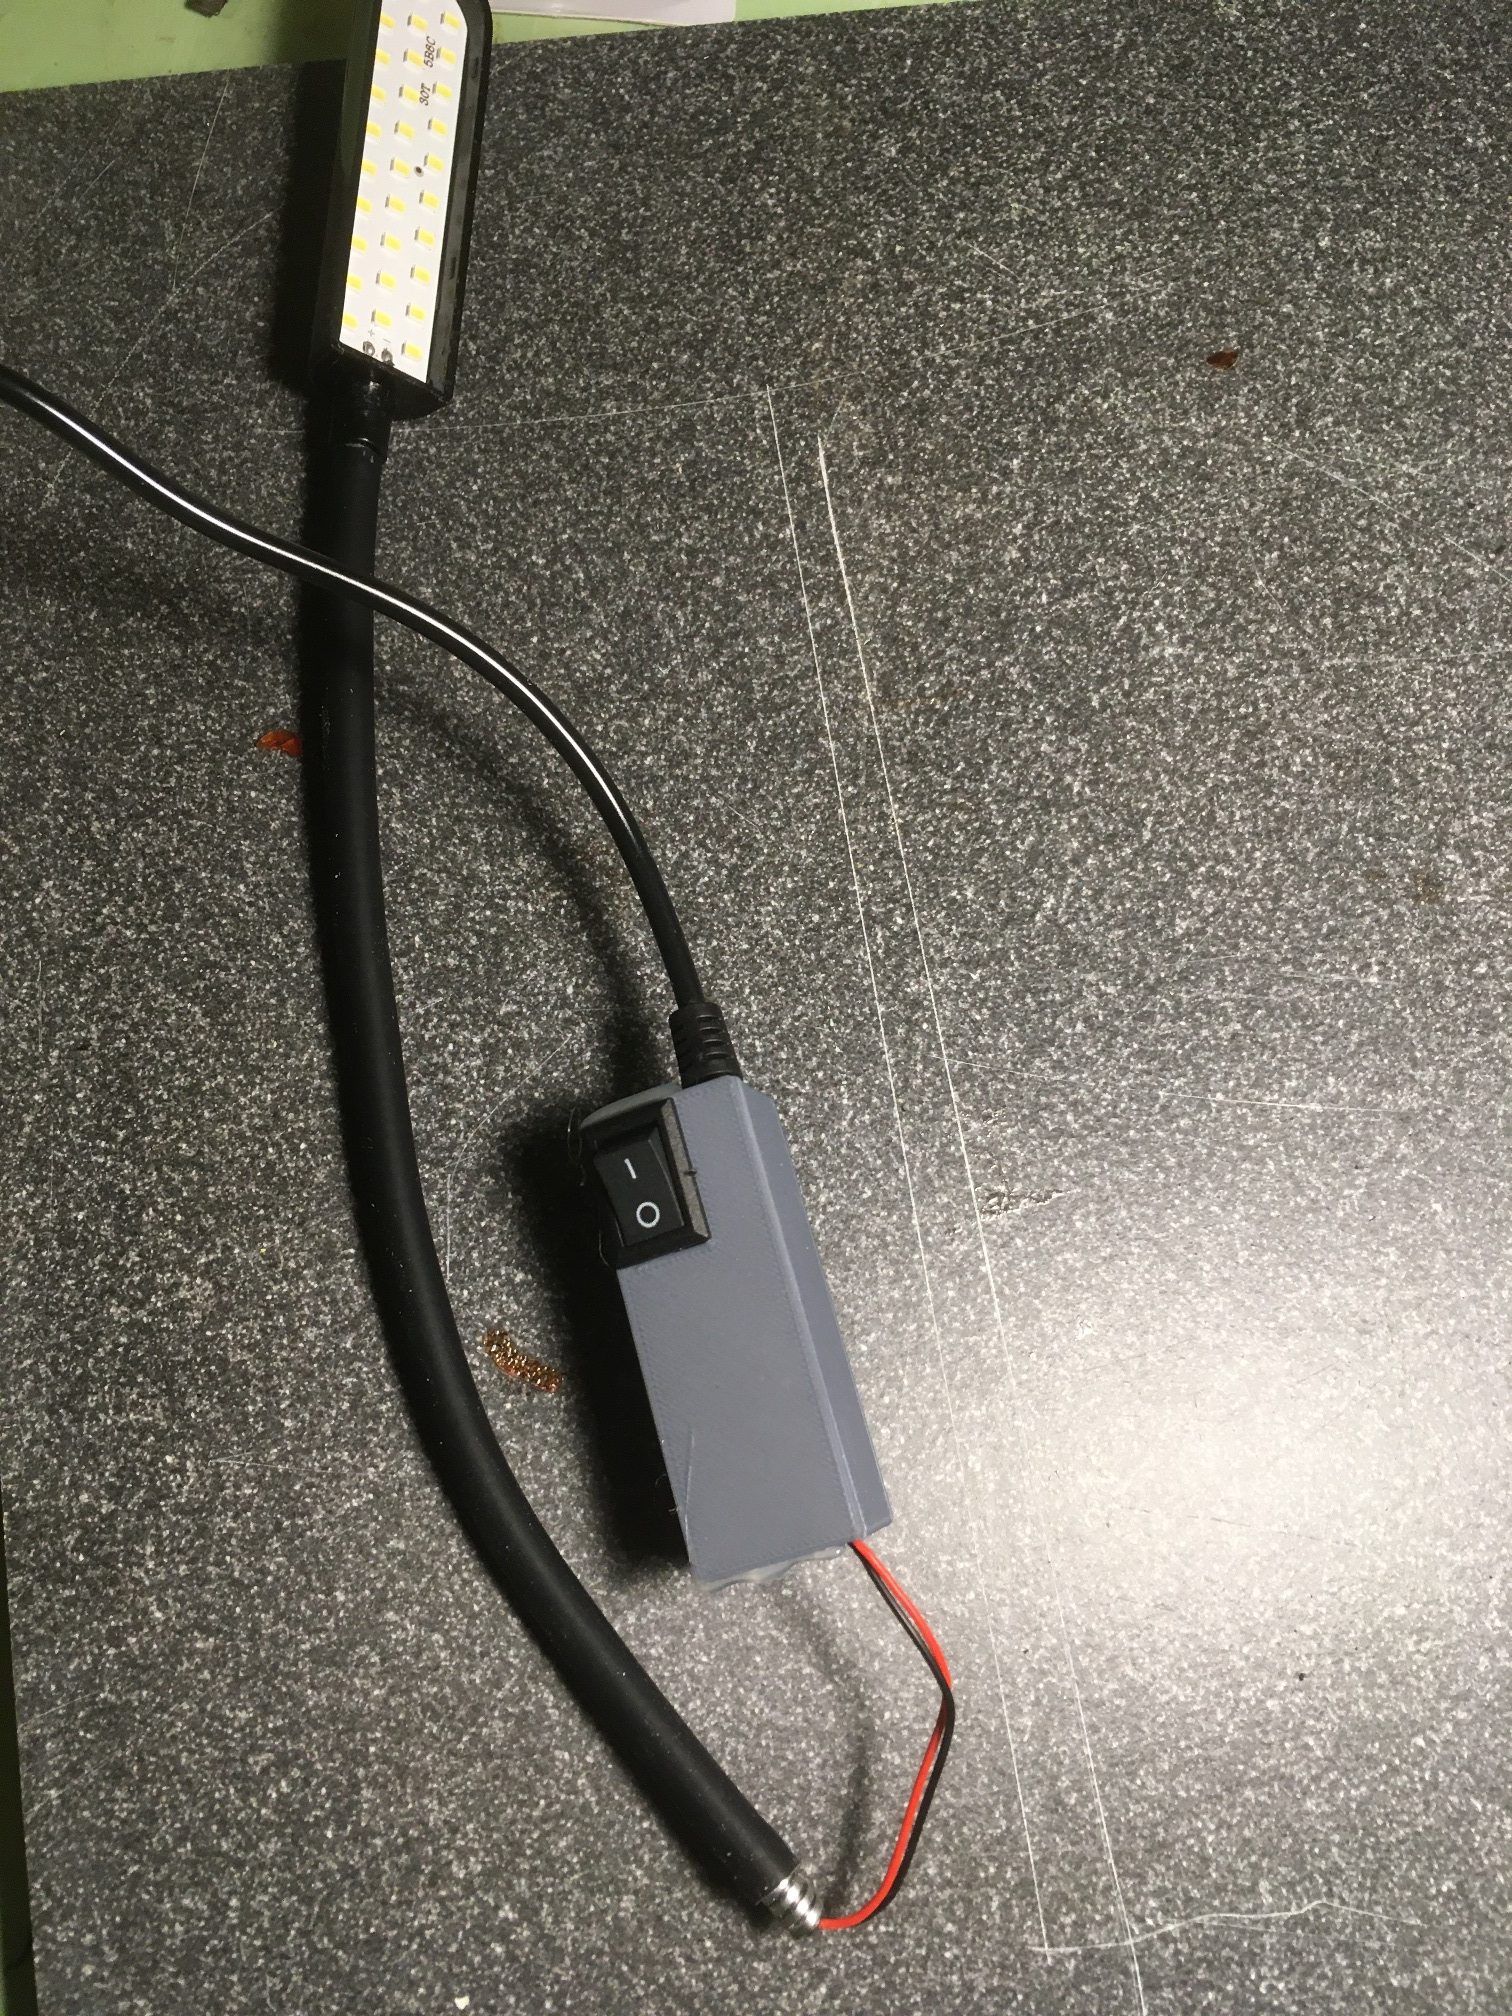
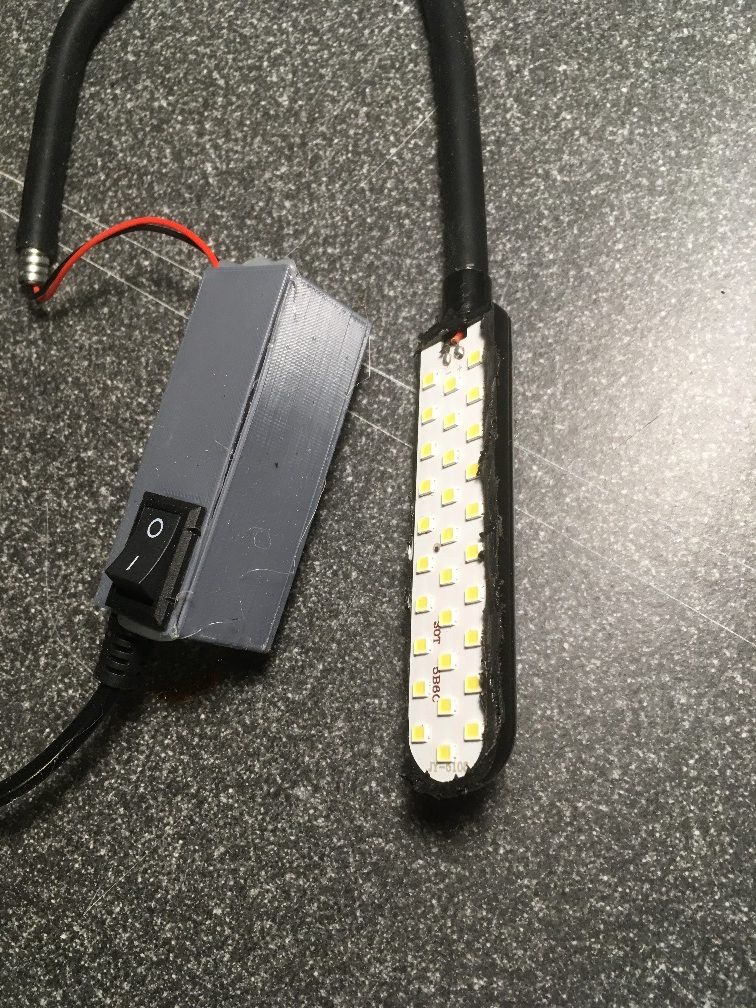
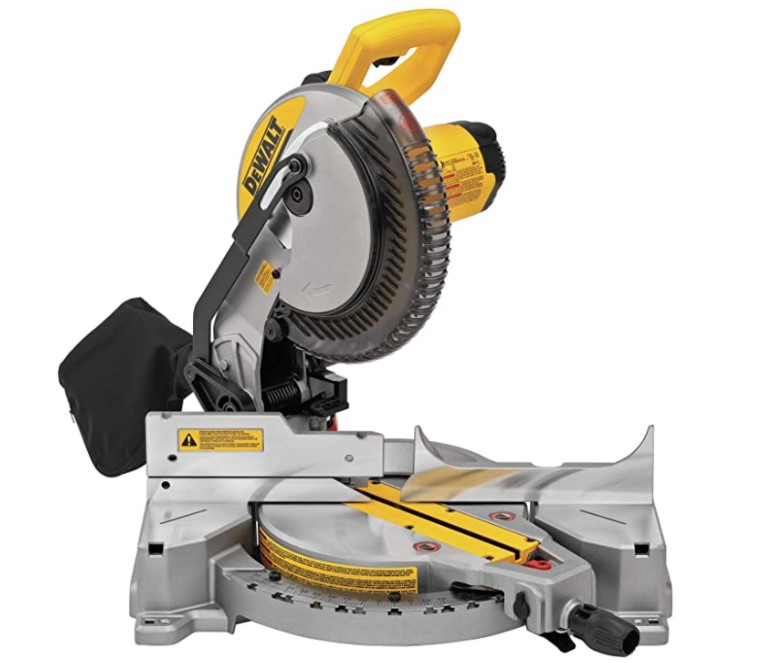
My wife got me this really cool Dewalt DWS713 miter saw for Christmas this year, and I have been having fun pimping it out a bit. In a previous post I described how I added a cut shadow line LED light and control box, and this post describes how I added a 3D-printed coupler from the saw’s sawdust exhaust port to a small vacuum I keep in the shop for small cleanup jobs.

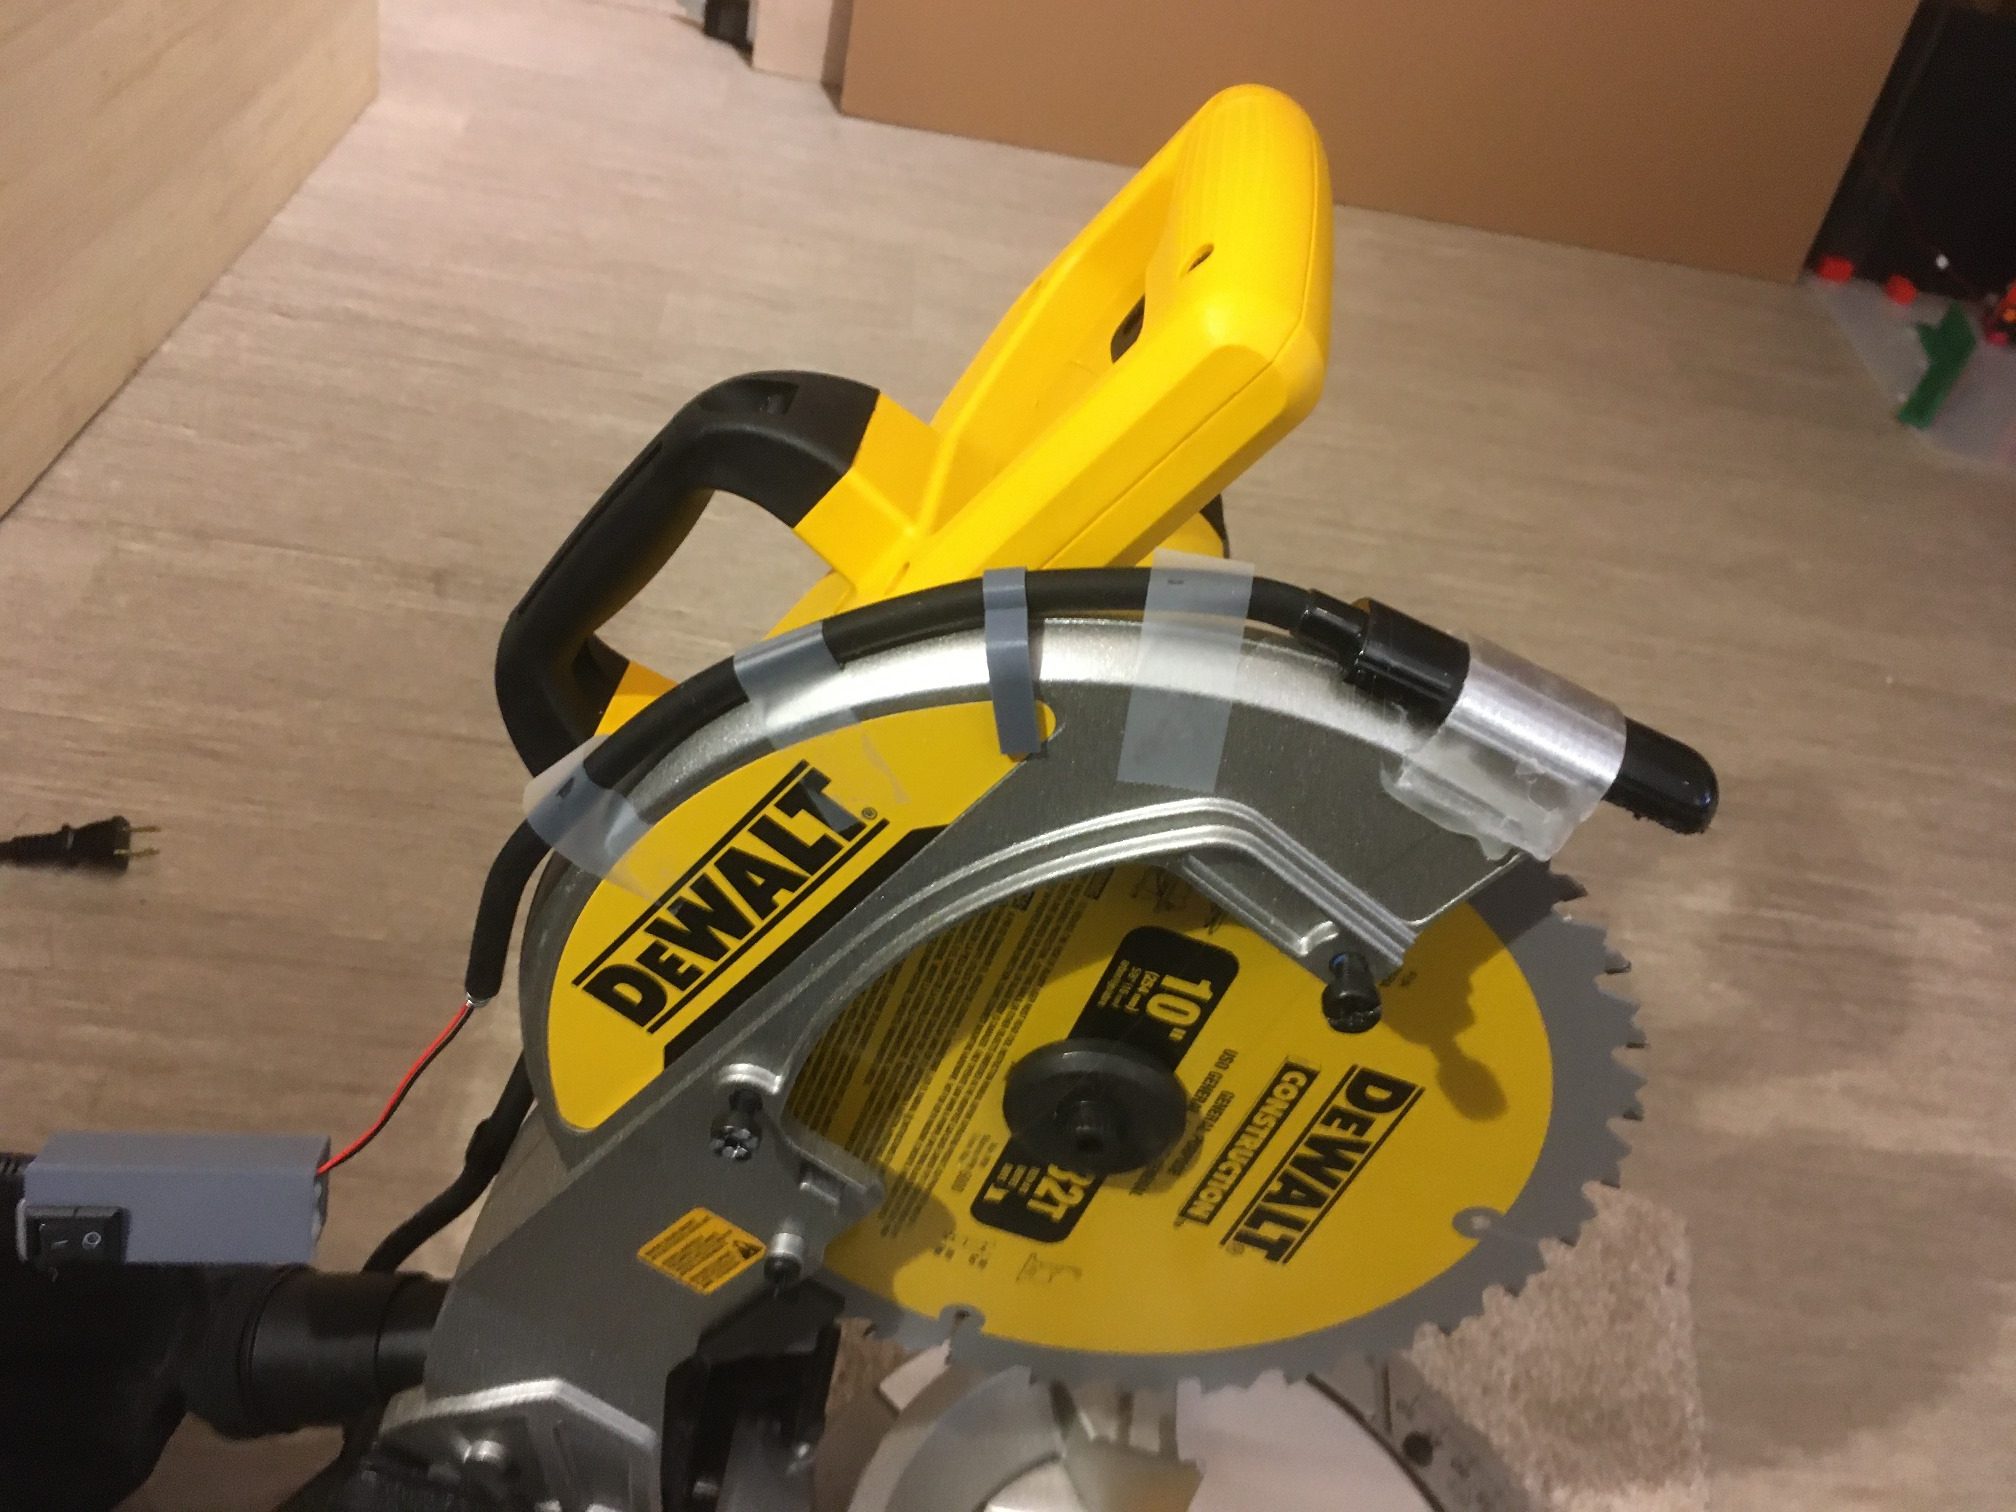
My first attempt at a coupler was a straight piece that connected on one side to the exhaust port, and on the other side to the rigid end of the vacuum hose, as shown below:

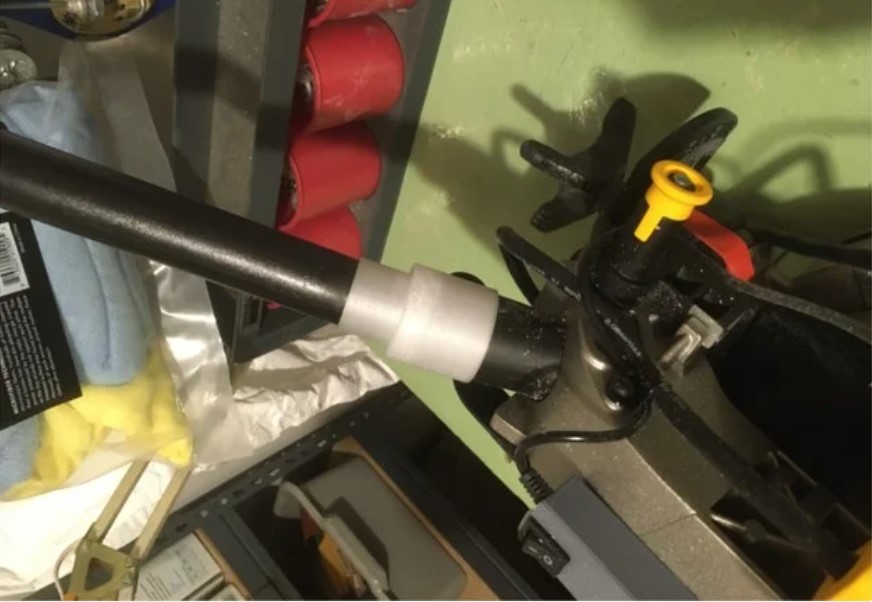
Unfortunately, I had neglected to consider what was going to happen when I actually tried to use the saw. As soon as I released the downlock and raised the saw, the coupler snapped when the rigid part of the vacuum hose ran up against items on my bench behind the saw – oops!

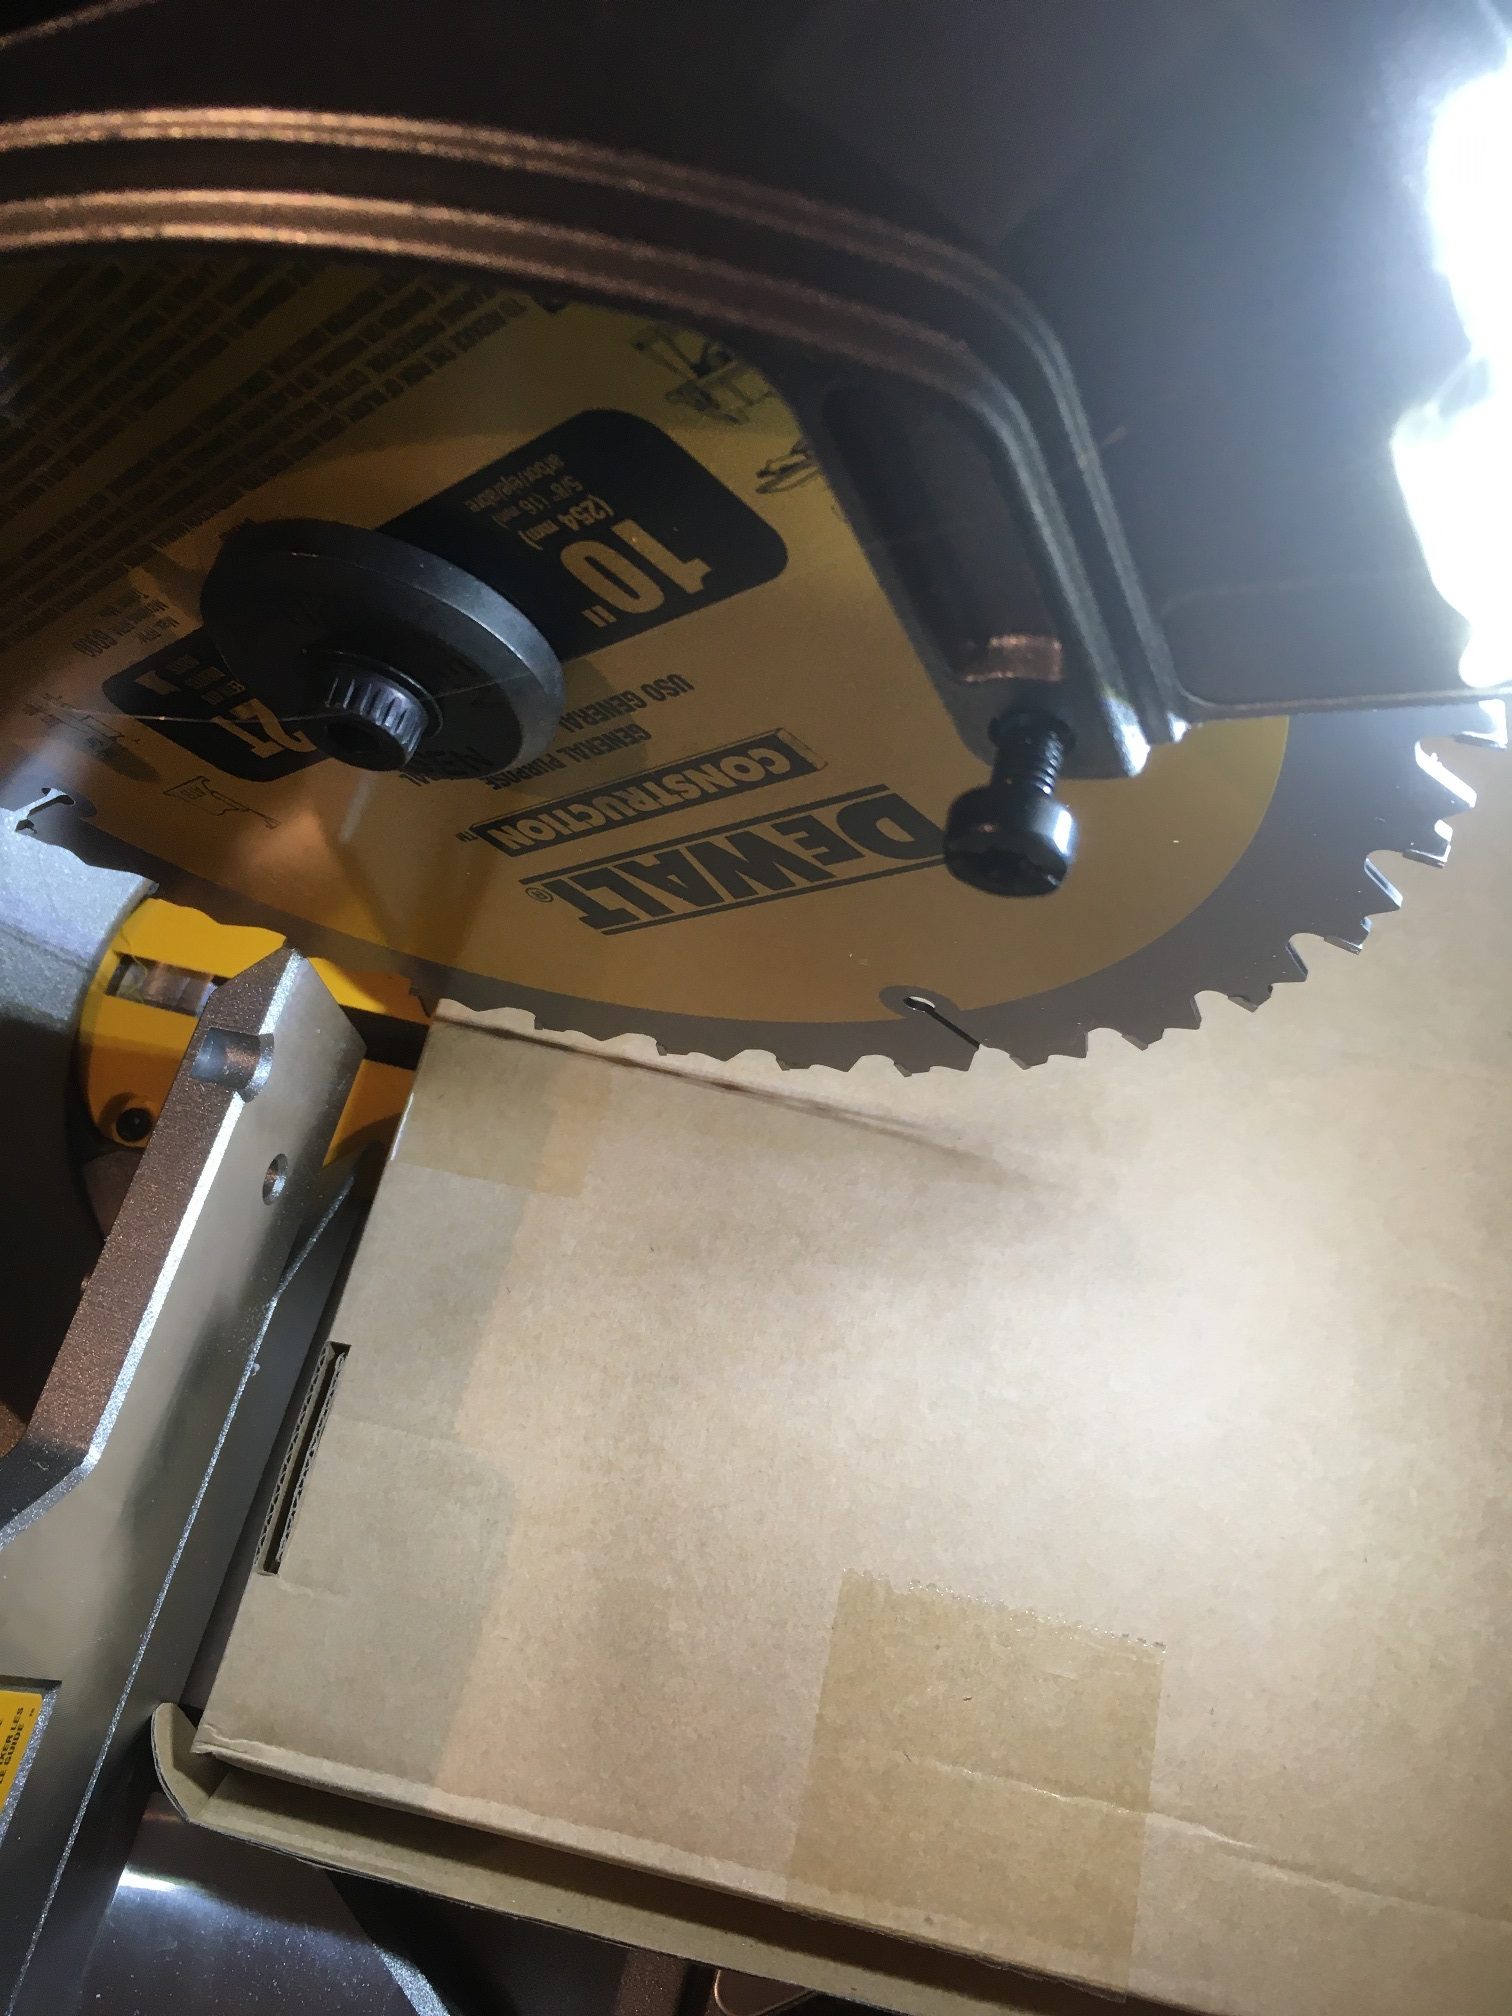
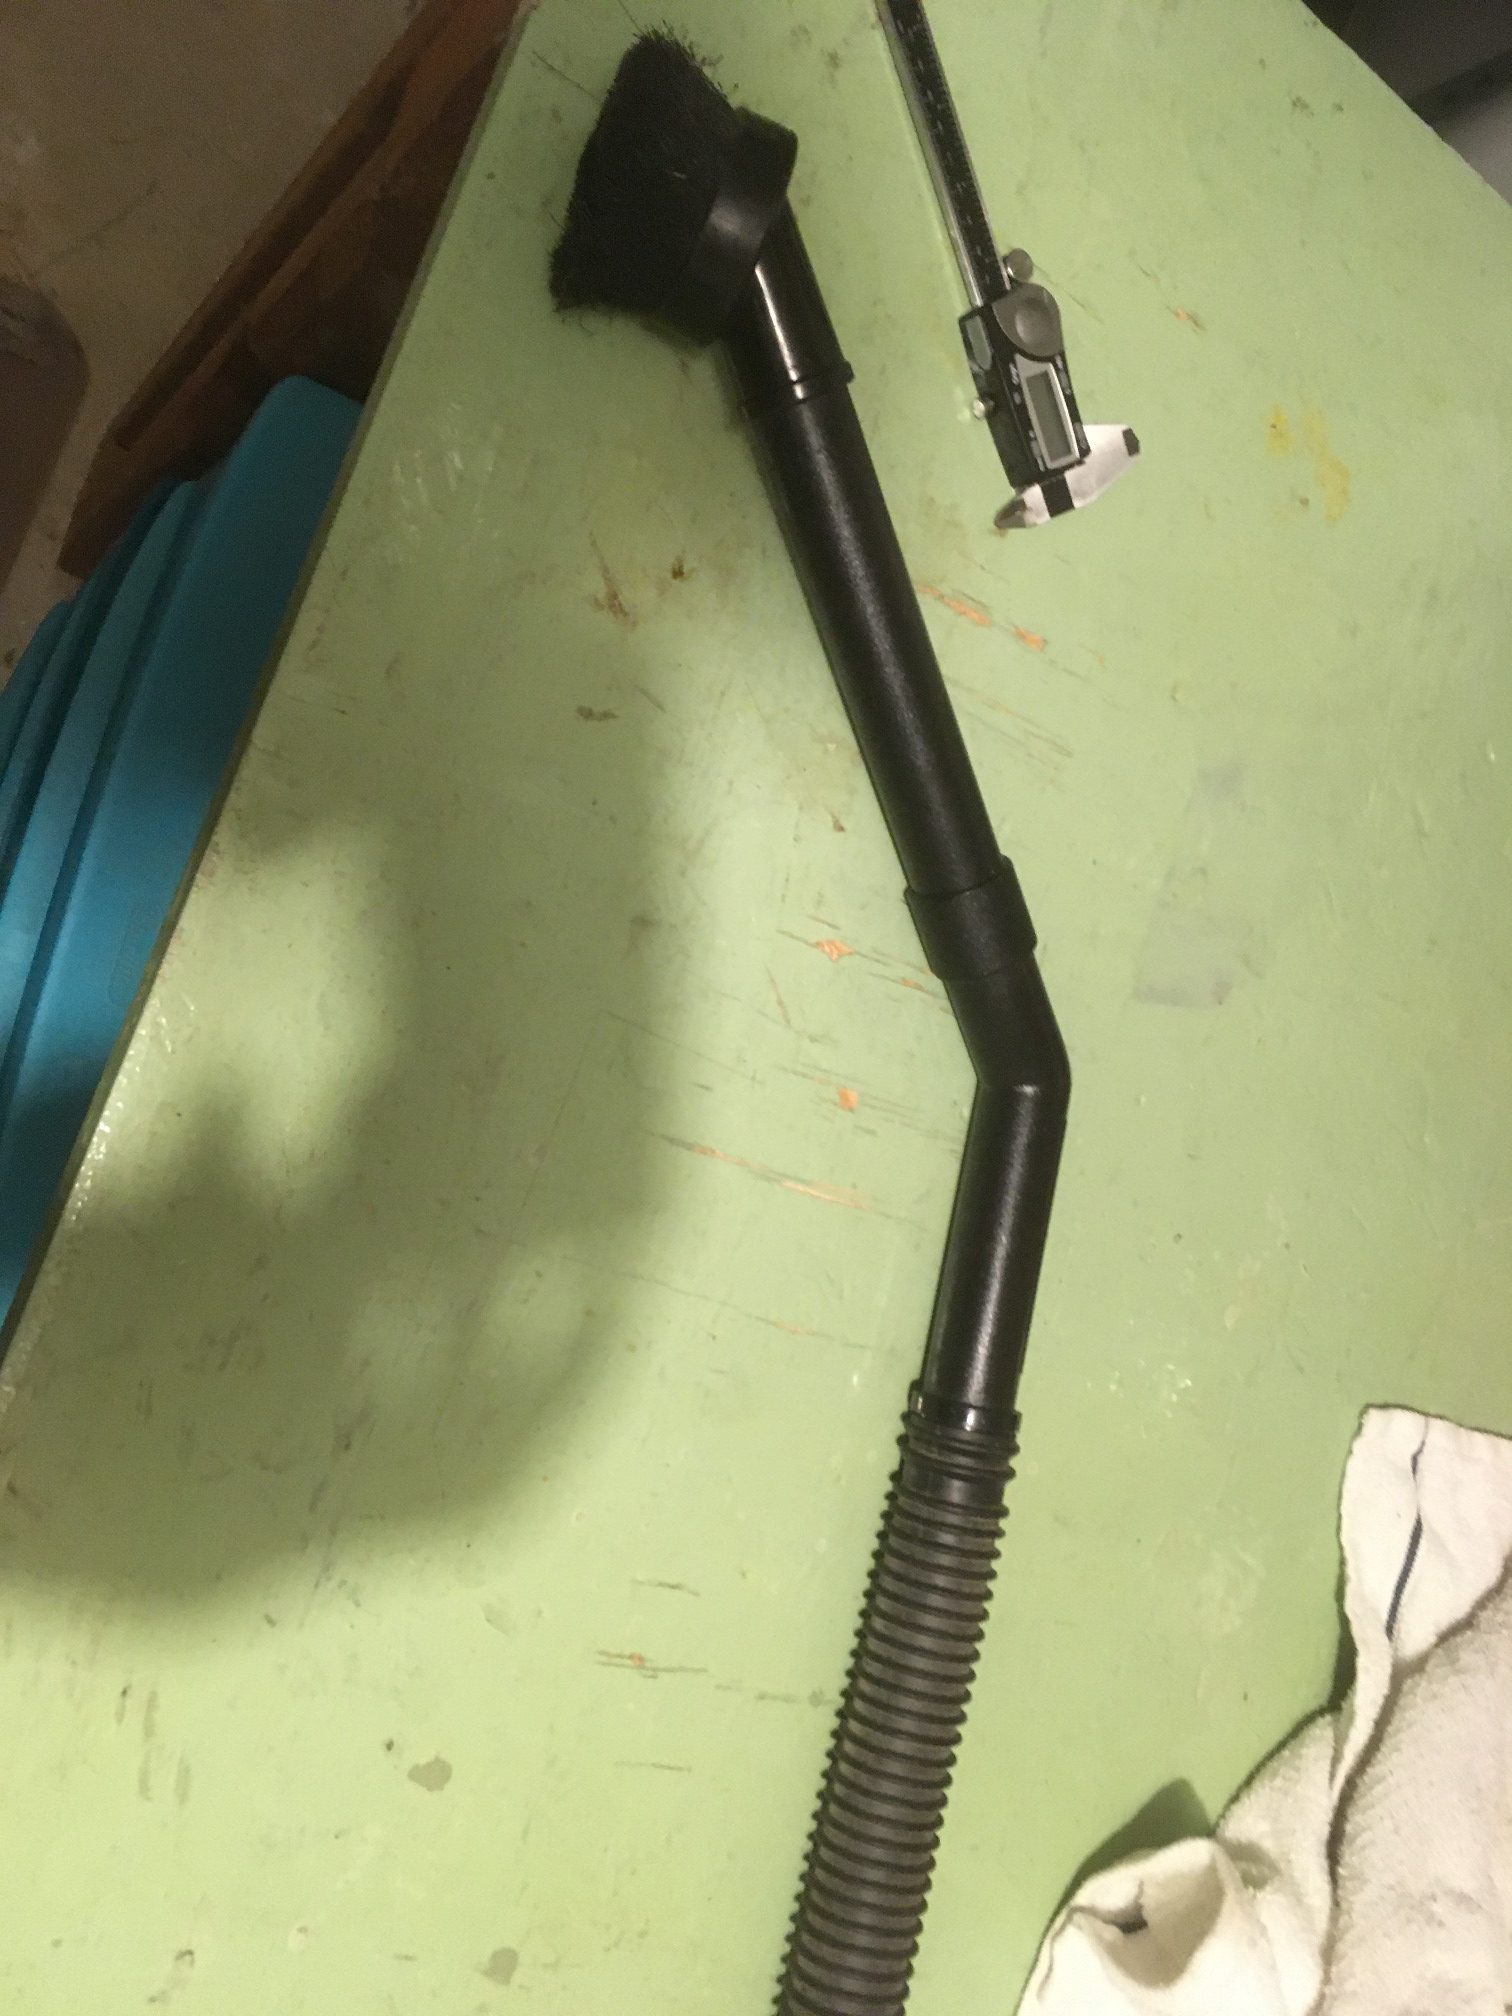
So, I started over again. I found the TinkerCad ‘bent pipe’ shape generator, and made a few versions that incorporated 45-60 deg bends into the rigid portion of the vacuum hose, but all of these suffered from the same problem with physical interference and cracking when the saw was raised. After some more head-scratching, I discovered I could remove the rigid end of the vacuum hose, leaving just the flexible part. As shown below, this particular vacuum has a detachable end piece that fits inside the flexible hose

Flexible hose connector. Note circular ribs.

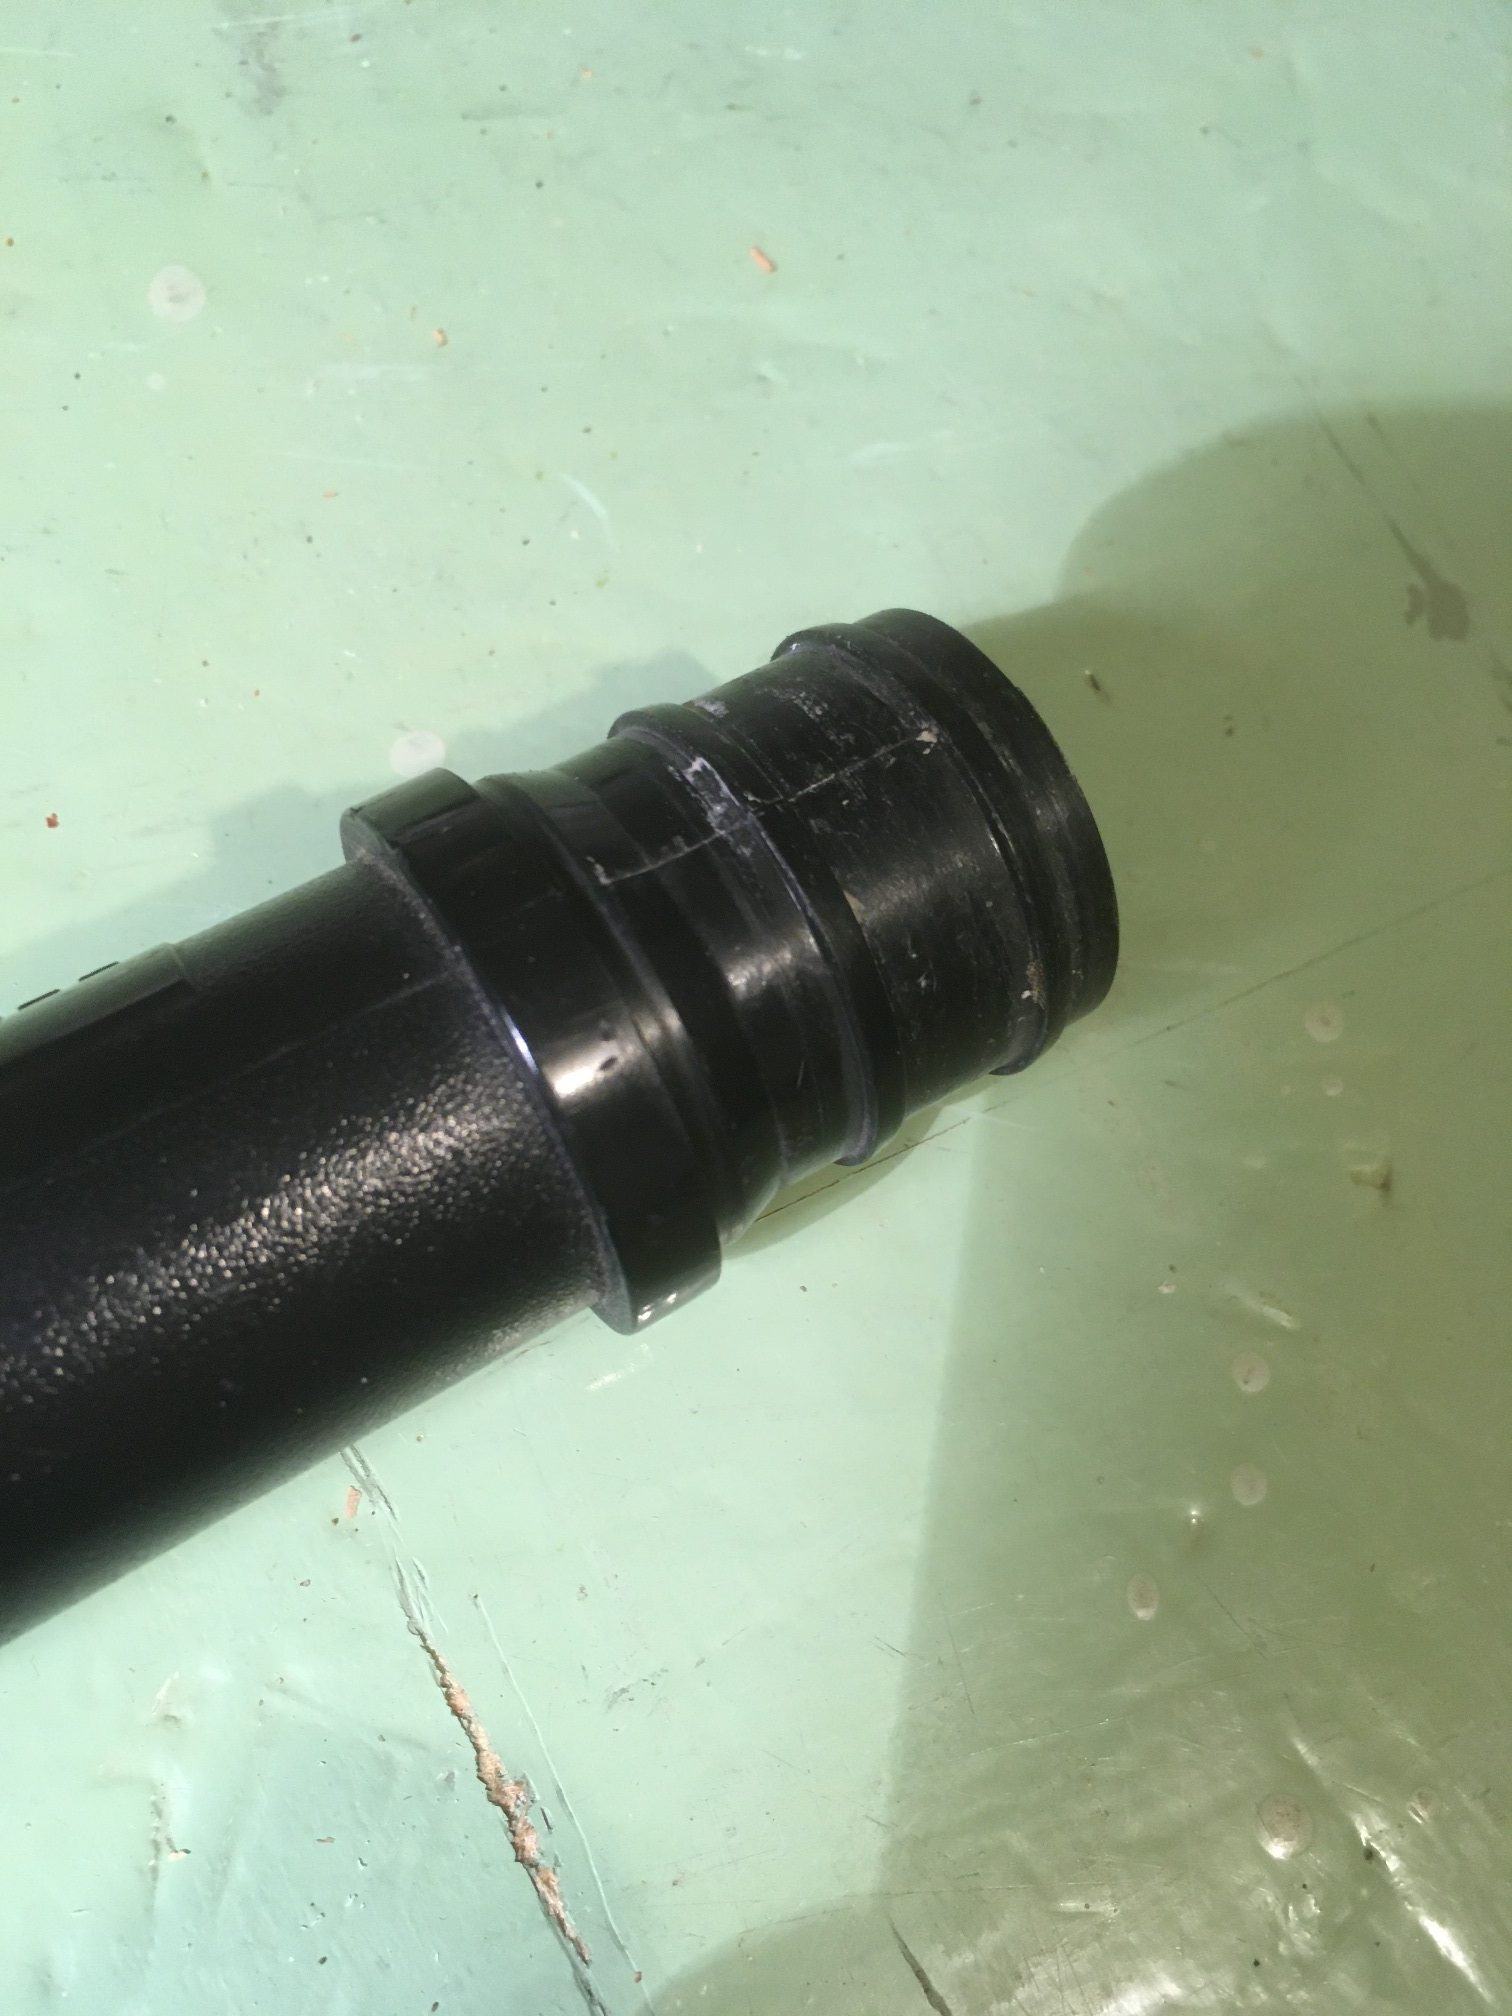
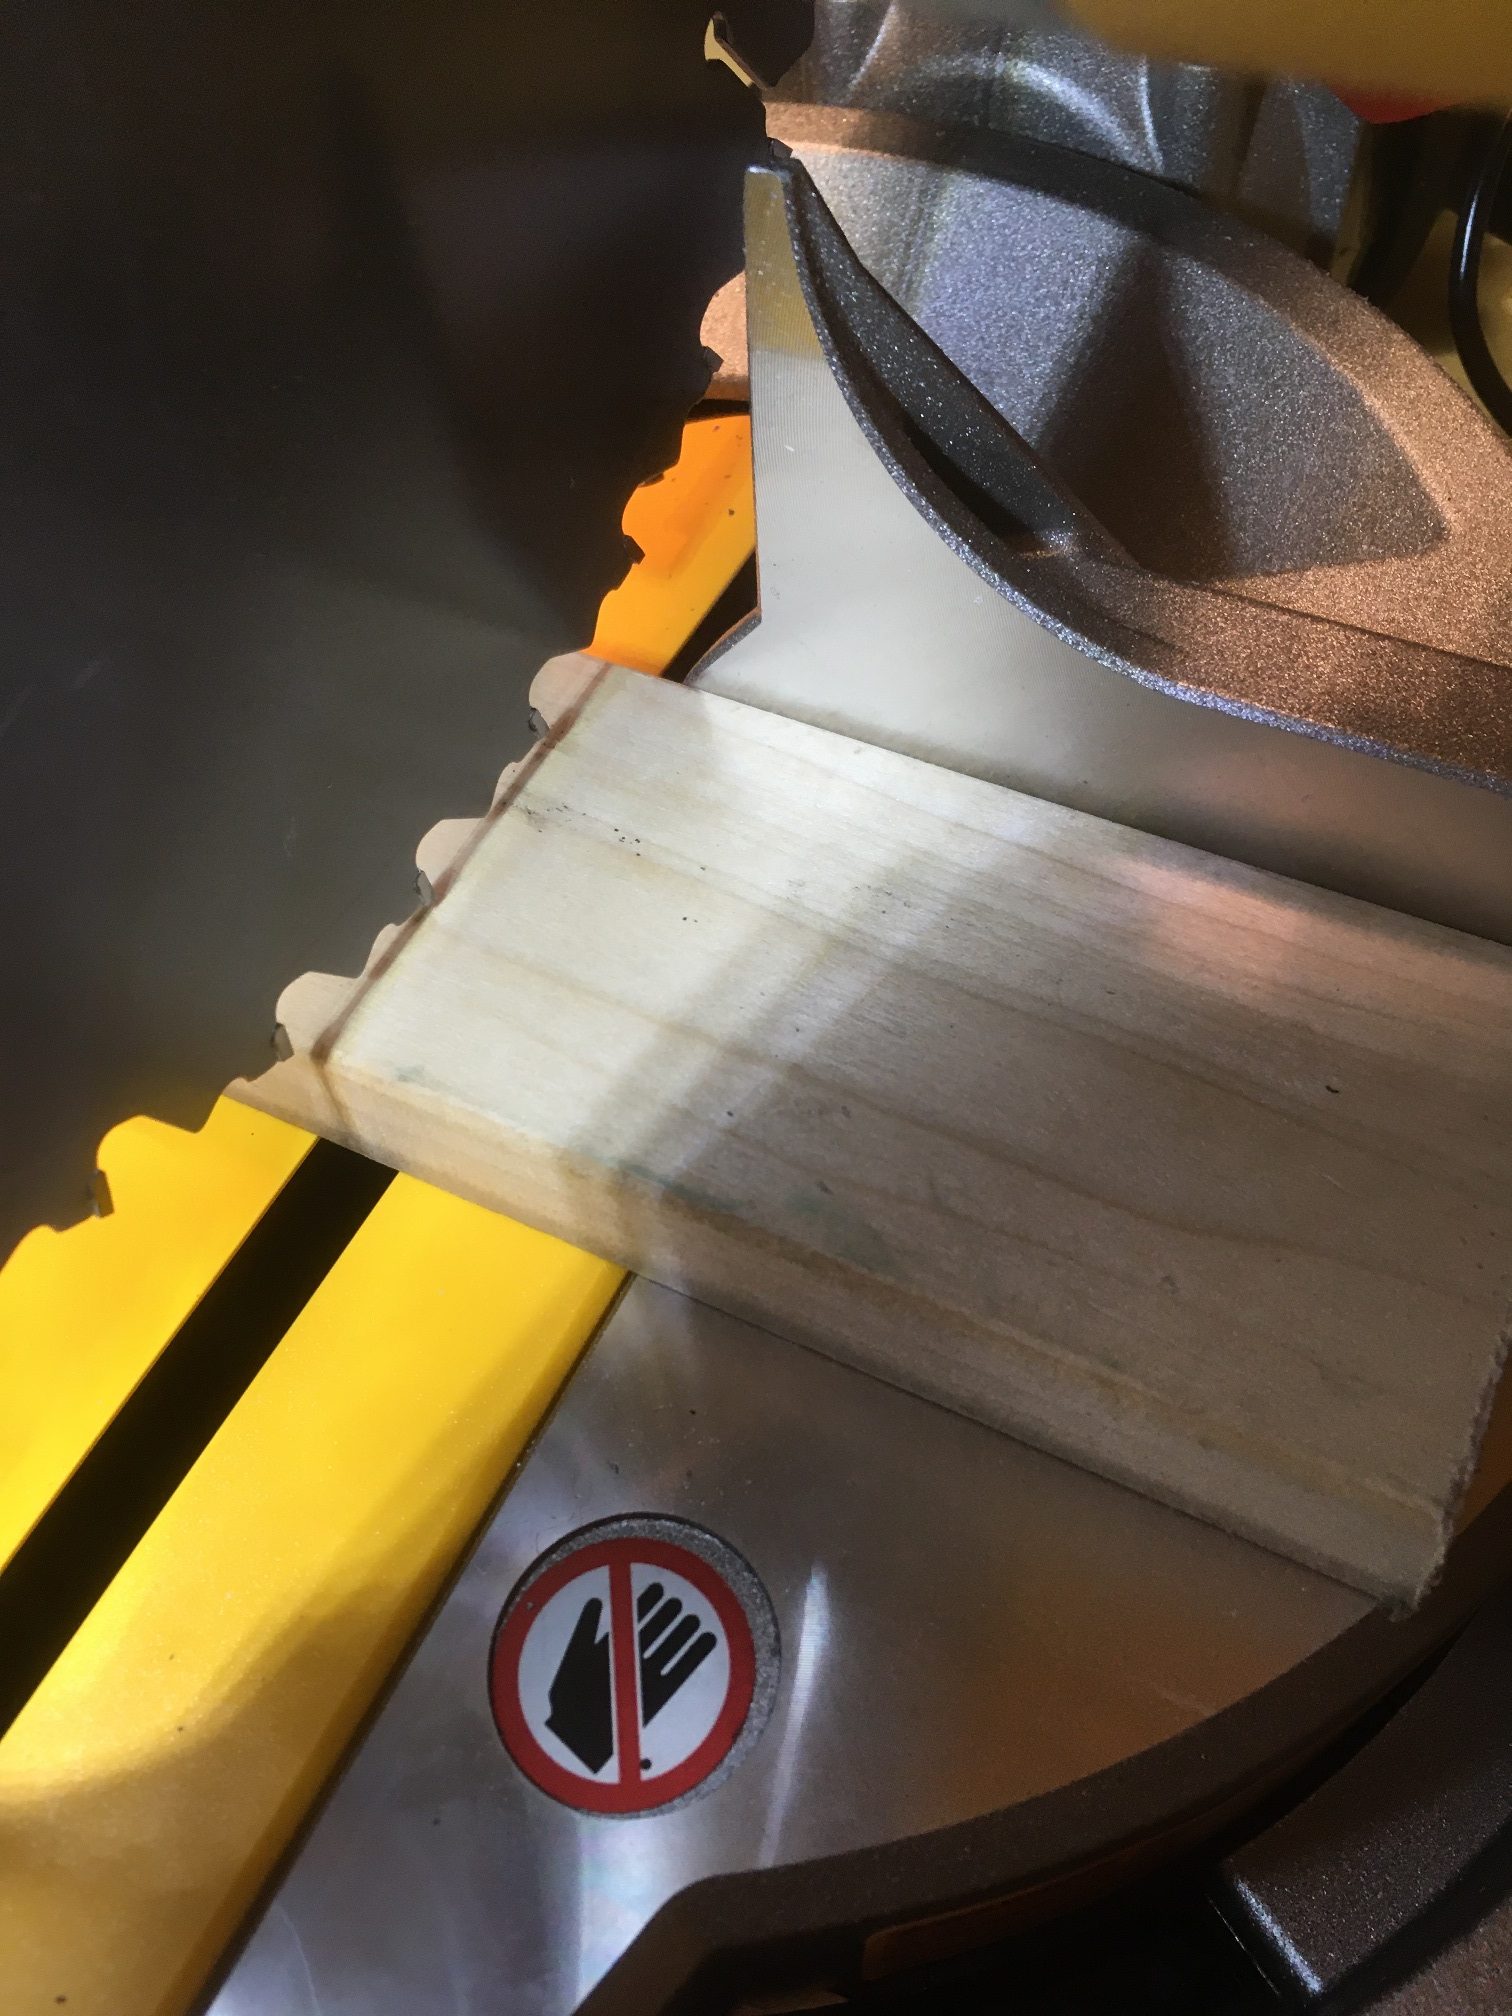
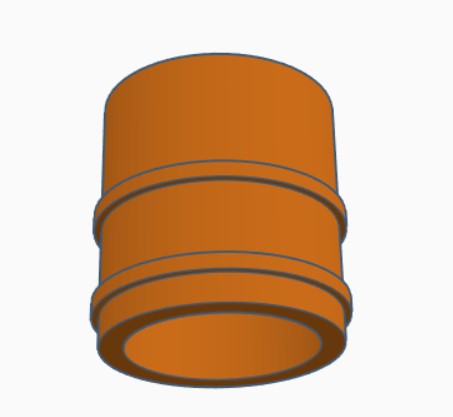
So, I decided that I could replace the rigid piece from the end of the vacuum hose with a short coupling piece to connect the sawdust exhaust port directly to the flexible hose. As I normally do with complex projects, I started by printing a test piece – just the portion that couples to the flexible vacuum hose, as shown below:

Short piece to test the flexible hose coupling geometry

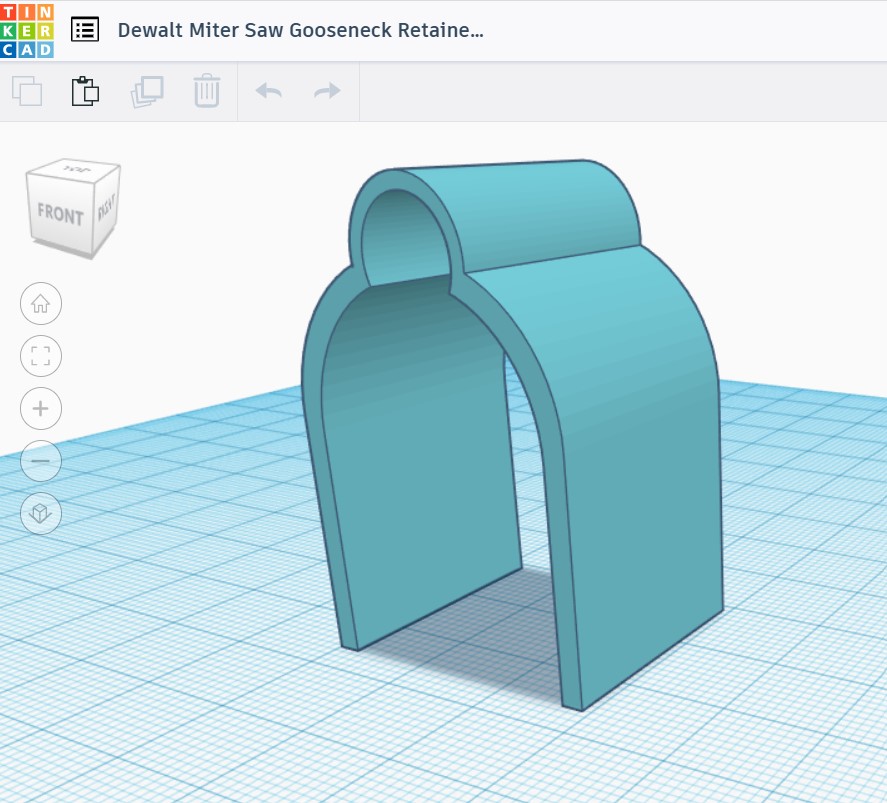
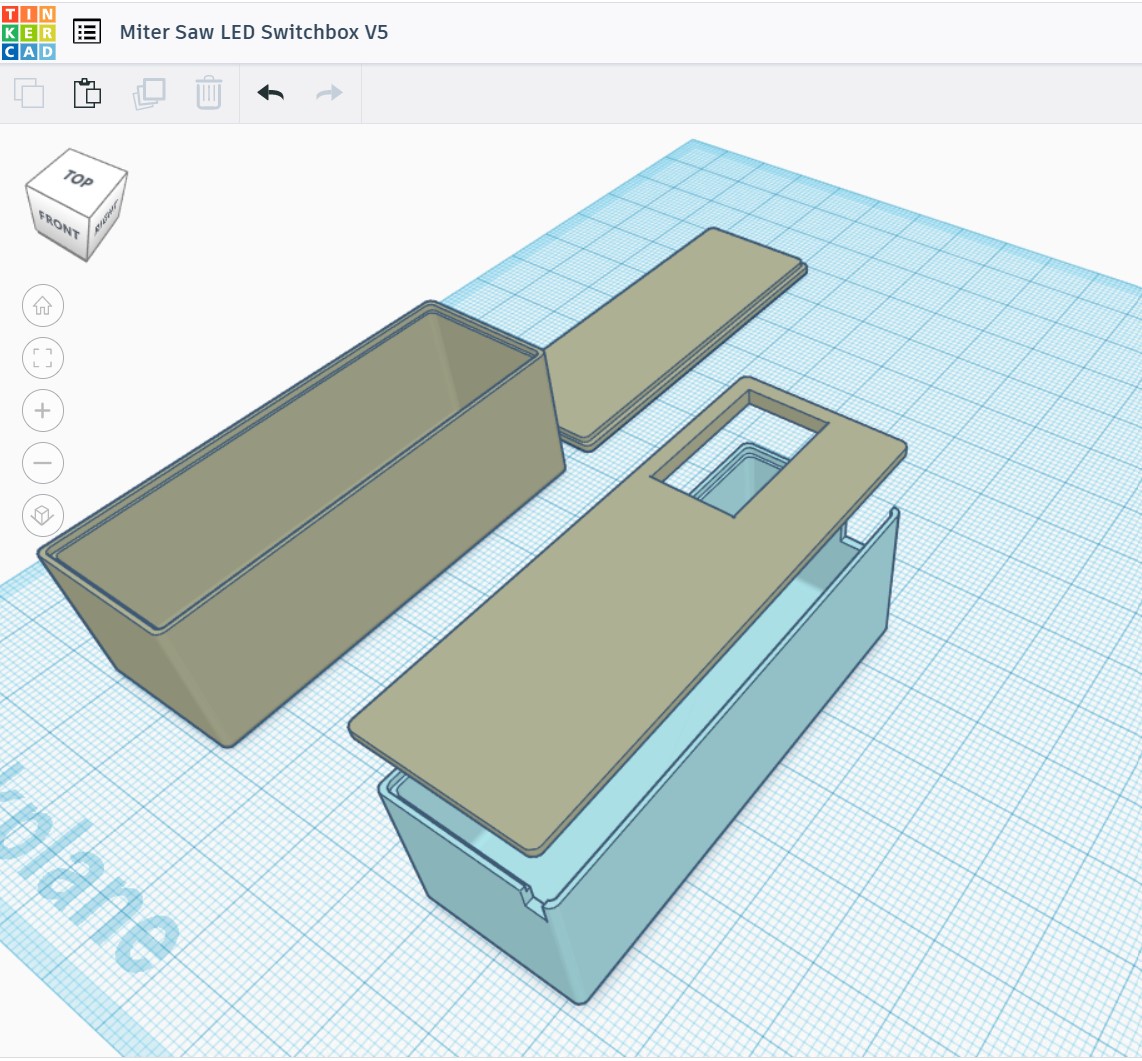
Once I had the flexible hose coupling geometry nailed, I did the same thing with the other end, and then connected the two coupling ends with a ‘curved pipe’ shape from TinkerCad, resulting (after a number of revisions) in the piece shown below:

Version 10 – this one worked!

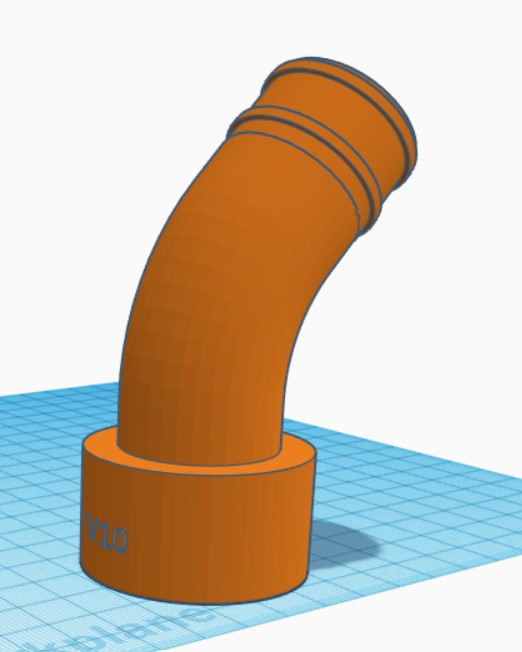
As can be seen in the above screenshot, the final working version was version 10. One of the more wonderful things about 3D printing is the ability to make and discard multiple revisions – all it costs is a little time and a bit of very cheap filament. No need to hyperventilate over mistakes – just throw it away and try again!

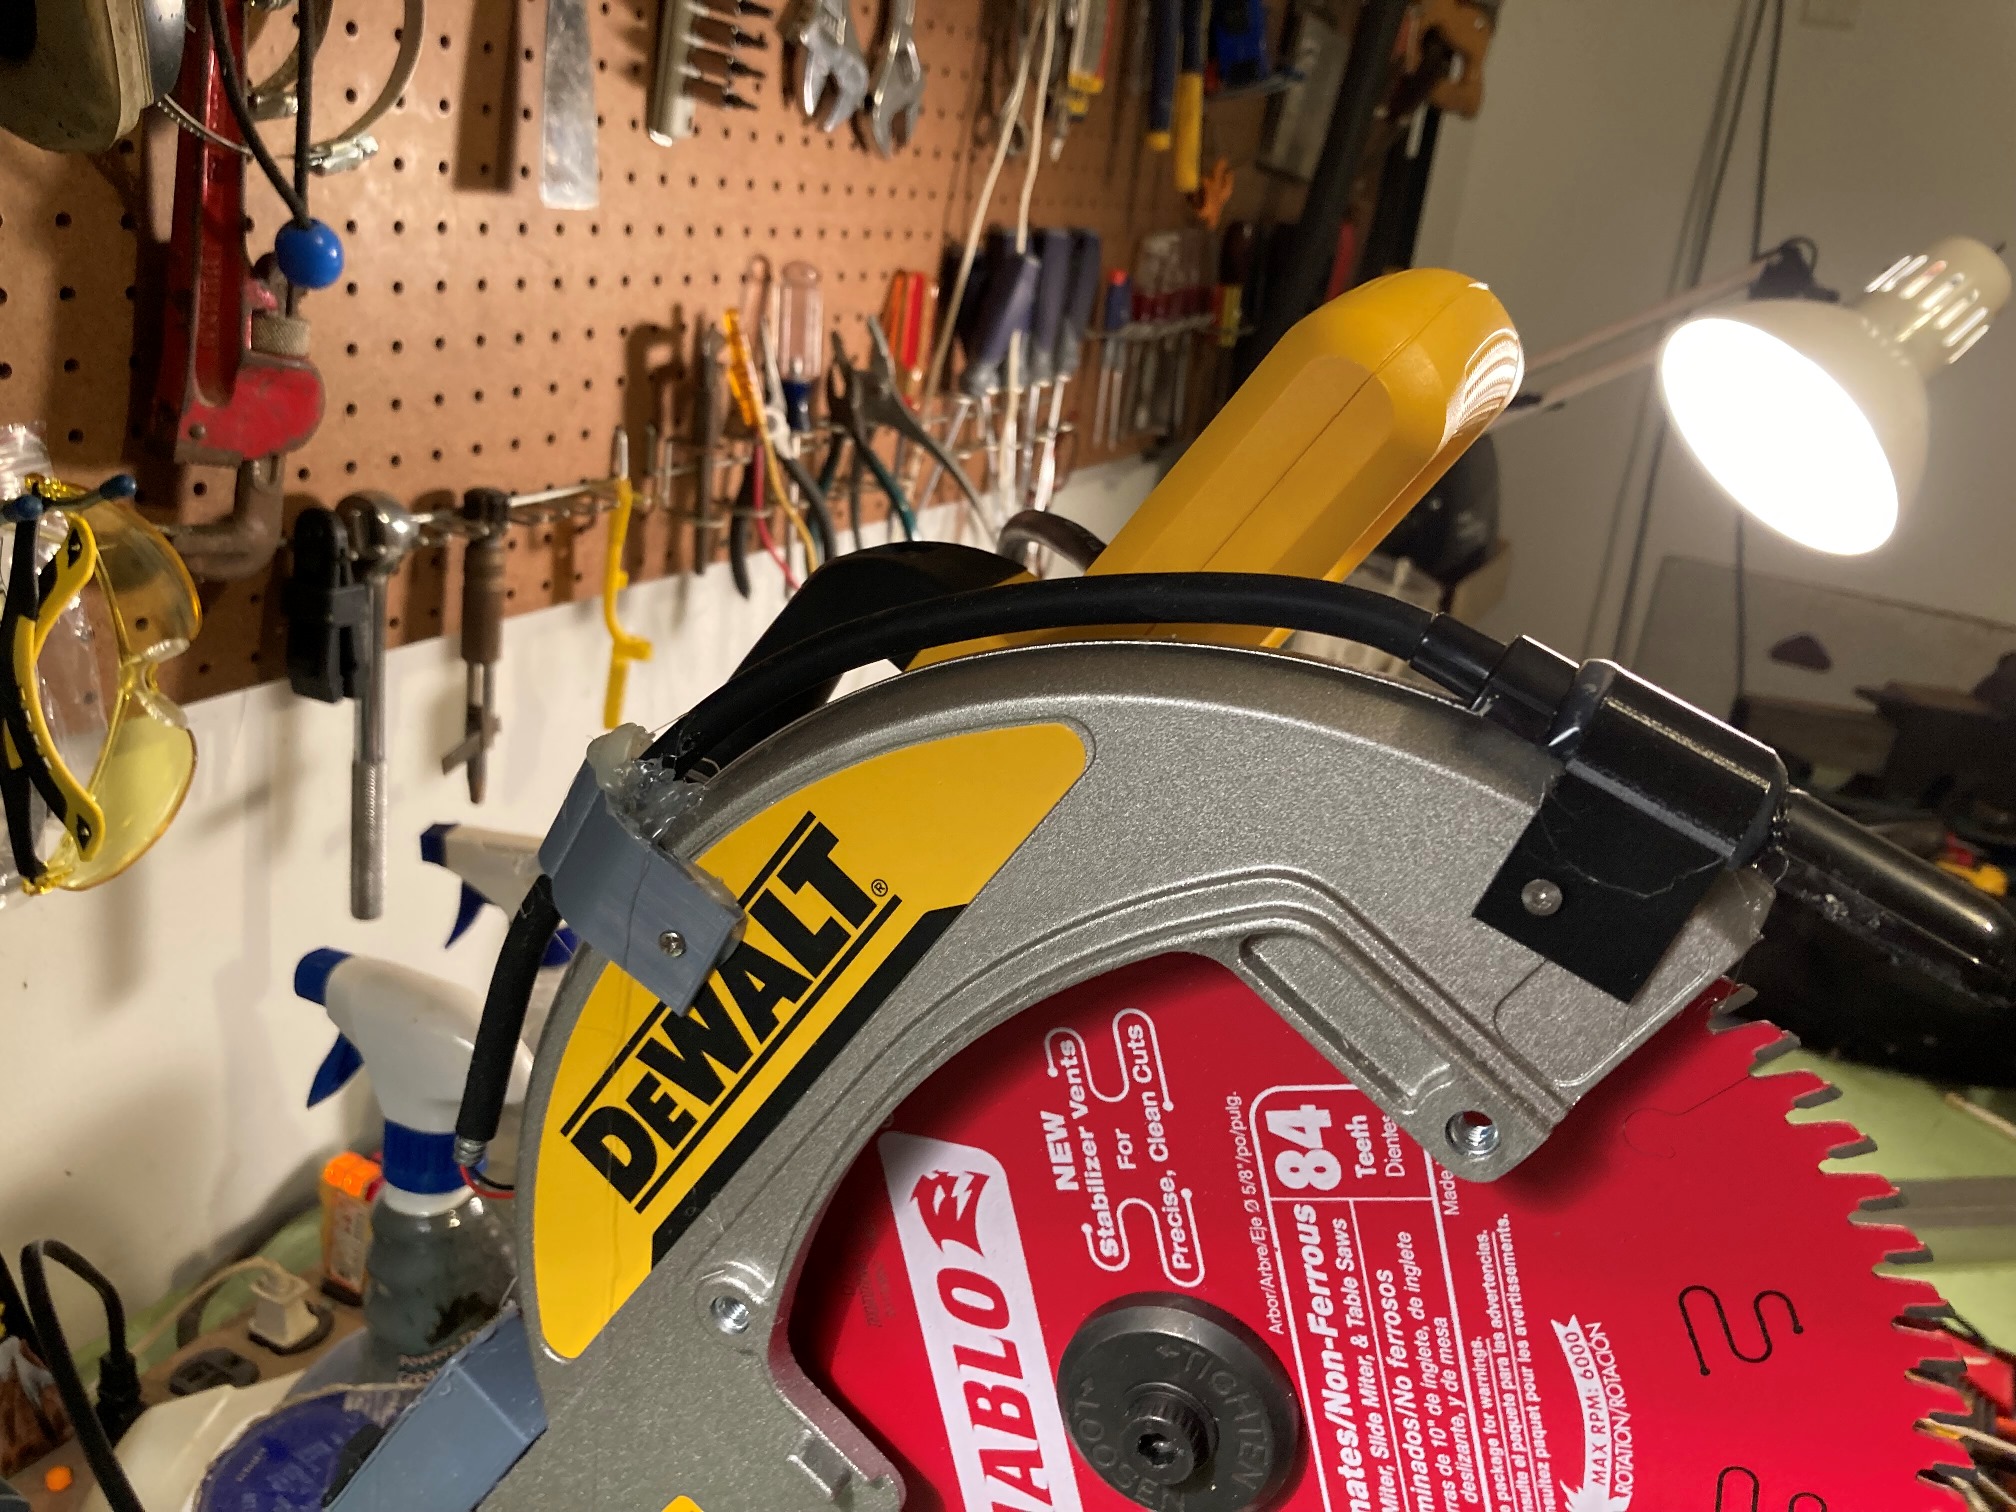
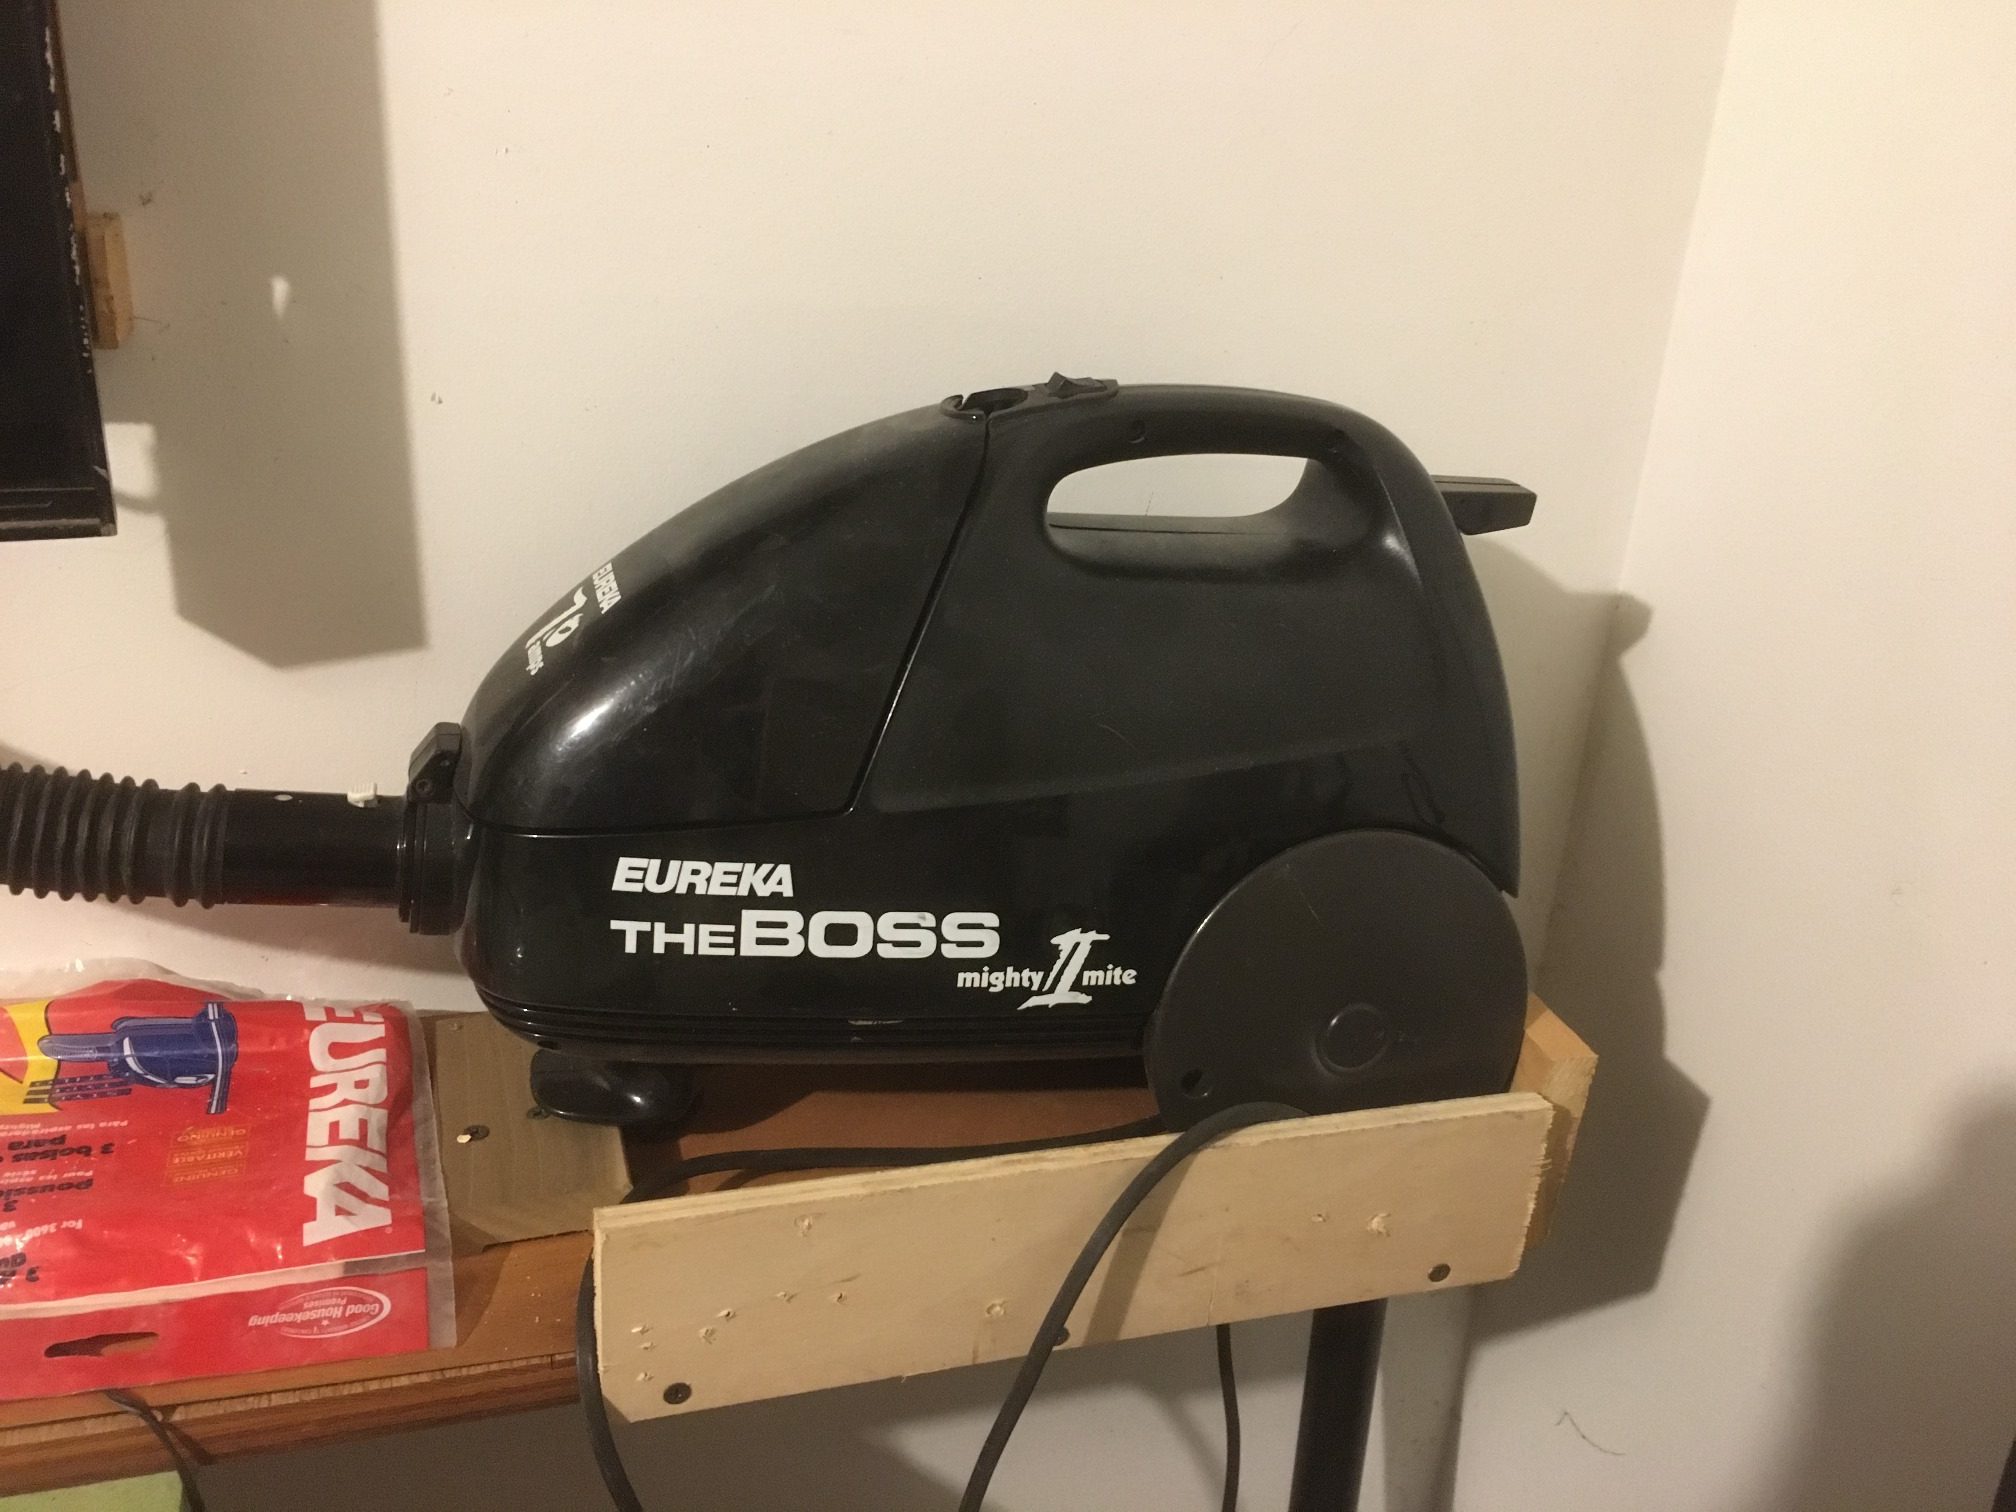
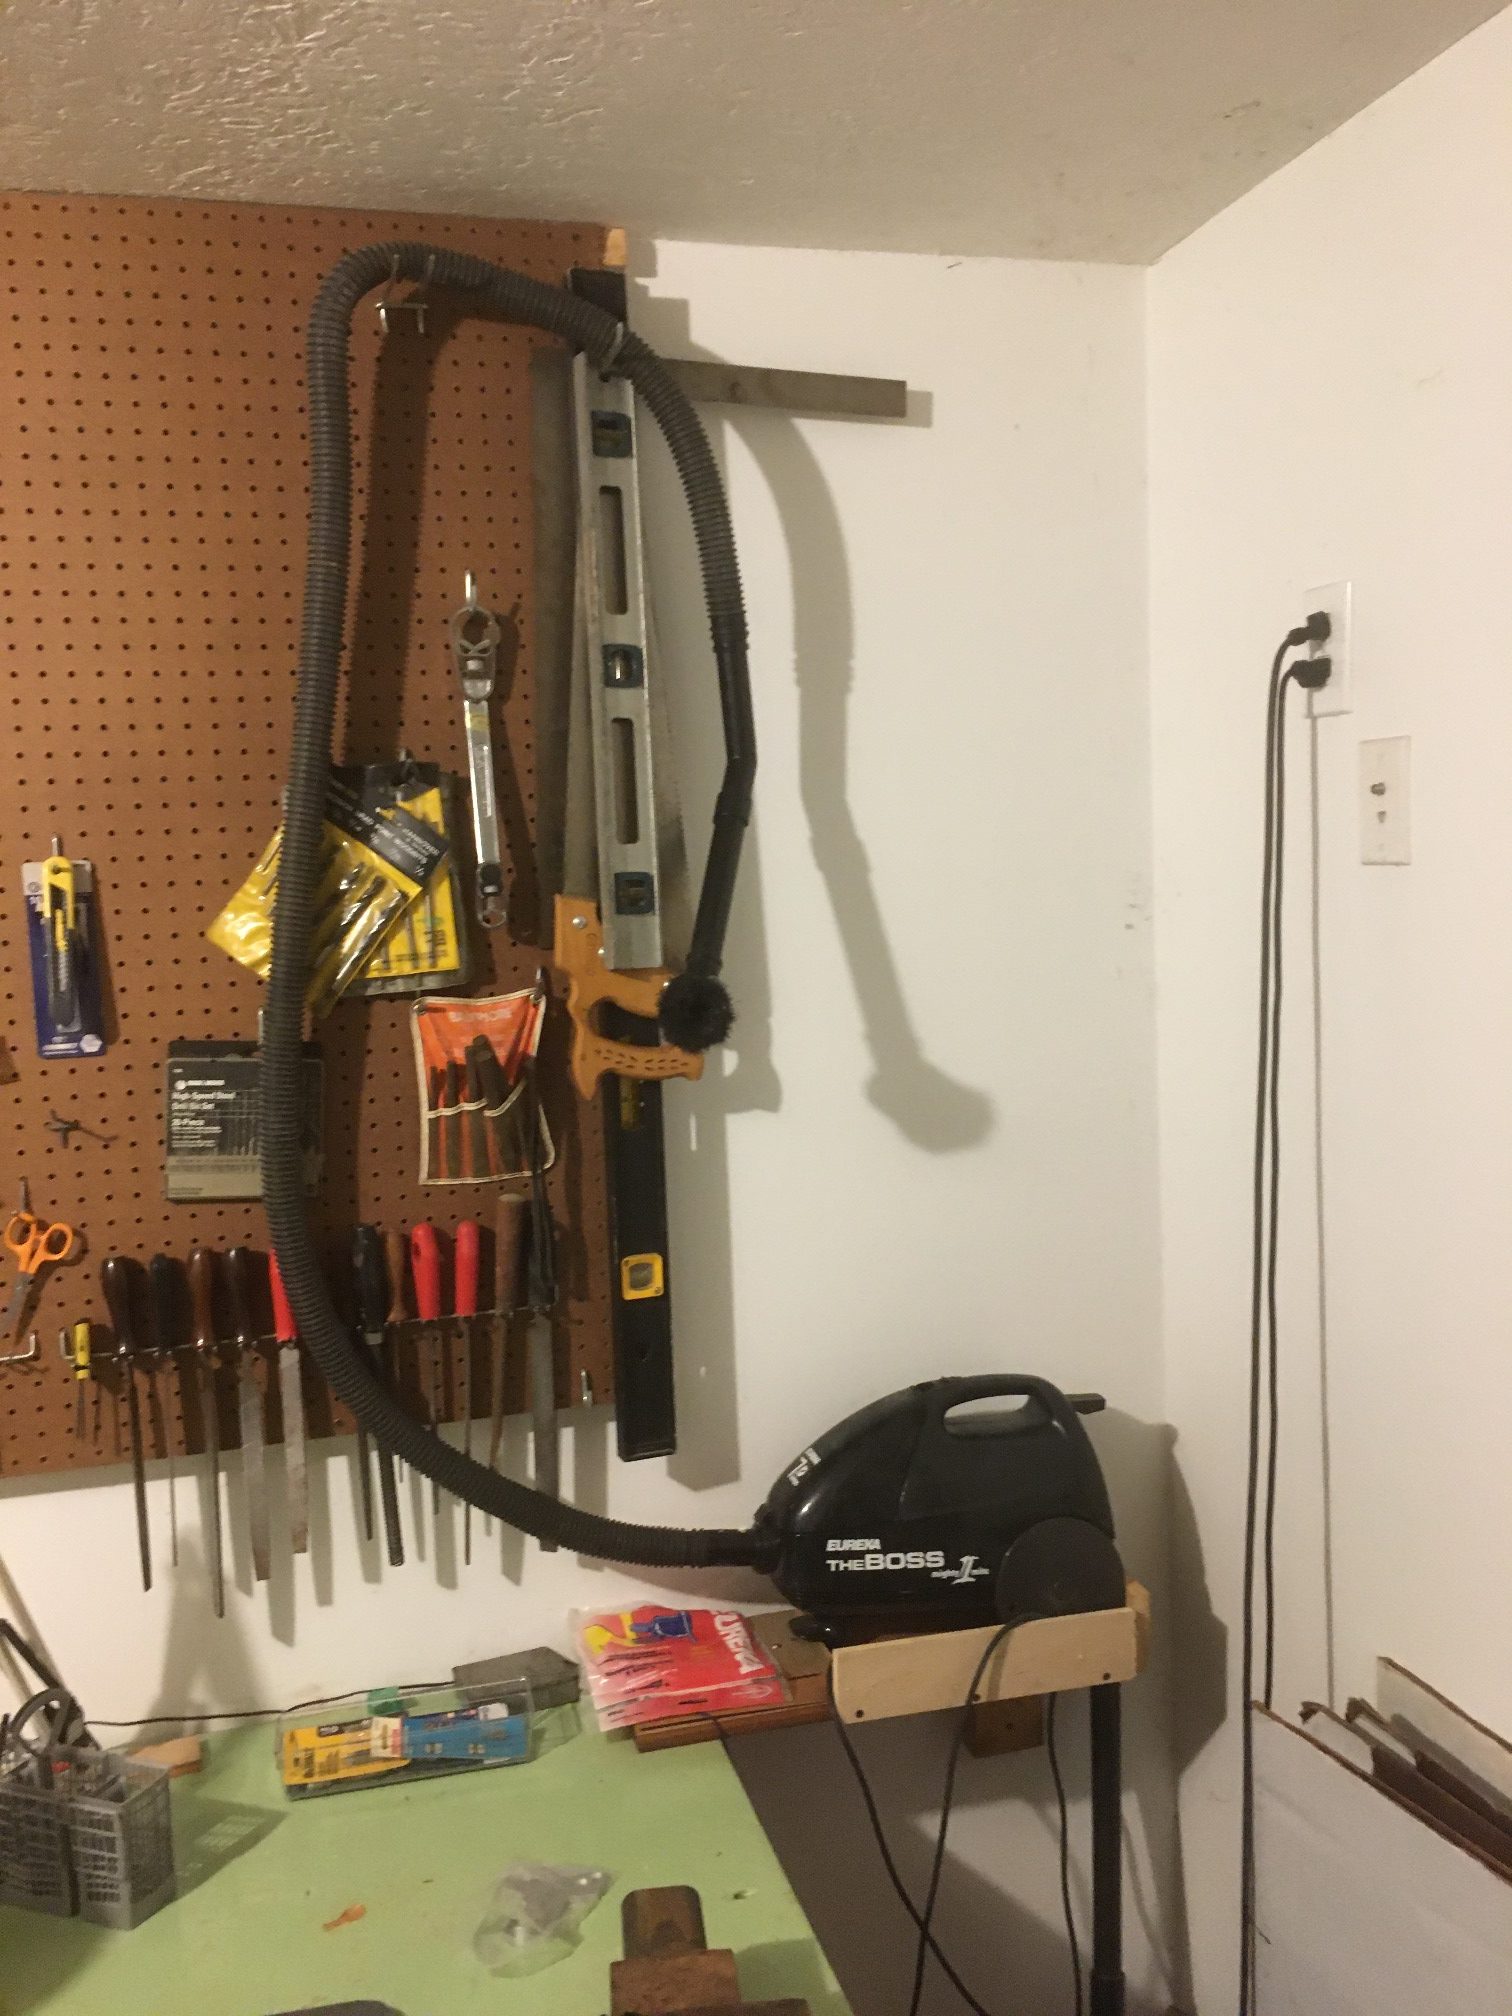
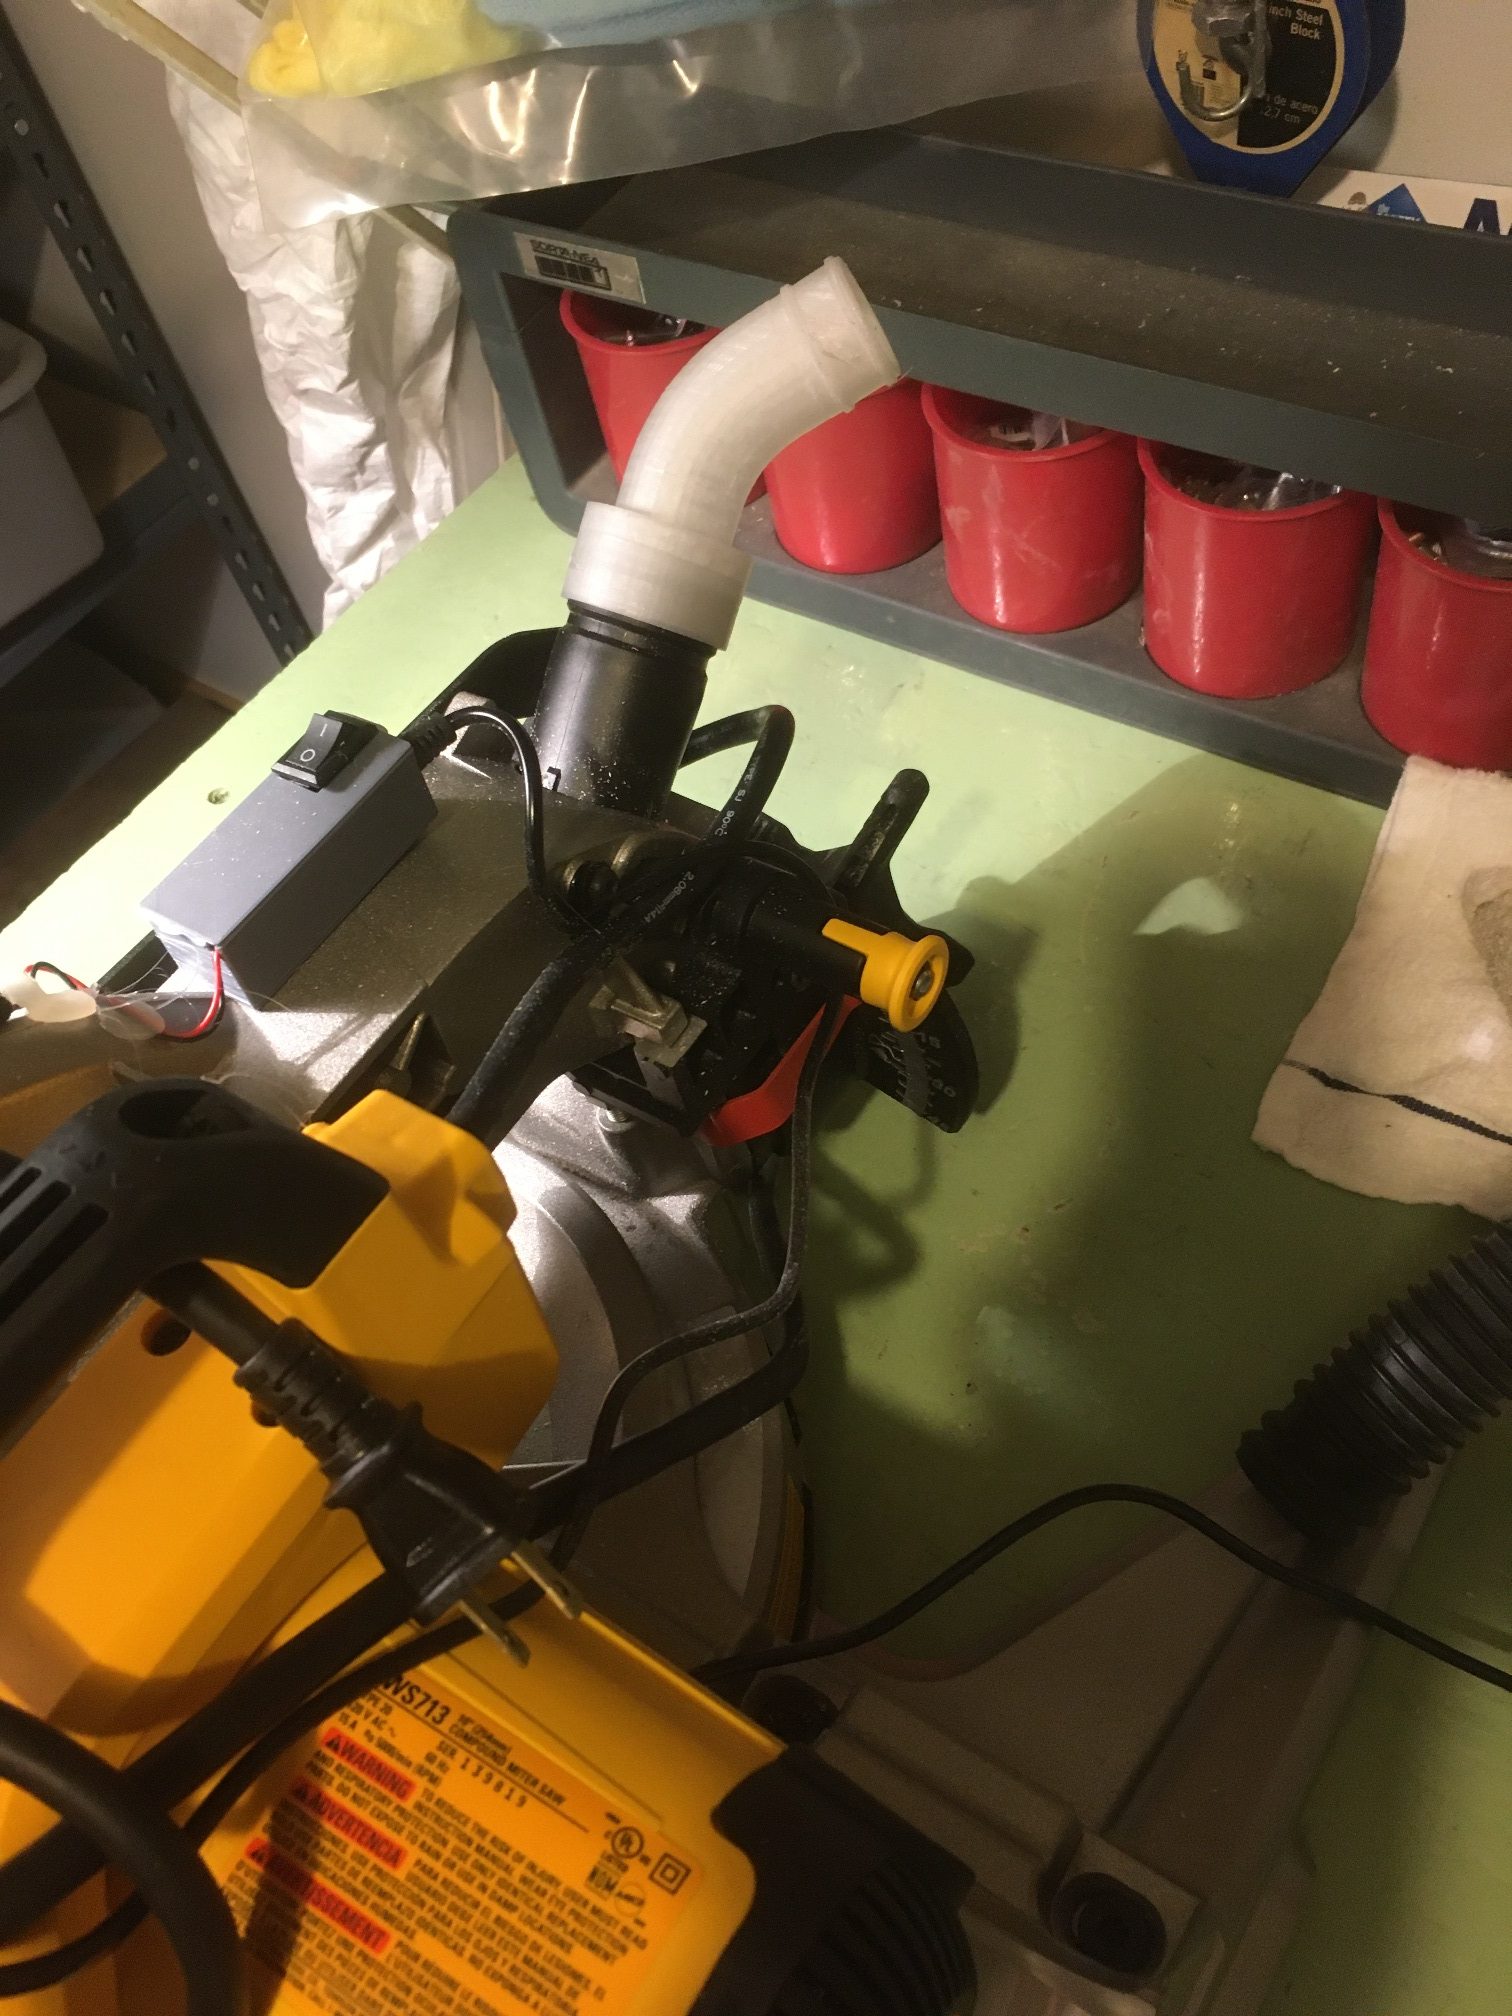
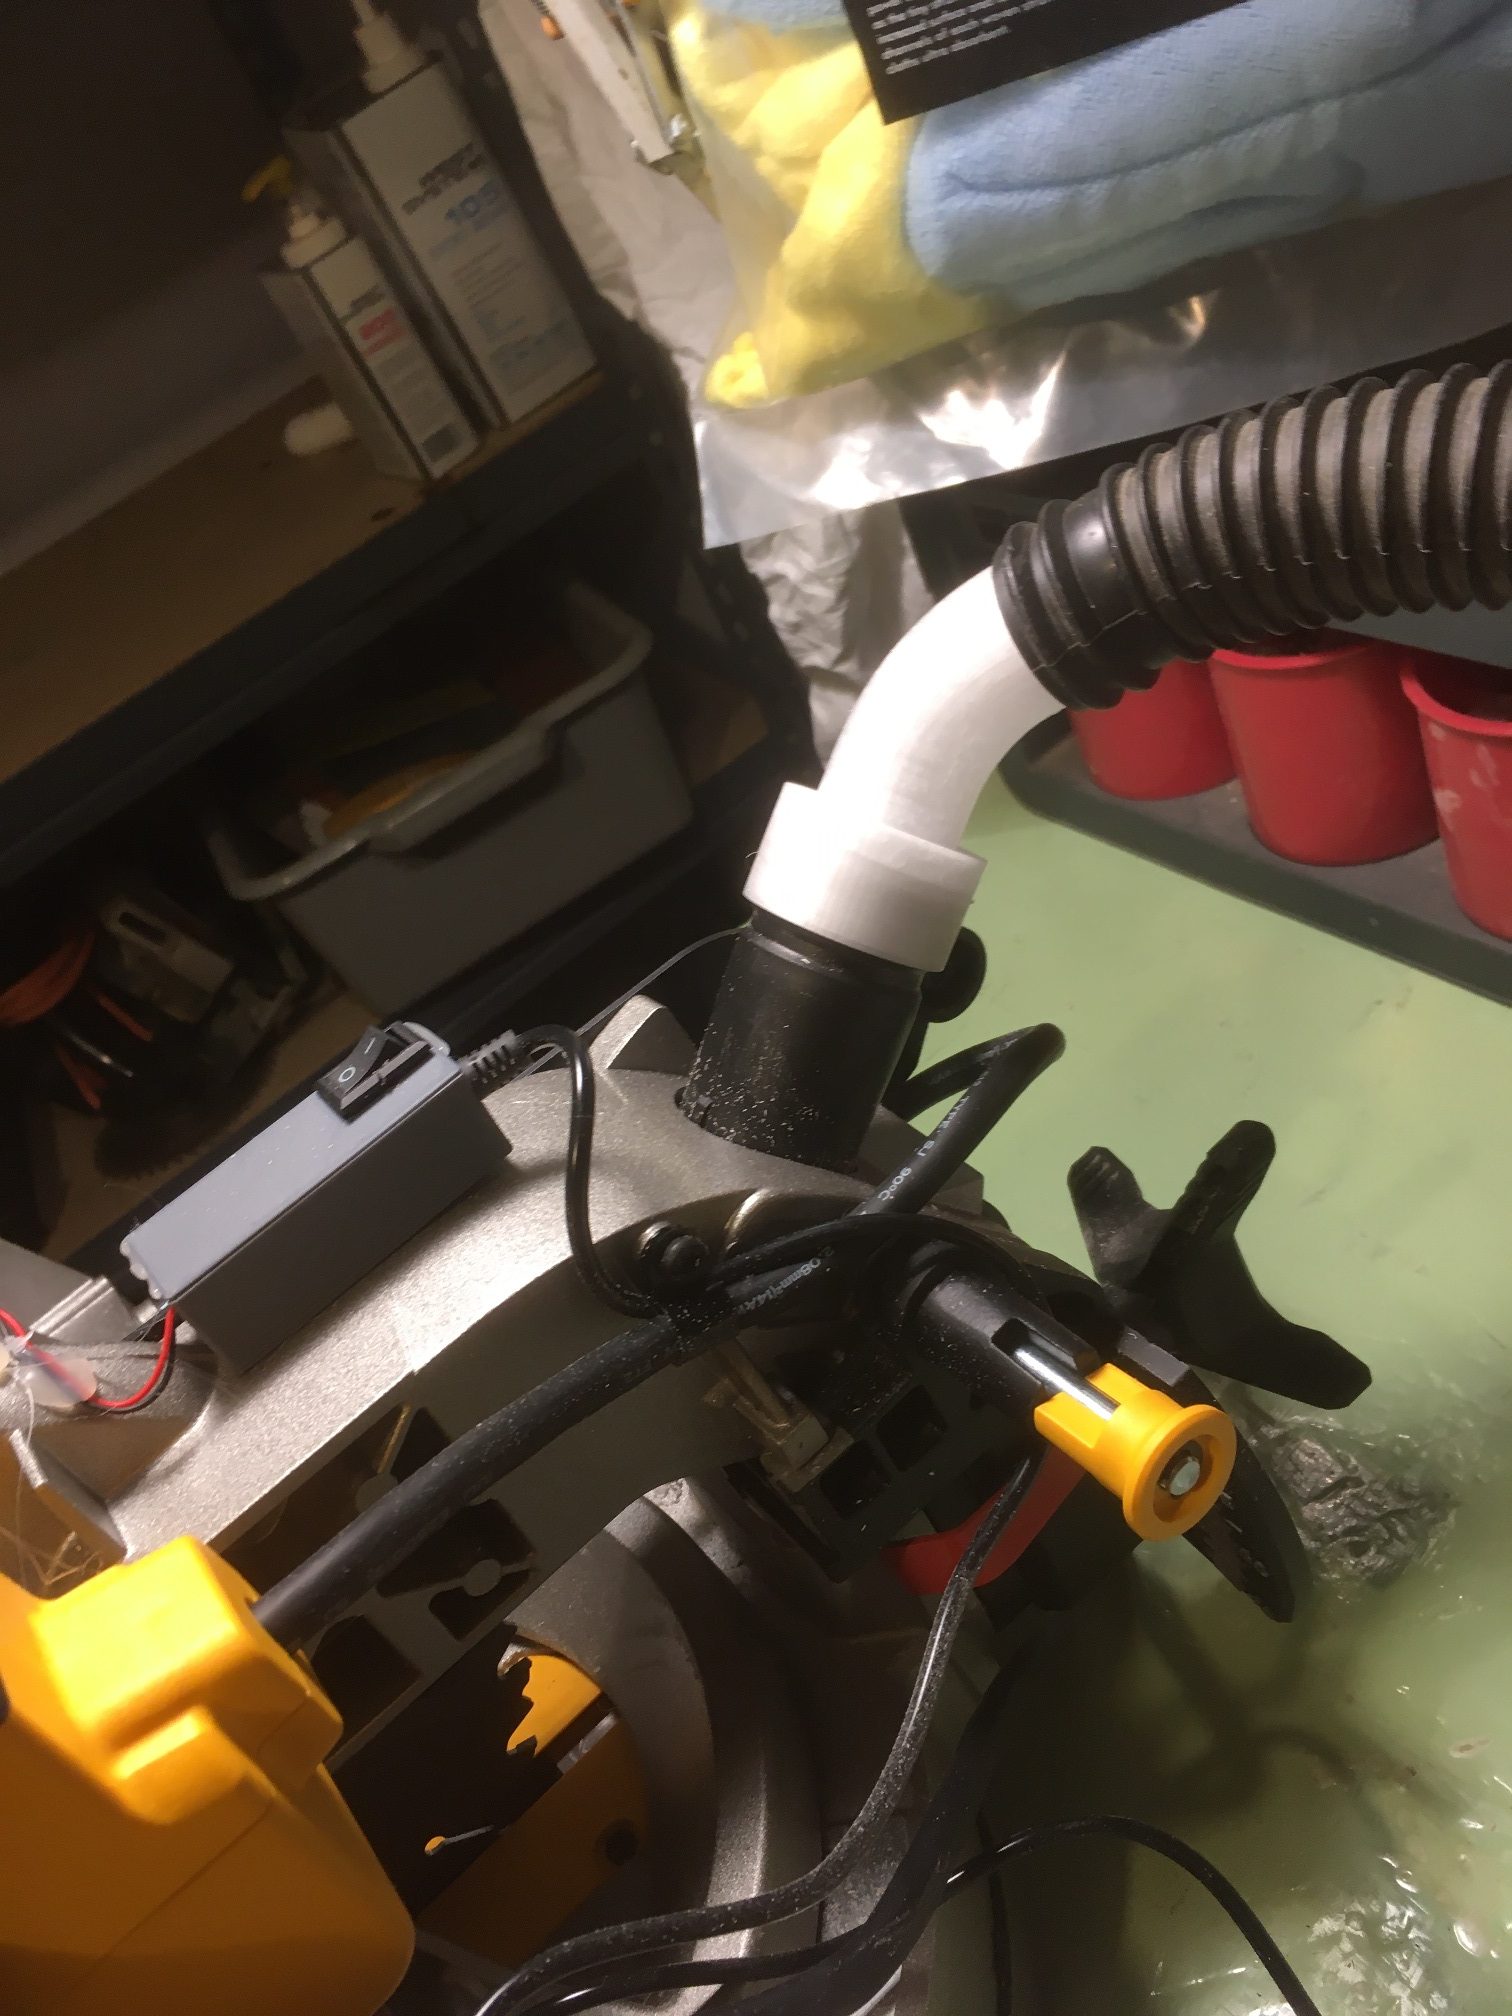
The next few photos show the finished coupler installed on the miter saw.

I had uploaded the previous straight-line coupler to Thingiverse here, and I edited it to provide the new design as well

Stay tuned!

Frank

Dewalt DWS713 Miter Saw Cut Line Shadow Mod

My wife got me a brand-new Dewalt DWS713 Miter Saw for Christmas, and boy is it nice! Sure beats the heck out of my old plastic miter box, that’s for sure. After playing with it for a while and making some gorgeous cuts, I decided I wanted to try my hand at adding a cut line shadow modification.

After doing some web research, I found this post, of a guy who added a cut line shadow system to Bosch miter saw, and this Thingiverse design for a LED mounting shroud. So, I ordered an LED lamp similar to the one used in the video, and downloaded the Thingiverse shroud design so I could print one here on my 3D printer.

The LED lamp comes with a small cylindrical control module containing an ON/OFF switch and an AC/CD converter, as shown here

ON/OFF switch and AC/DC converter are housed in the magnetic base

As described in the video showing how to mount a cut line shadow LED to a Bosch miter saw, the gooseneck part of the LED lamp wasn’t long enough to allow full travel of the blade guard. So I cut the gooseneck away from the magnetic base, and fabricated a new housing for the AC/DC converter and (because I managed to screw up the original one) a new, larger ON/OFF switch.

3D printed enclosure for ON/OFF switch and AC/DC converter.

With the added length gained by replacing the original cylindrical enclosure, I was able to mount the LED at the front end of the blade housing and still allow full travel of the retractable blade guard. However, I discovered that I needed to reduce the height of the LED lamp housing slightly, to allow more clearance for the retractable blade guard travel, as shown

Here is a photo of the LED assembly temporarily attached to the miter saw, with the retractable blade guard removed

This temporary setup produced a nice cut line shadow as shown below

The photo below shows the completed assembly, with the gooseneck attached to the blade housing via a 3D-printed gooseneck retainer clip and two 3mm machine screws (the blade housing was drilled & tapped for 3mm), and the control housing mounted to the rear of the blade housing.

The final product seems to work fairly well, as demonstrated in the following photo

Here is a photo of the 3D-printed gooseneck retainer clip

I used hot glue to temporarily attach the clip to the blade housing, and then drilled through the clip and into the housing with a 3mm tap drill. Then I removed the clip, tapped the housing for a 3mm screw, and then re-drilled the clip for a 3mm clearance hole, then re-assembled using 2ea 3mm x 6mm machine screws.

Here is a screenshot showing the rounded-corner enclosure I designed to hold the ON/OFF switch and the AC/DC converter

Because I managed to screw up the original ON/OFF switch, I used this switch I had in my parts bin, from an earlier project

All the 3-D printable parts are on Thingiverse here.

27 October 2021 Update:

While changing blades the other day, I noticed that the front LED lamp holder had come loose from the top of the blade guard – the hot glue attachment of the holder had detached from the metal. So, I printed up a new lamp holder with longer sides and this time attached it with 3mm screws to 3mm tapped holes in the blade guard, as shown in the following photo:

New front LED lamp hold, this time attached with two 3mm screws