Posted 30 August 2021,
For the last year and a half or so I have been struggling to get reliable multi-material 3D prints from my MakerGear M3-ID Independent Dual Extruder (IDEX) machine, and failing. I could get it dialed in for a few prints, but then prints would simply refuse to stay attached to the build plate no matter what I did. I tried everything I could think of, short of ‘hair-spray’ and ‘glue-stick’ options, which I refuse to do. In addition, the web-browser-only operator interface to the M3-ID was more than a little clunky. The printer was set up about 2 meters away from my PC, so I kept having to run back and forth to get simple things done, like load/unload filaments or do first-layer calibrations, or cancelling a print when it, once again, jumped off the build plate.
Eventually I realized I was never going to get it to work reliably in my small home lab, so I started looking for alternatives. In addition to the M3-ID, I have a Prusa MK3S single extruder printer that is completely reliable, almost completely silent when printing, and about twice as fast as the M3-ID. I seriously considered getting the MMU2 multi-material add-on to the Prusa, but there are some serious drawbacks to that option; for one, there have been many reports where running dissolvable and structural filaments through the same extruder causes the printed part to basically fall apart, due to filament cross-contamination. For another, printing a dual material part with the Prusa takes MUCH longer than printing the same dual material part with dual extruders, because the Prusa setup has to go through a complete filament retraction, change, and purge cycle for each material change. For a complex part this adds up to hundreds or even thousands of change cycles.
So, back to the web, where amazingly enough I found that FlashForge had just recently come out with their Creator Pro 2 IDEX model, at a very reasonable price-point. Moreover, I was able to find several YouTube reviews by well-respected 3D printer enthusiasts, and they had very good things to say about the printer. One of the most consistent comments was how easy it was to assemble the printer out of the box and get very high quality prints, and – important to me – get high quality prints using PVA water-soluble support material paired with PLA. In addition, at least one of the reviewers was successful in printing with PETG, even with the 240C extruder temperature limit on the stock extruders. And, even better, there is removable build plate option that works flawlessly (with the addition of a 2mm shim – available on Thingiverse). The build volume of the Creator Pro 2 is about half the volume of the M3-ID, but since I rarely build large items that wasn’t a deal breaker for me.
So, I put my MakerGear M3-ID up for sale on eBay for about a third of what I paid for it, and it sold in about an hour. Then I used the proceeds to buy the FlashForge Creator Pro 2 with a little bit left over – sweet!
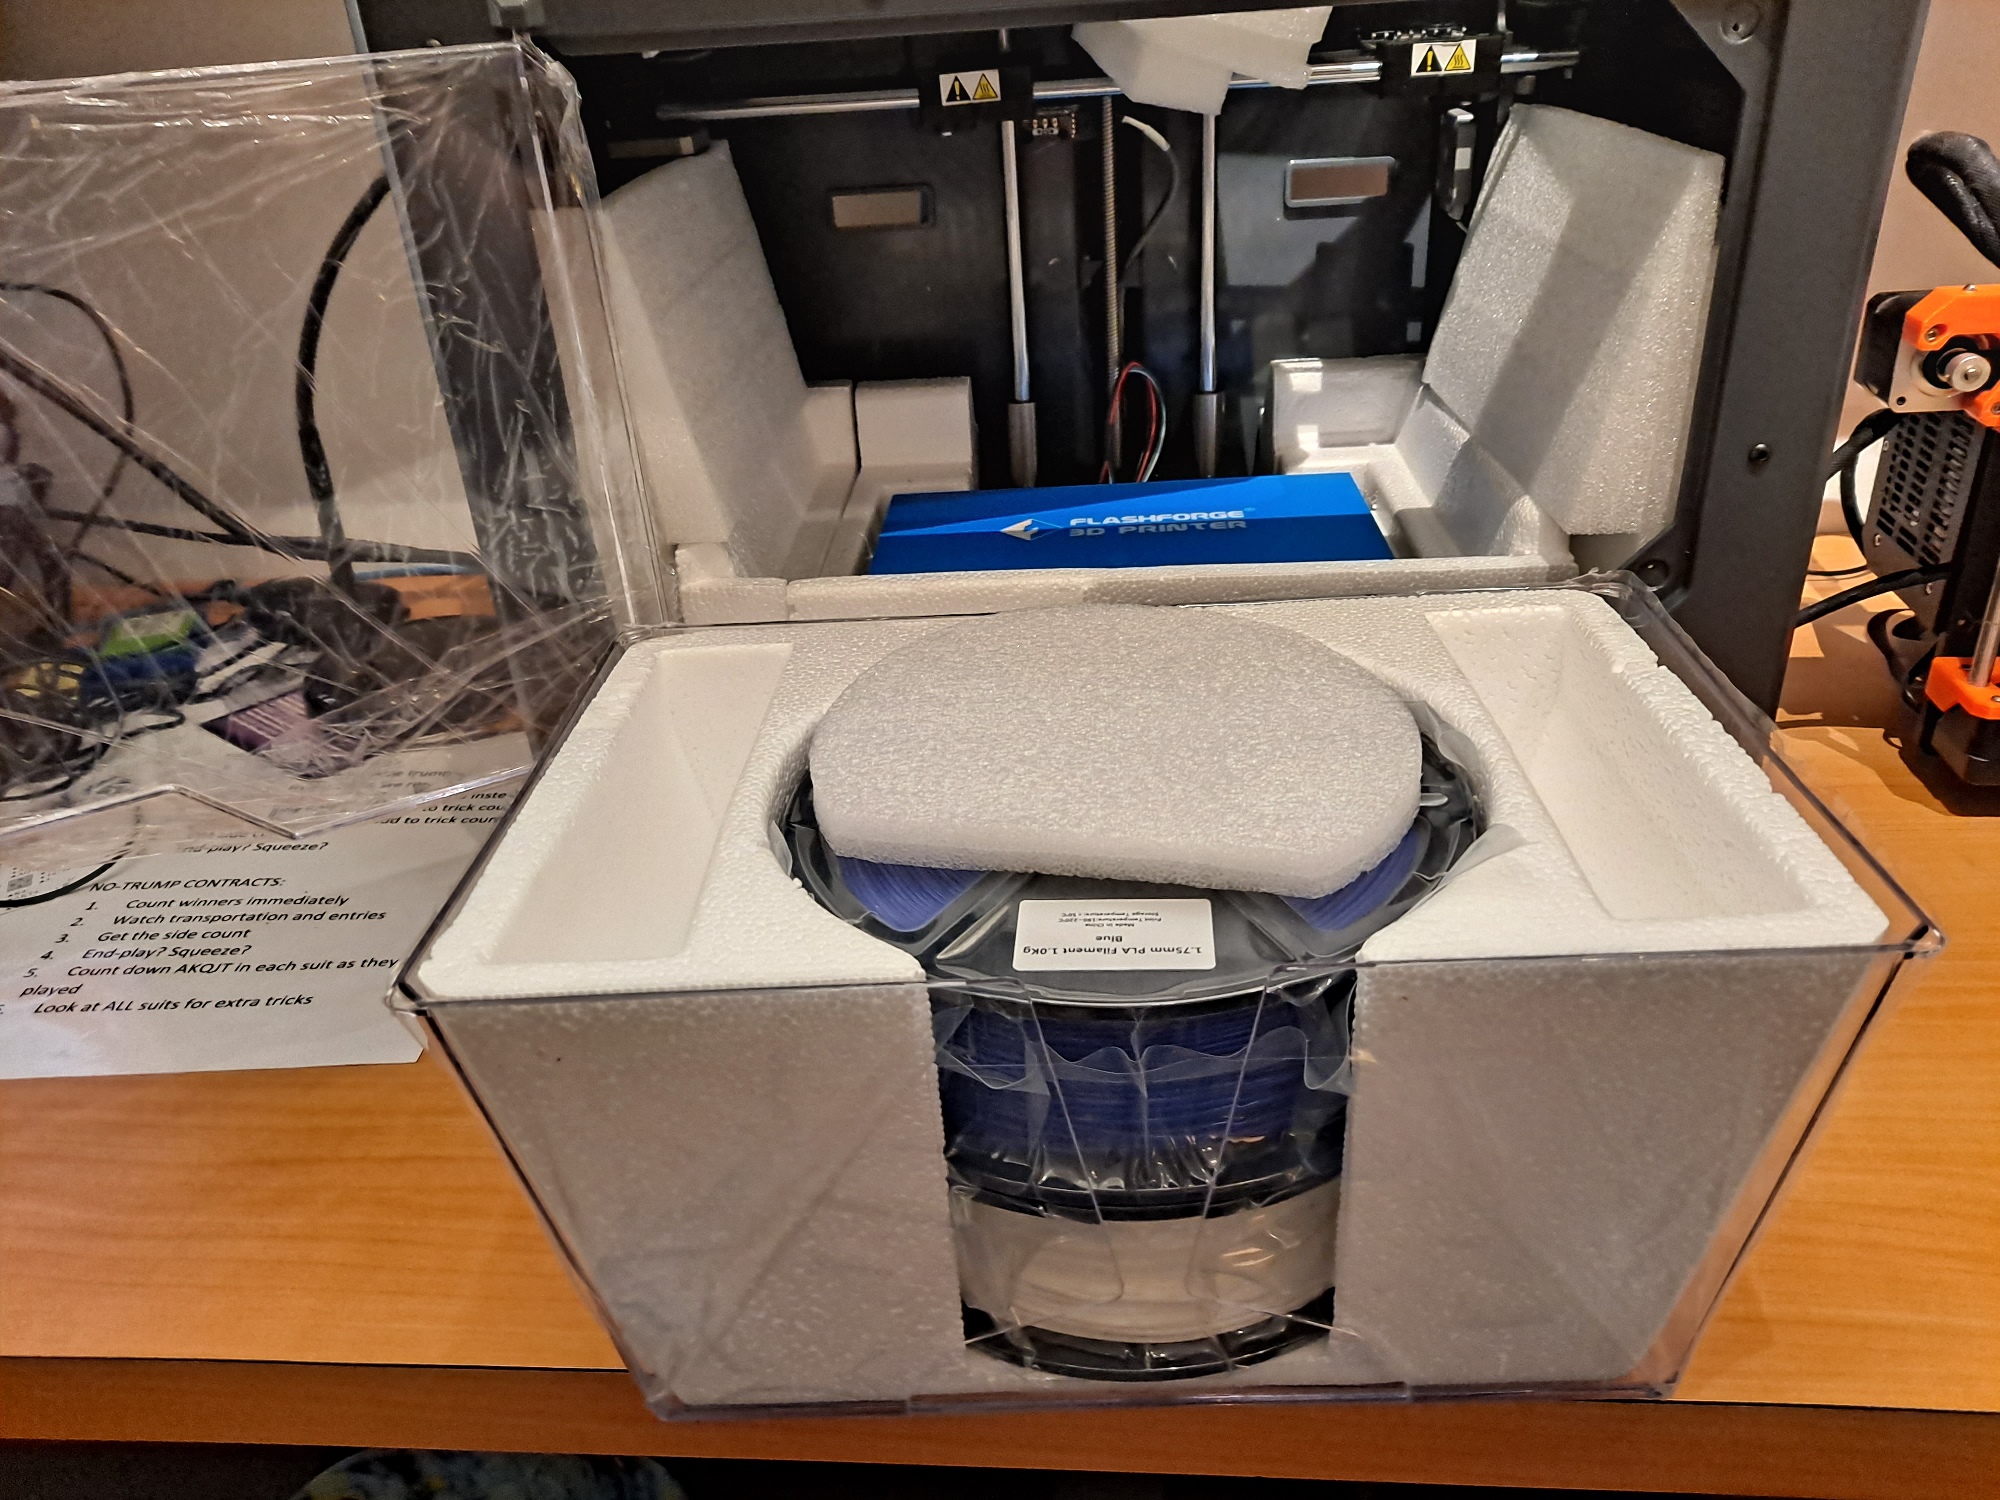
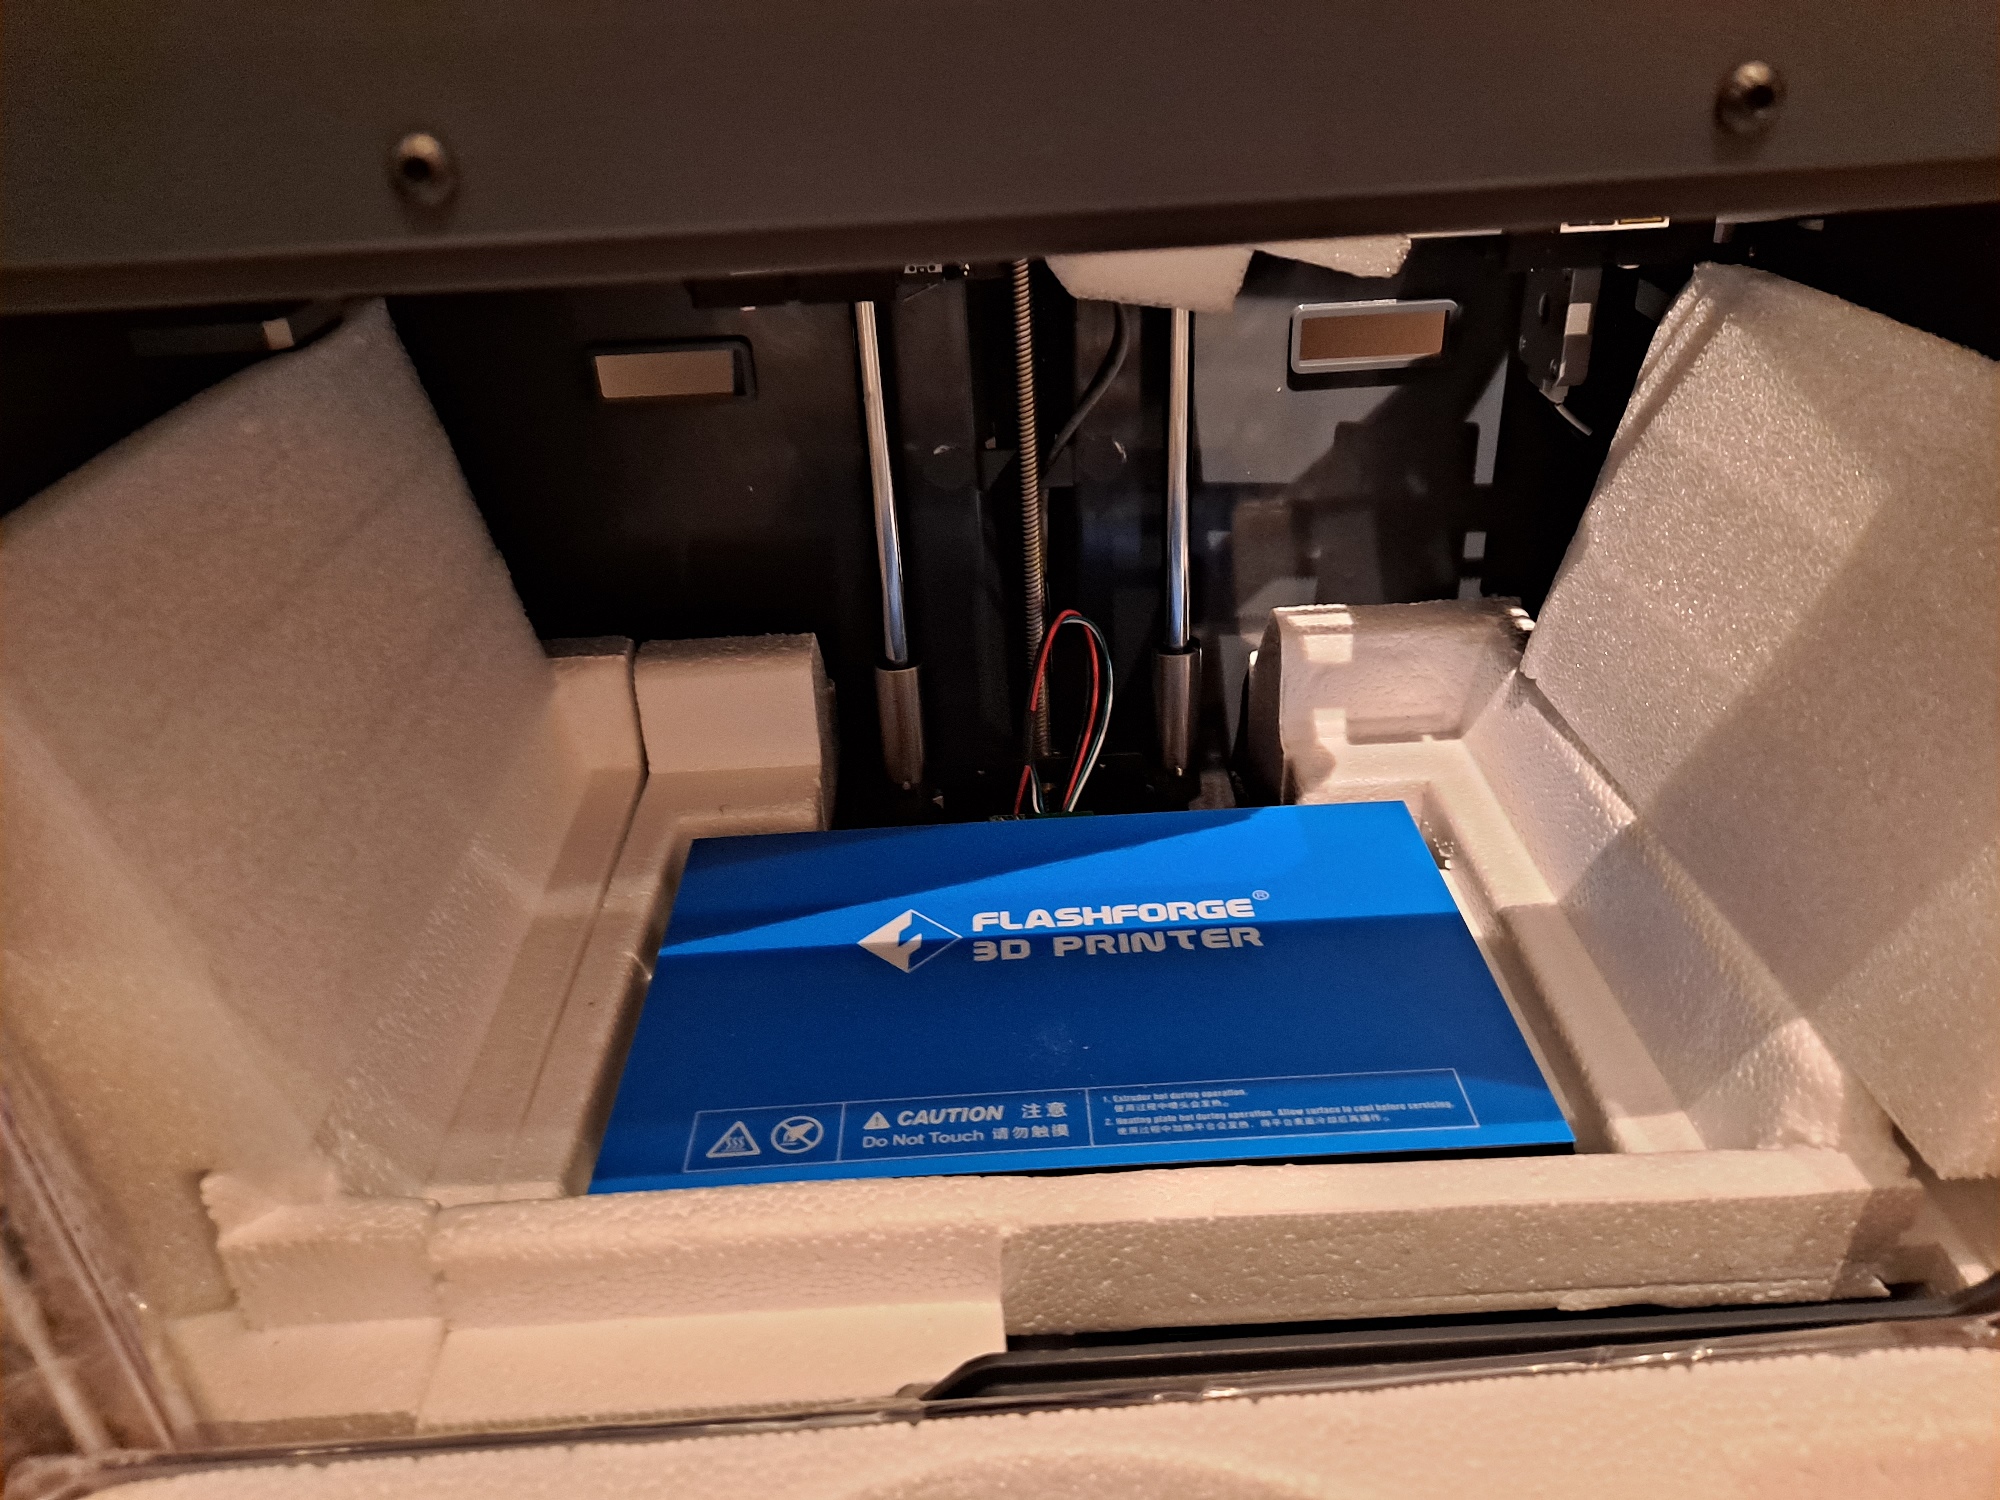
When I received the unit, the shipping box looked a little bit beat up, and some of the foam packing material was damaged, so I was worried about printer damage. However, the printer itself seemed in perfect condition, other than a seriously mis-aligned X axis carriage (more on that later). Here are some photos I took during ‘unboxing’ and assembly.
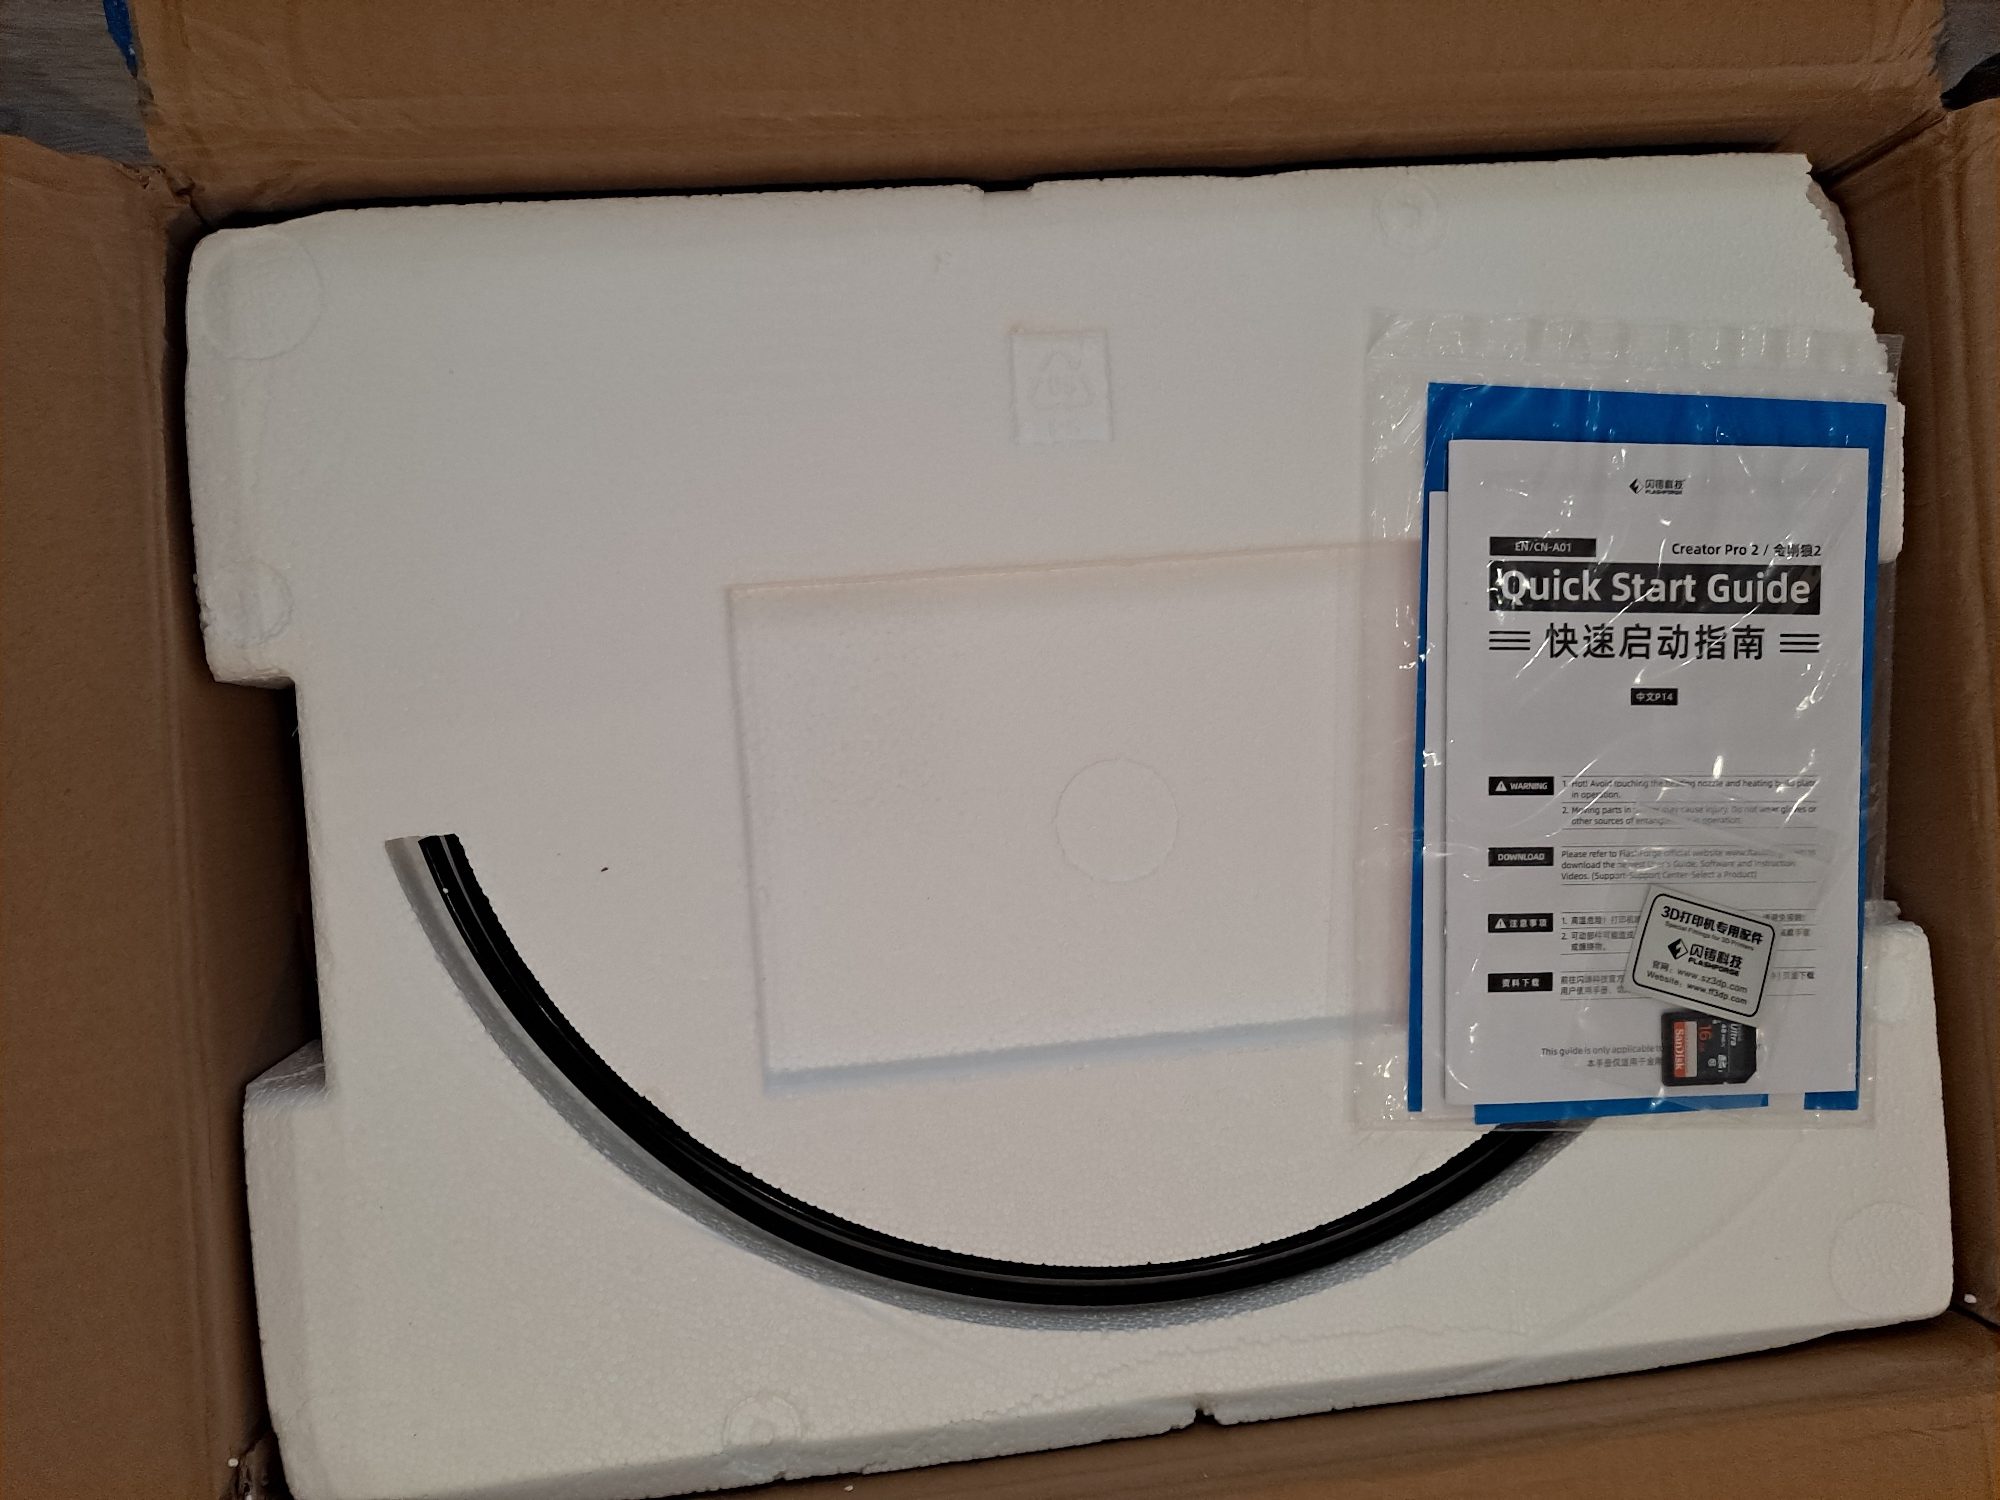
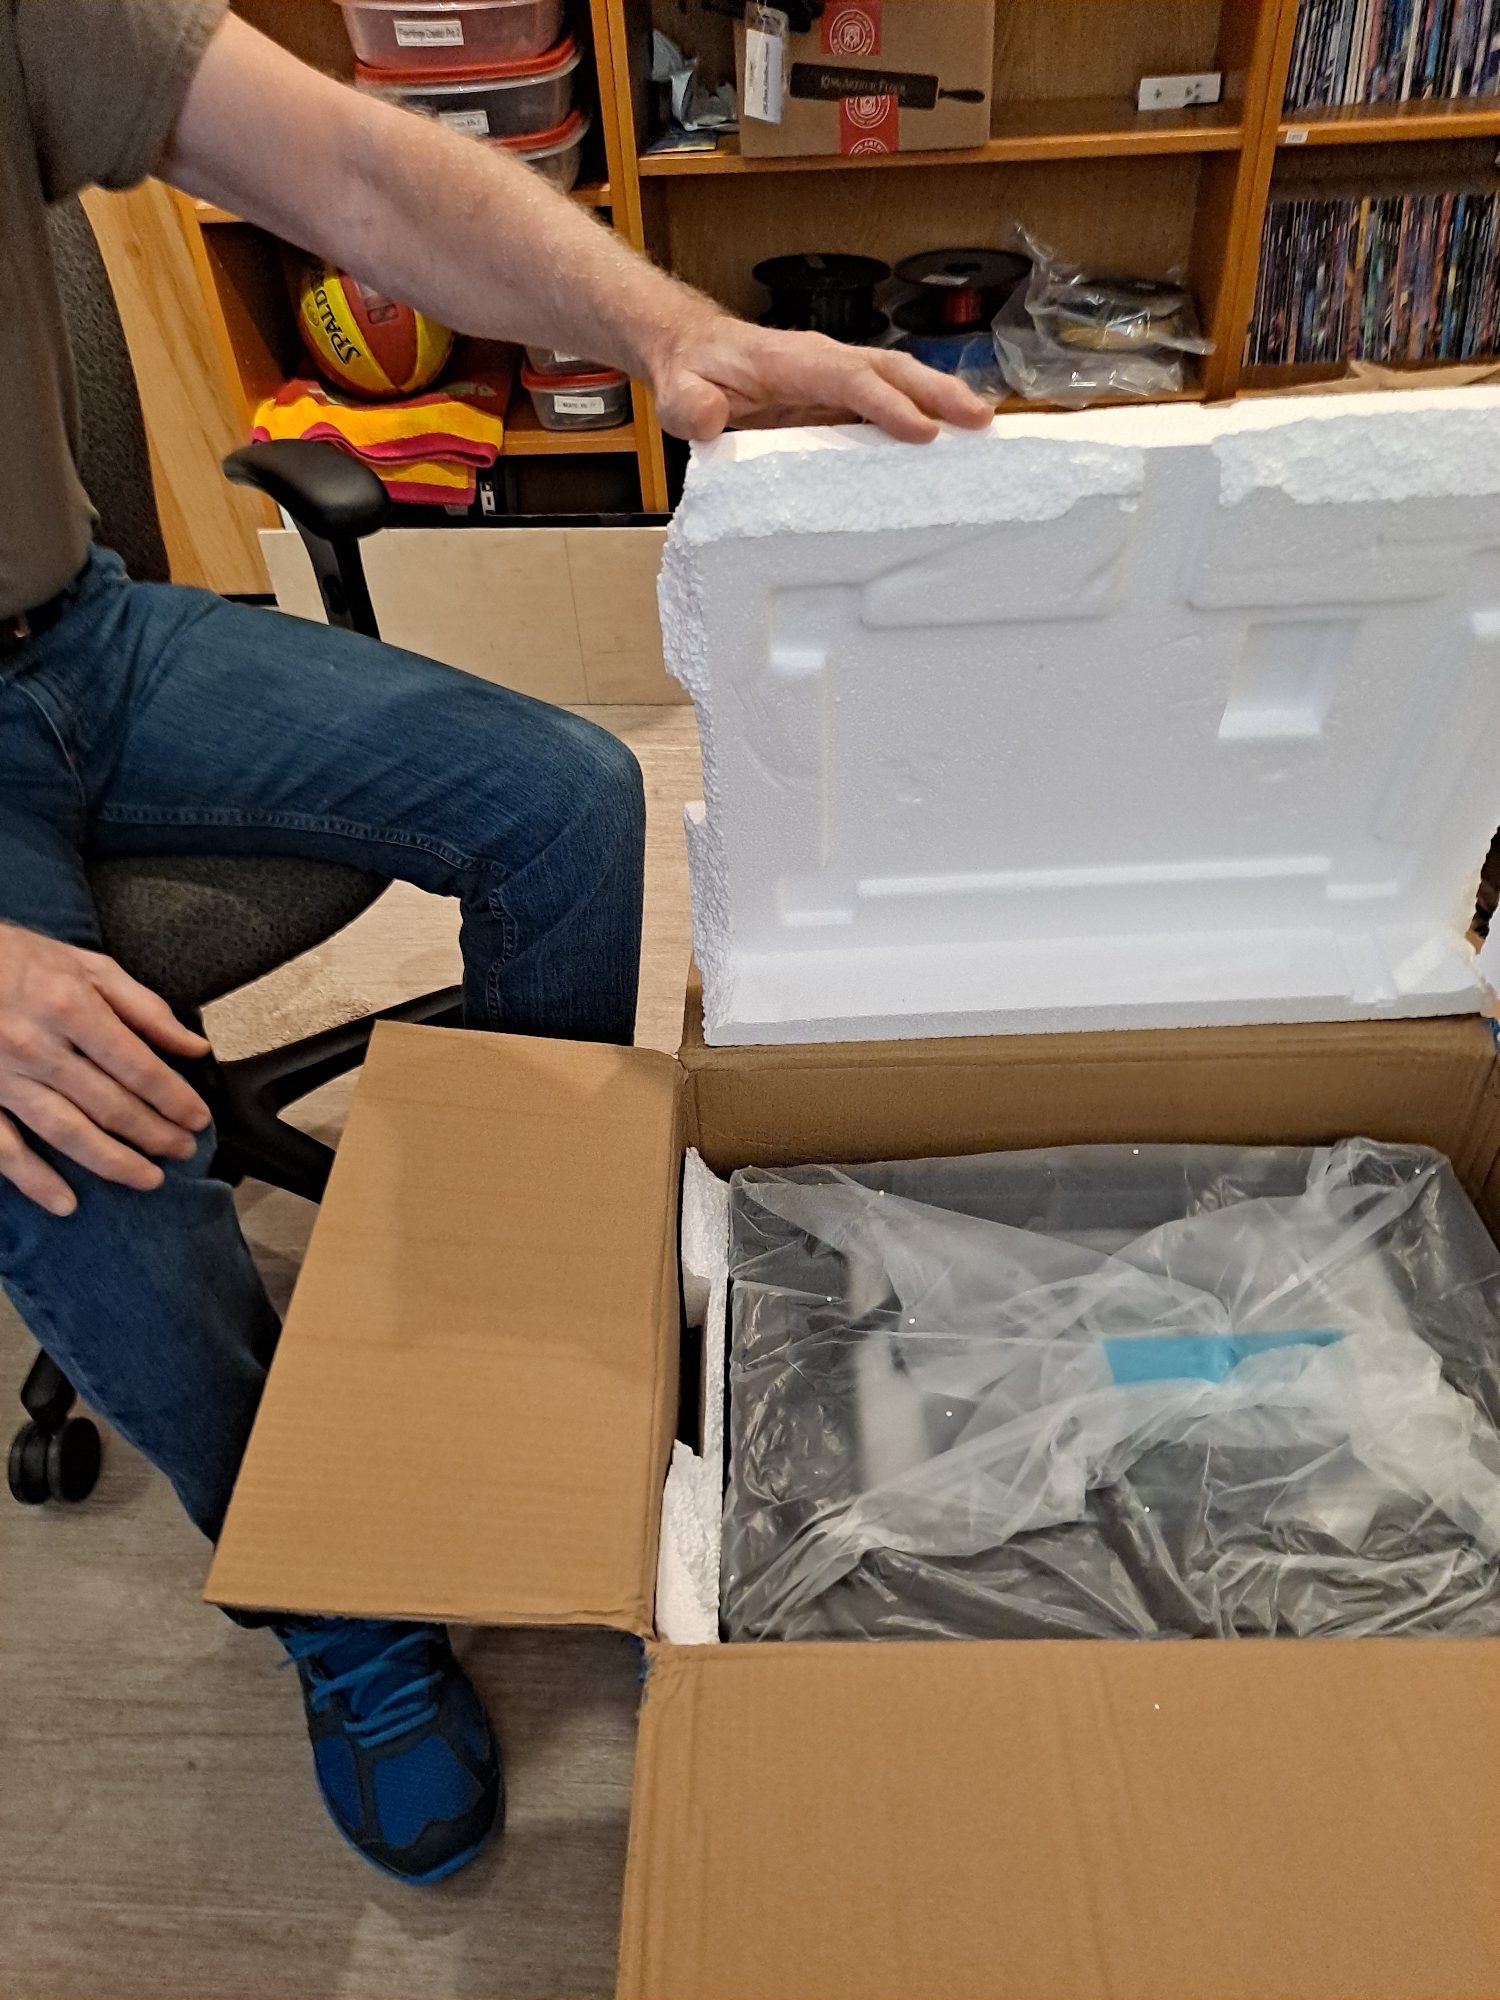

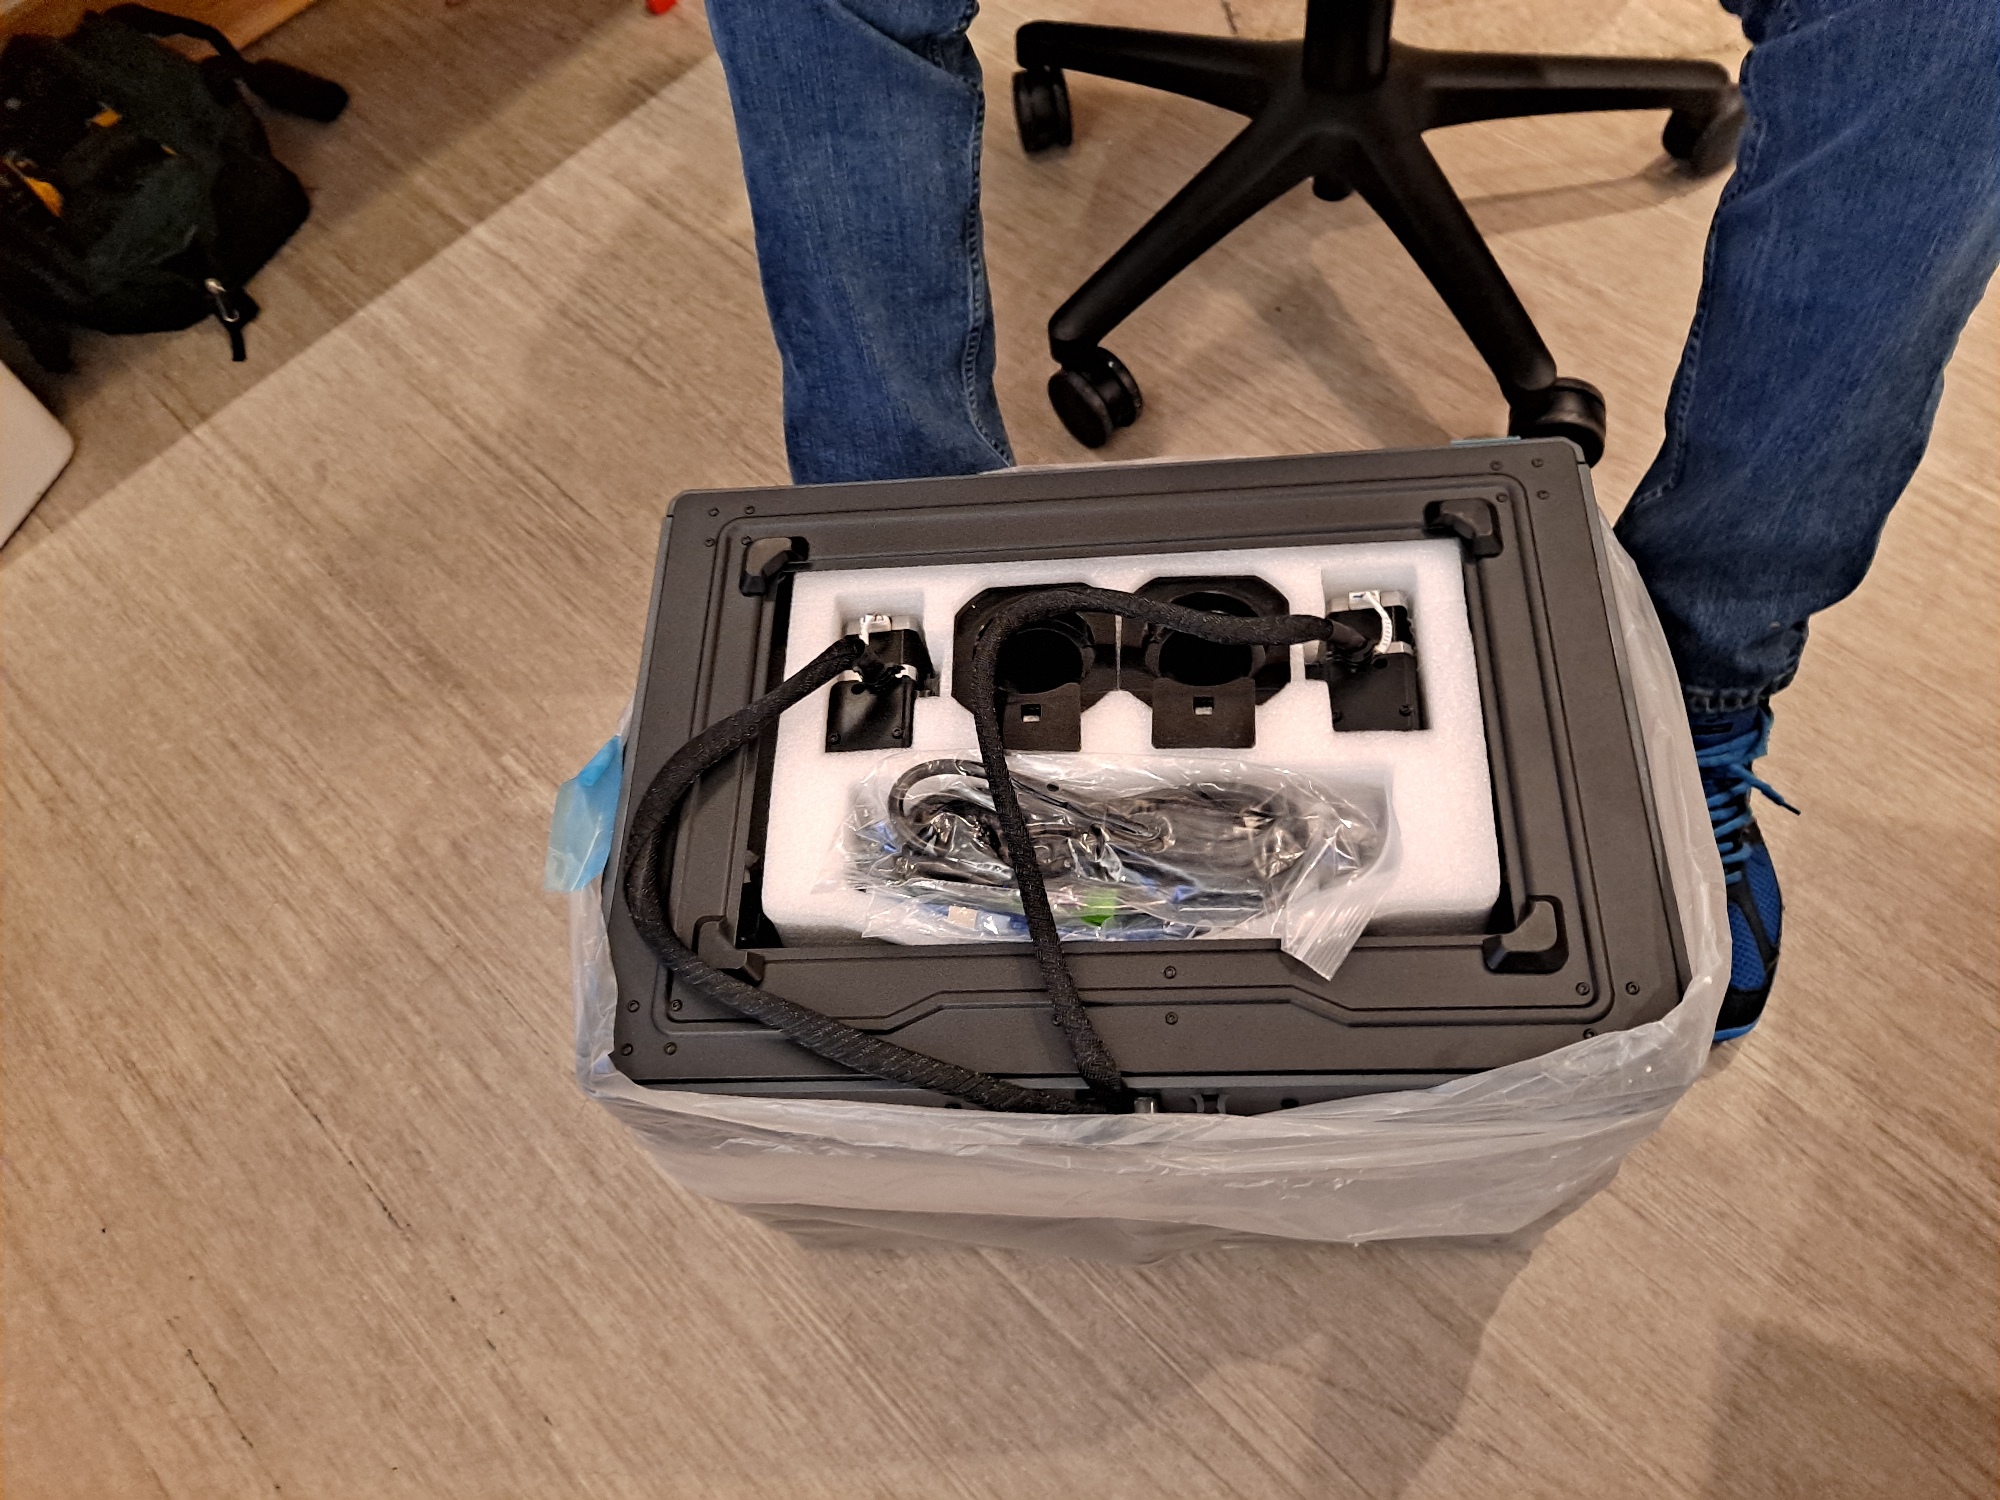
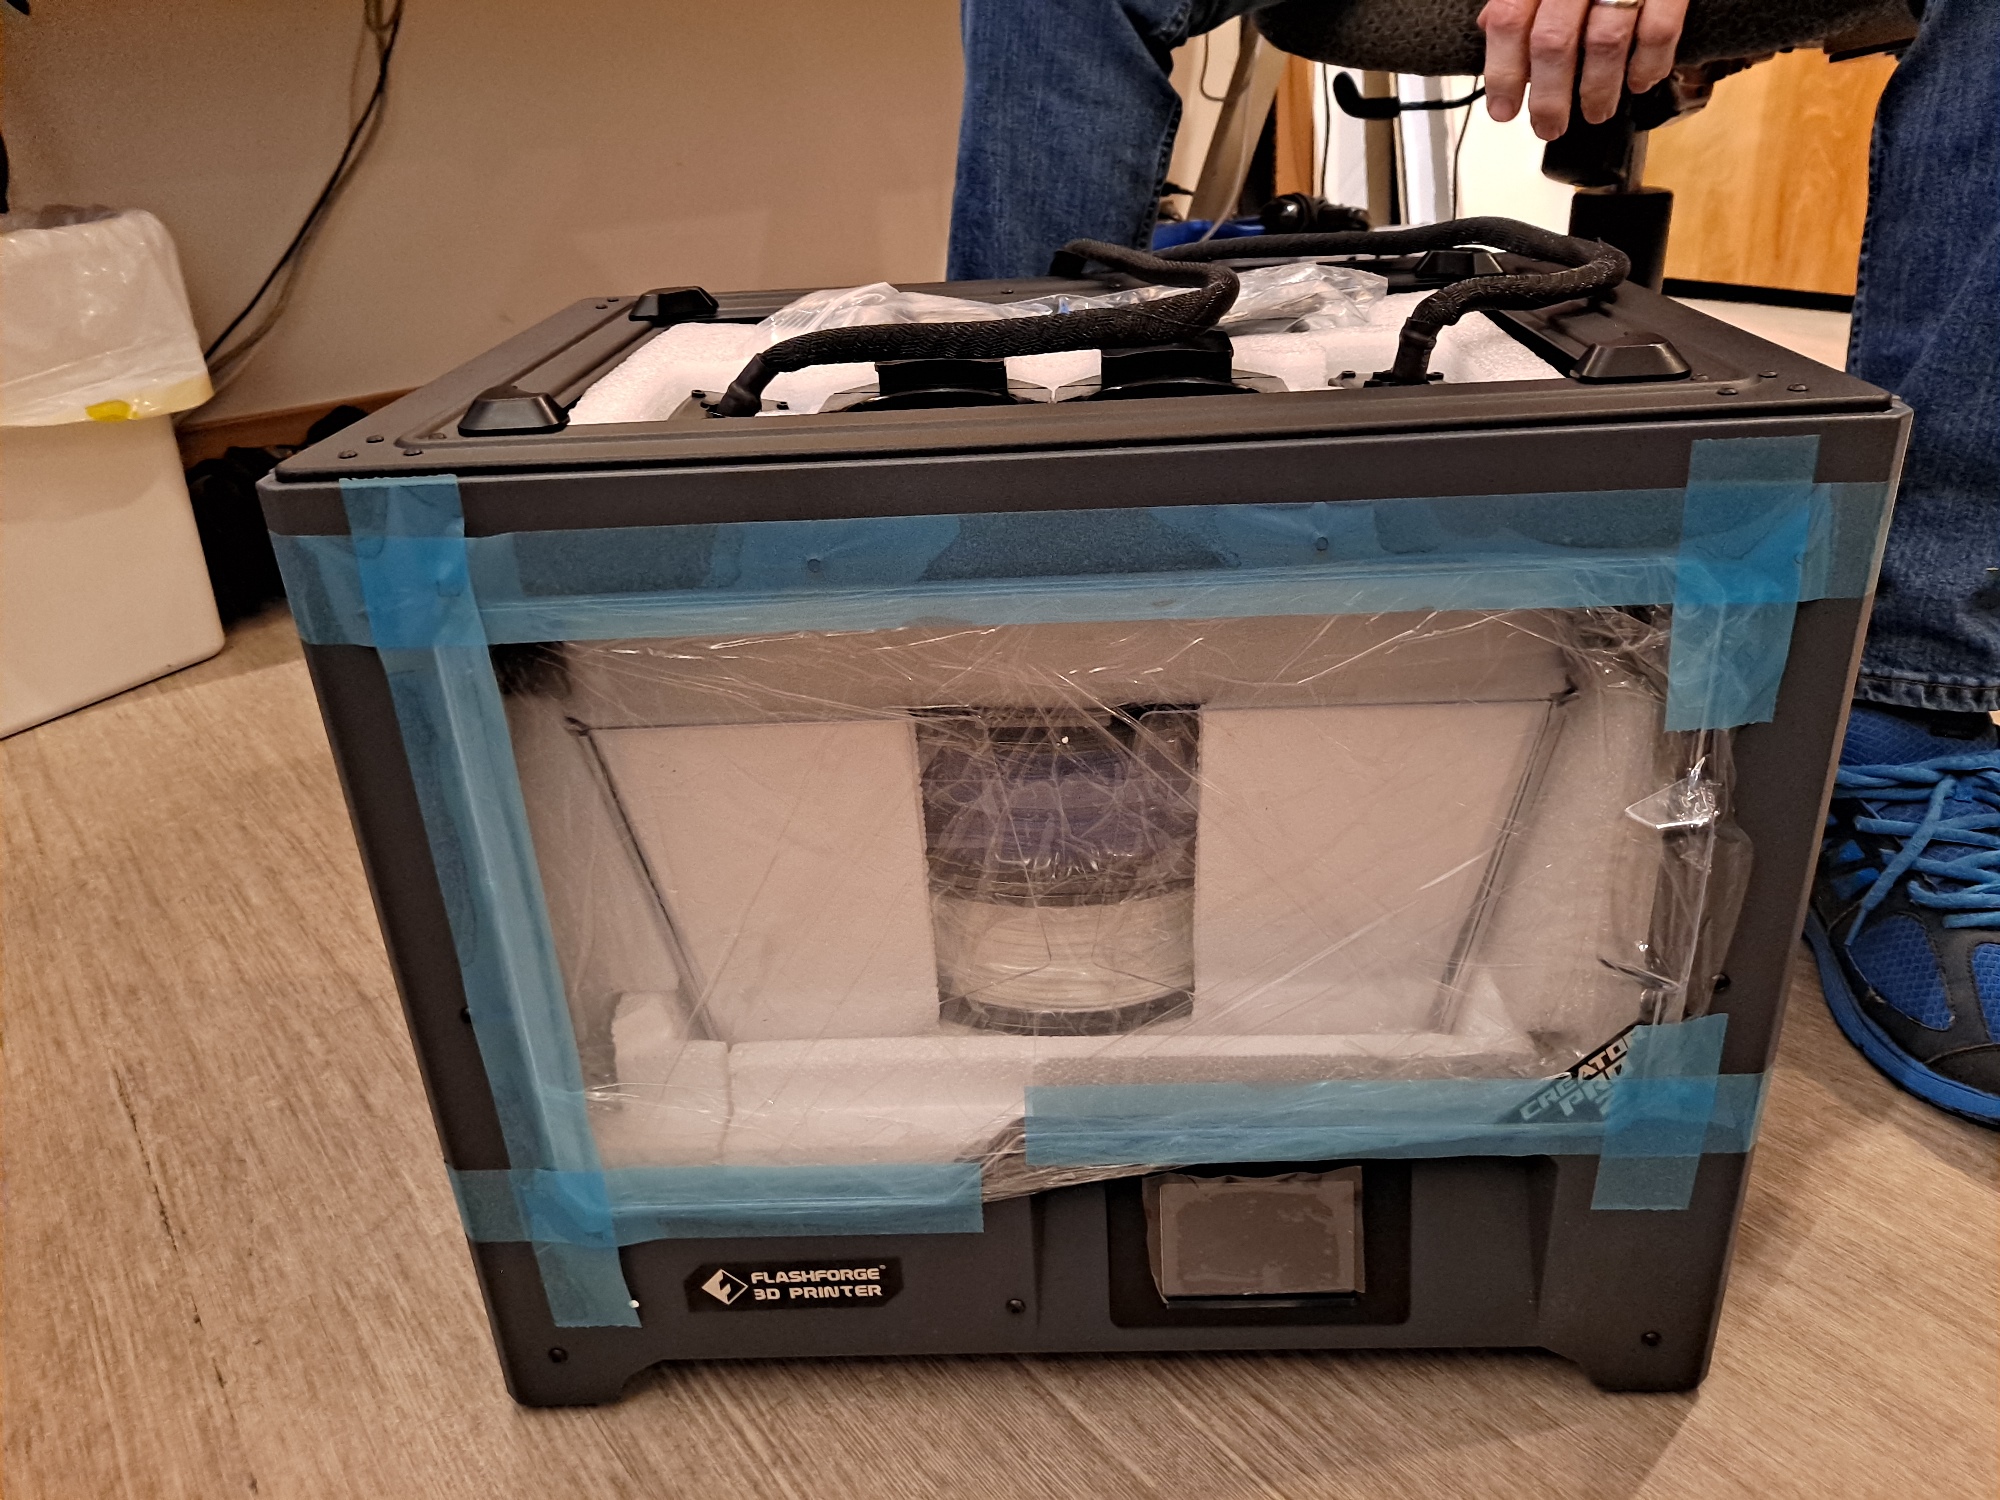
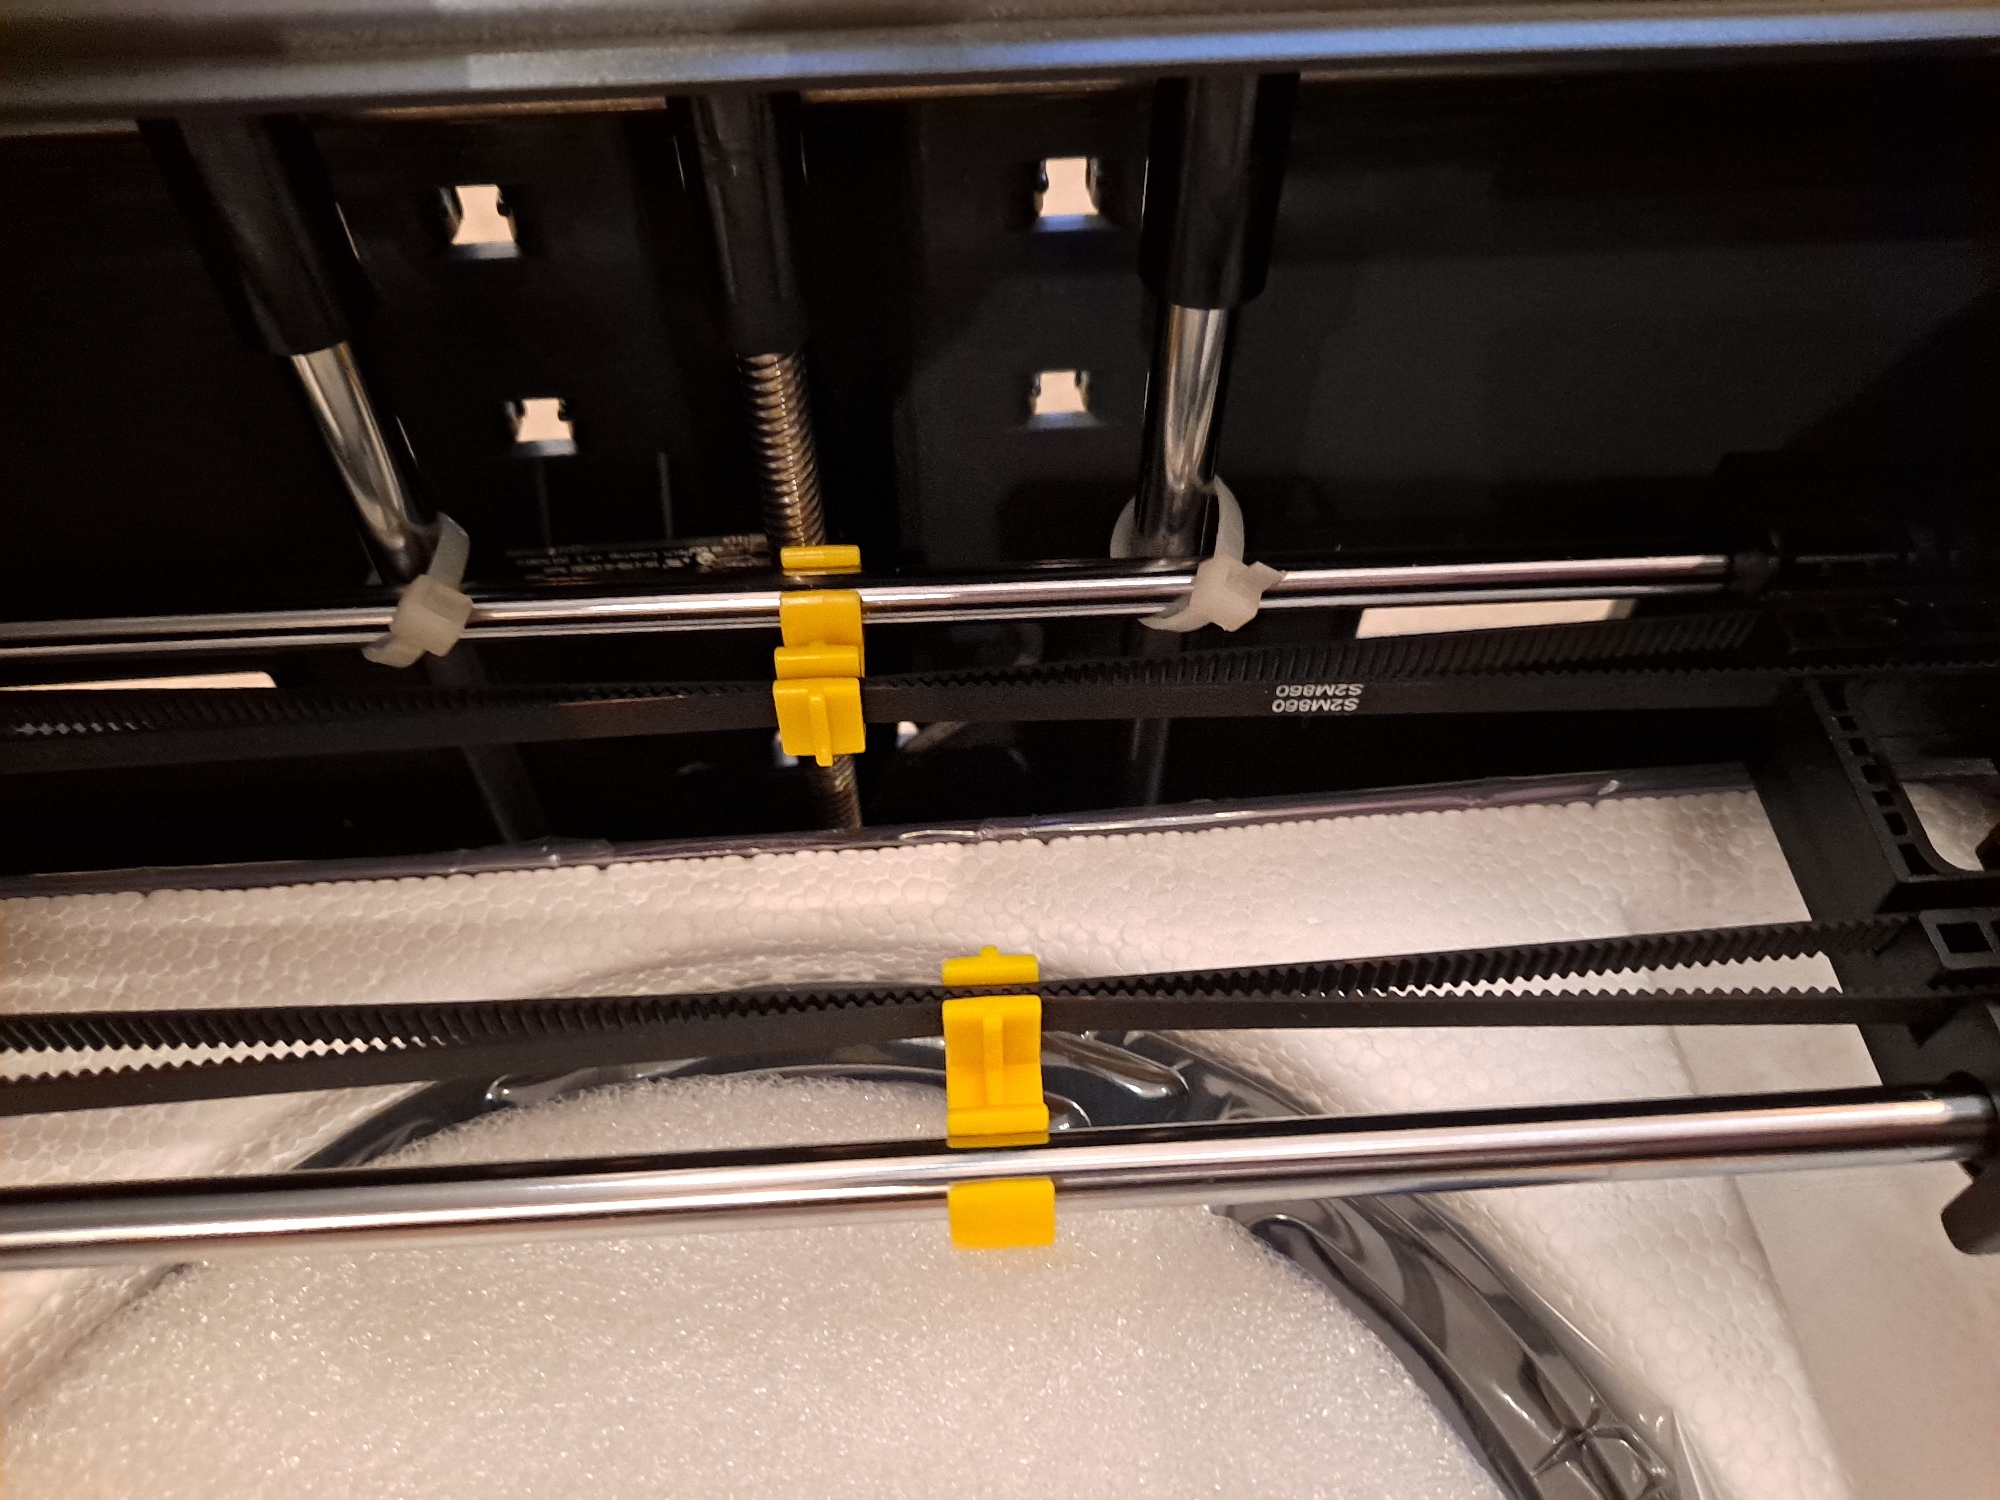
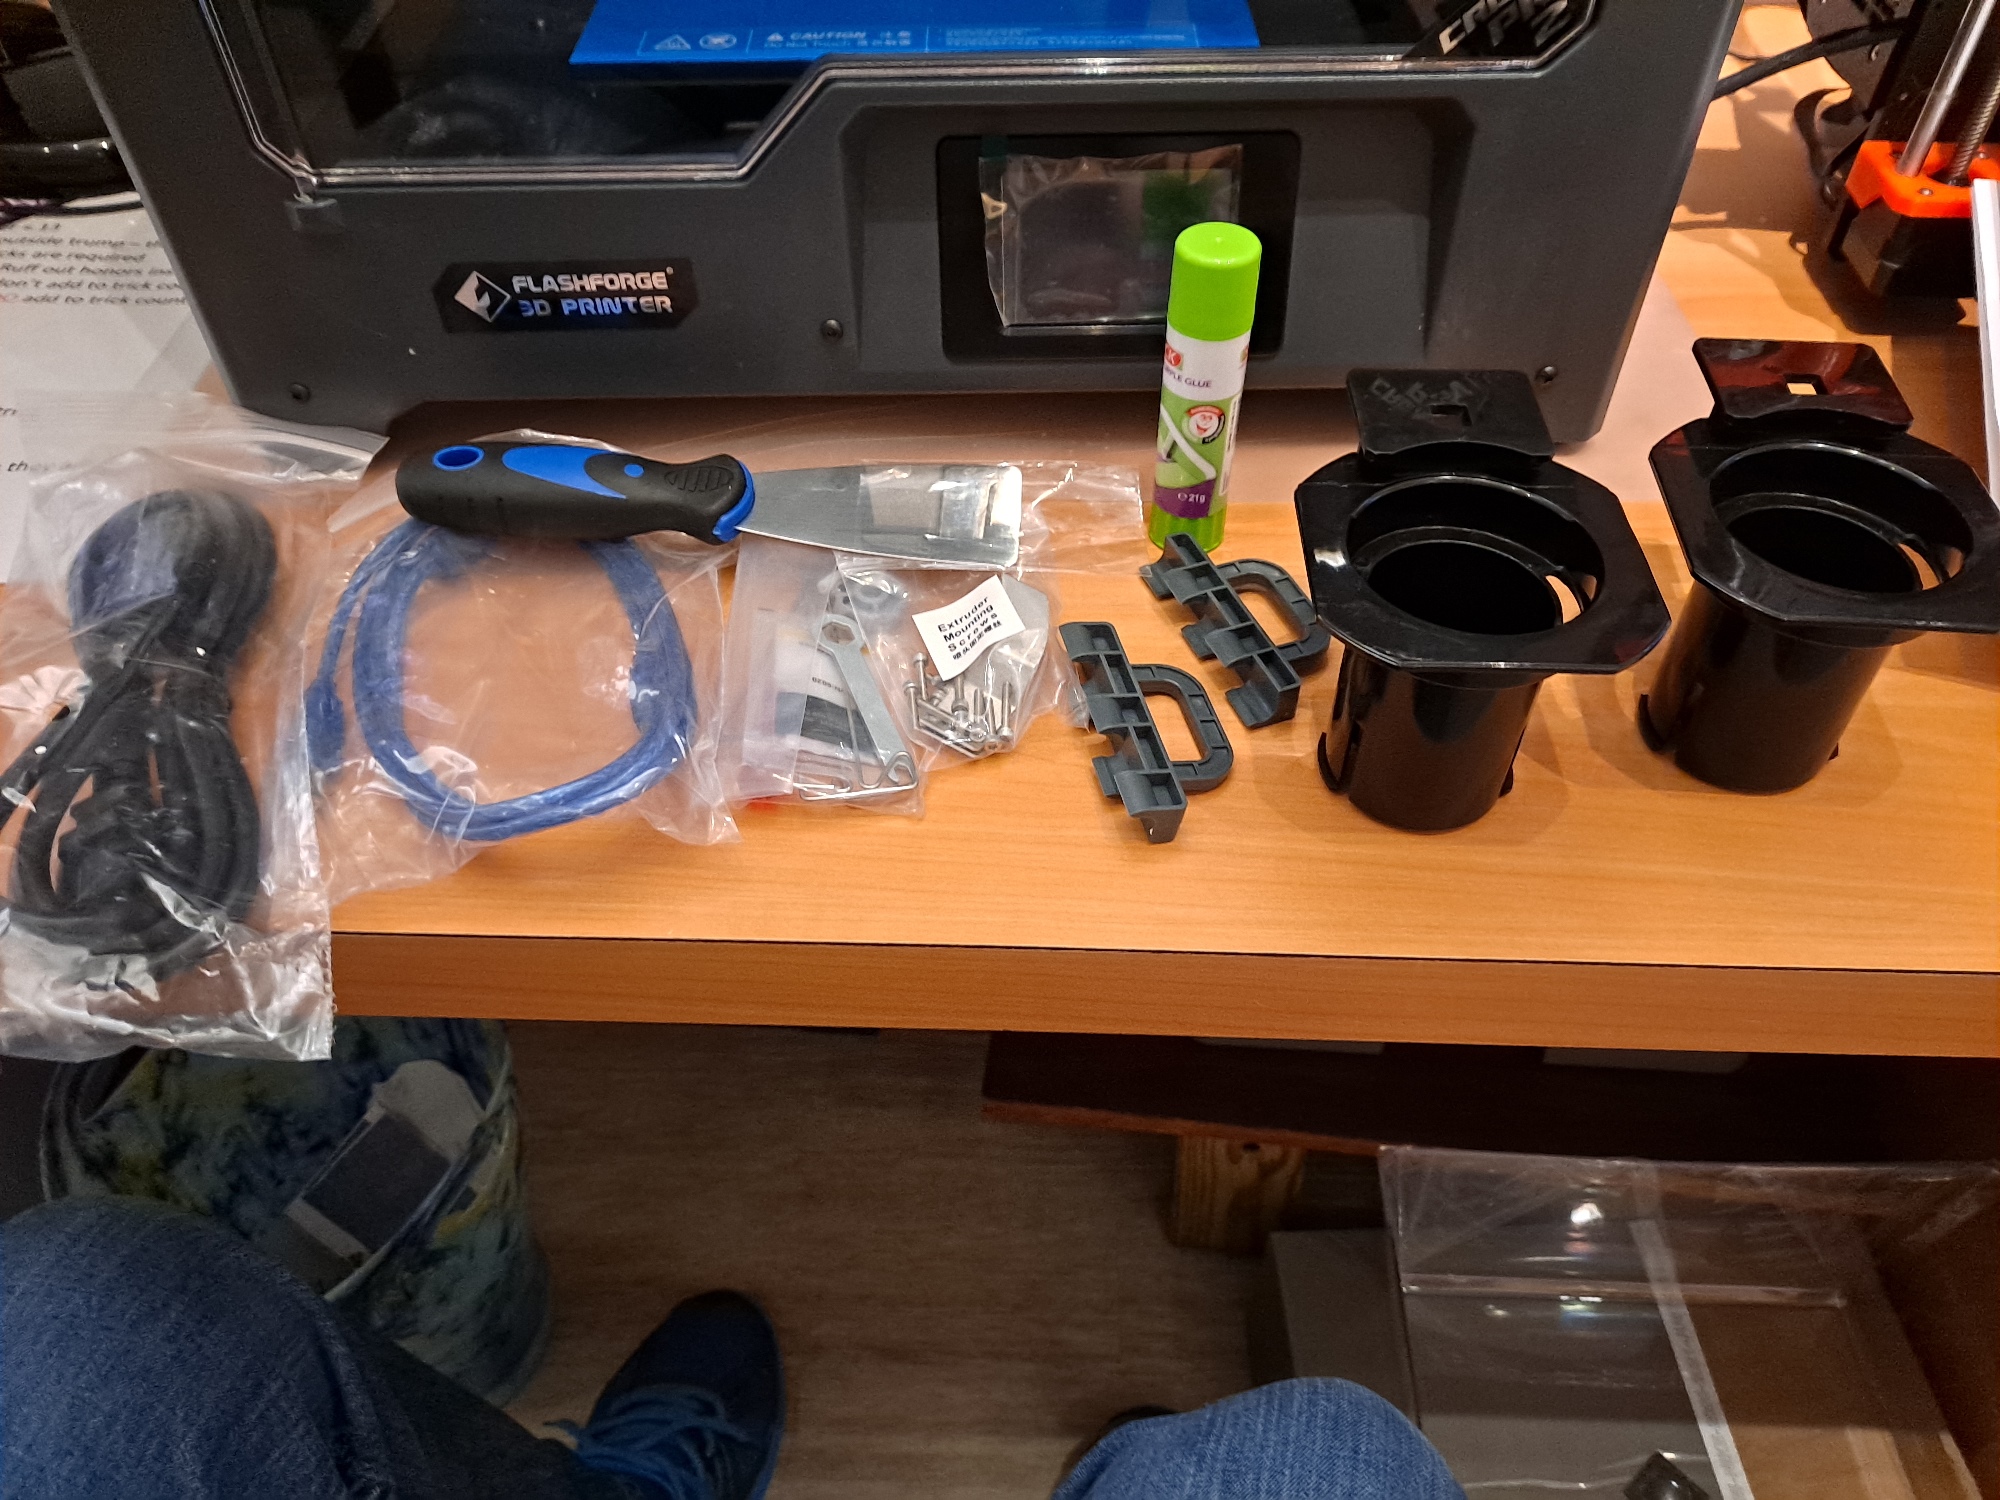
After getting everything unboxed, I started going through the ‘quick start guide’, and rapidly got the extruder assemblies attached to the X-axis carriage, but when I checked the X-axis alignment with the very well thought-out alignment tools (the grey 3D printed parts in the above photo), I discovered the carriage was way out of true, as shown in the following photos:
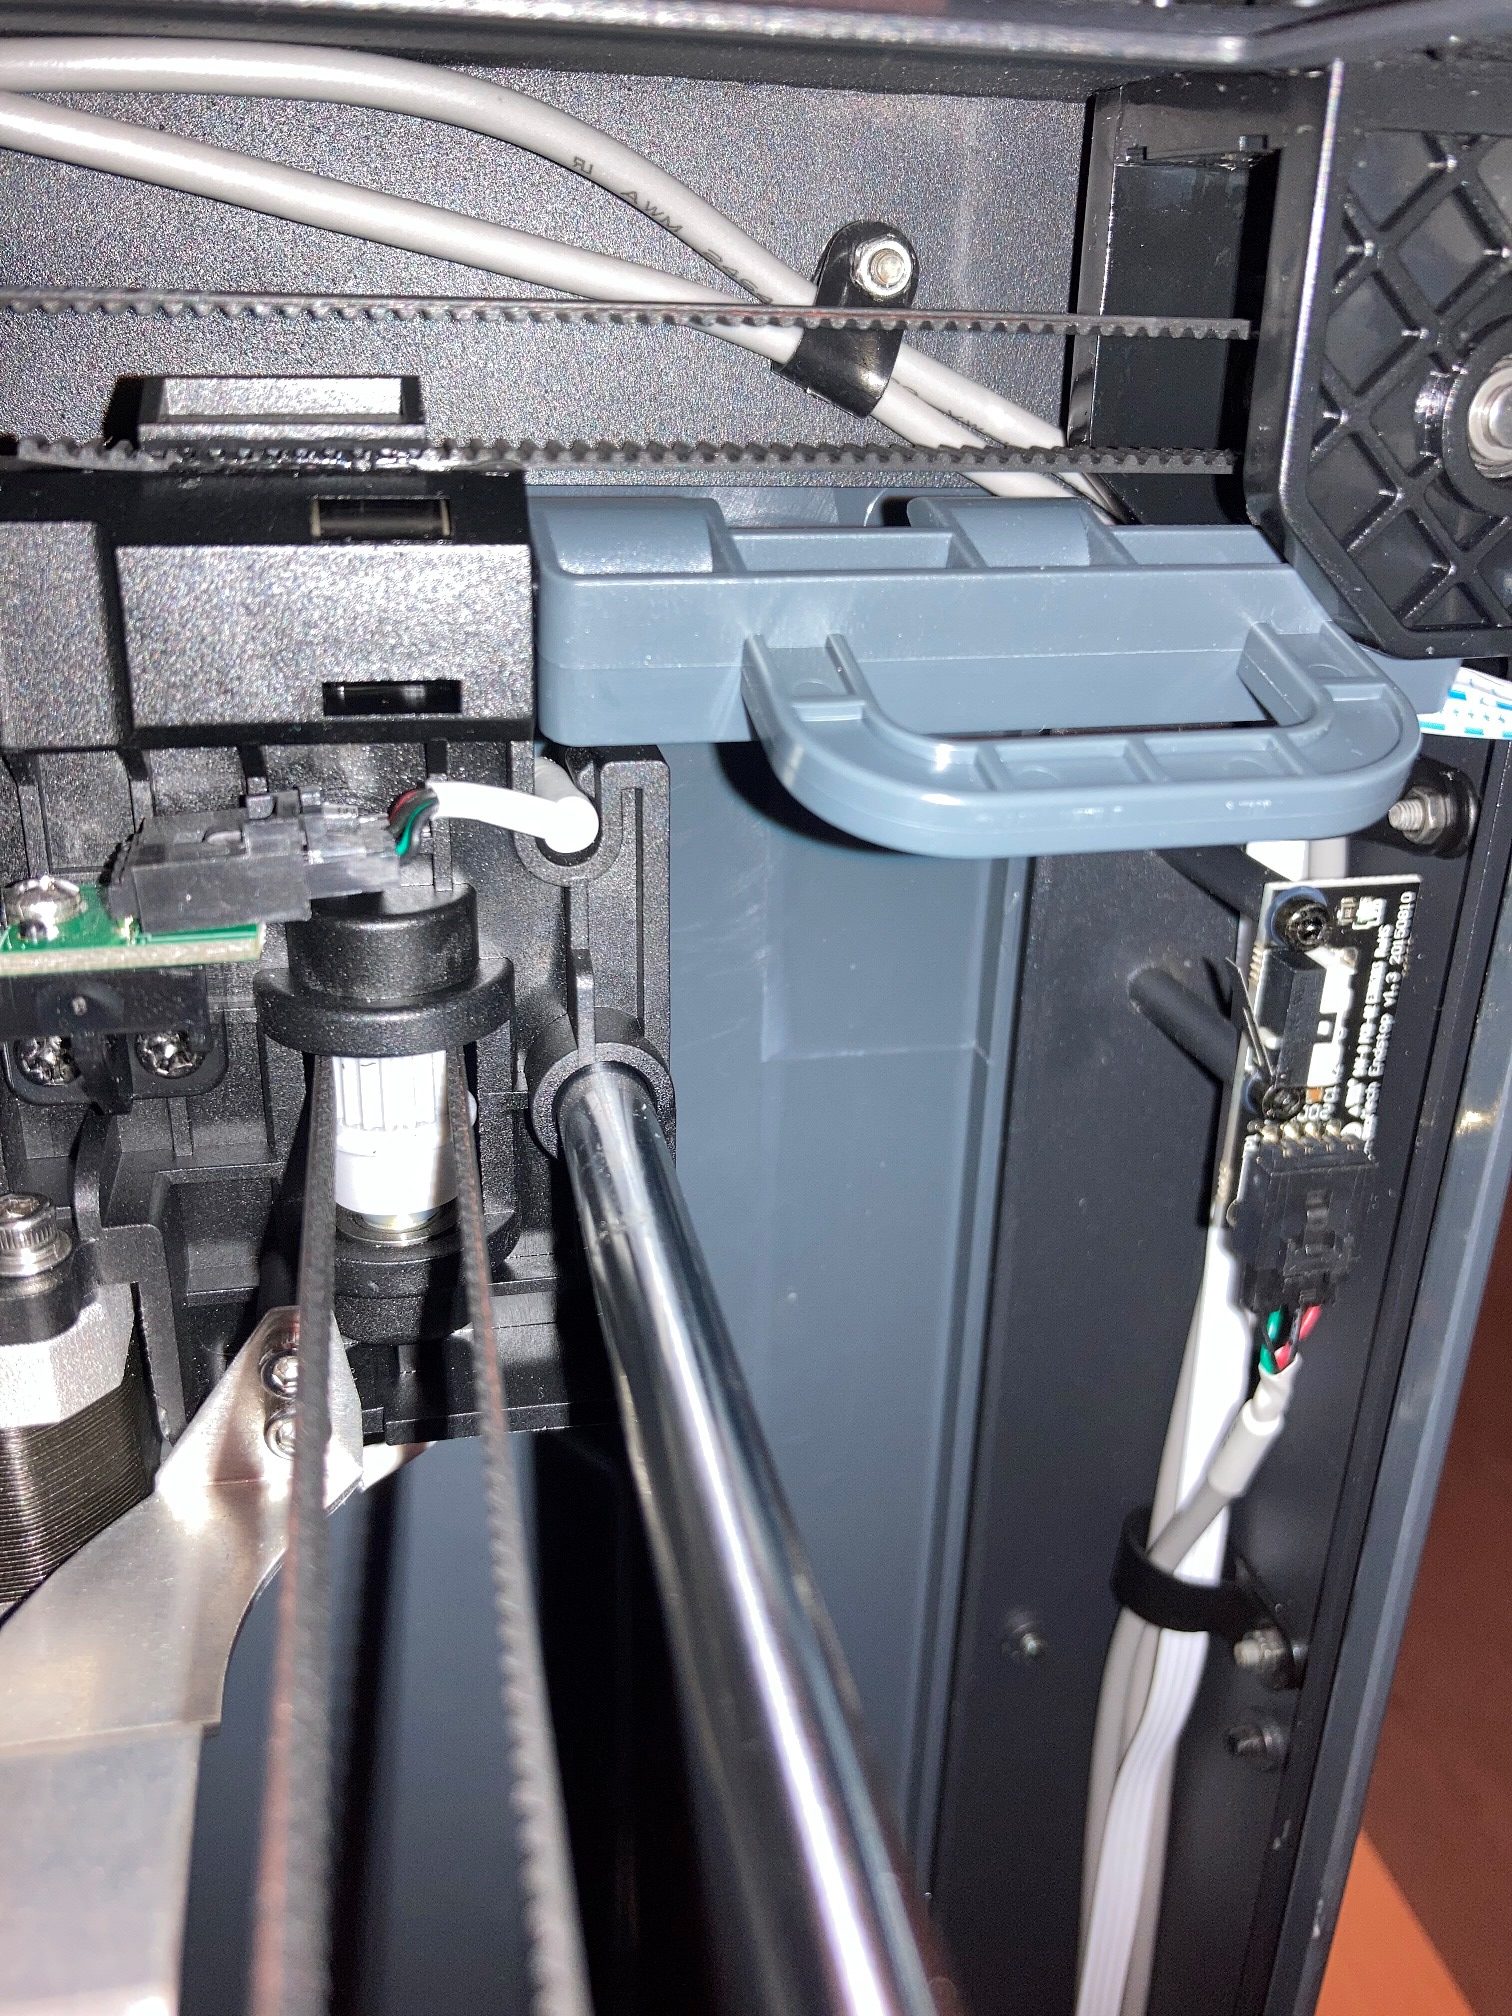
So, I decided it was time to see how well FlashForge support worked, and I was pleasantly surprised that I got a very quick response to my email. I was connected to ‘Cheery’, who said he would be responsible for getting me going, and he did an excellent job of doing just that. After a couple of back-and-forths, he sent me a link to a video demonstrating how to re-align the extruder carriage. The video showed a FlashForge technician simply reaching into the printer, and brute-forcing the carriage into alignment – wow! Never in a million years would I have tried this without seeing the video – just not something you contemplate doing with your brand-new printer. While watching the video I heard some quite loud clicking sounds which at first I attributed to background noise in the obviously industrial setting, but then realized it was actually the printer itself making the clicking noises as the tech forced the carriage into alignment. I verified with ‘Cheery’ that I too should hear ‘clicks’, and that gave me the courage to apply enough force to overcome whatever ratcheting mechanism is associated with the carriage. I’m a big guy and in pretty good shape for an old fart, and it took some real force to make anything happen. In any case, I eventually got the right number of ‘clicks’ and the carriage was then aligned perfectly – yay!!
Once I got everything put together, I did a couple of the test prints provided by FlashForge, including one they called a ‘Hilbert Square’ that required a support material. I decided to try it with PVA water-soluble material support, and it turned out very nicely.
Although not perfect, this print was SO much better than I had ever been able to achieve with the M3-ID that I almost cried from happiness; out of the box with no real tuning, using FlashForge’s so-so proprietary FlashPrint5 slicer, and bingo – great prints with dissolvable supports – yay!
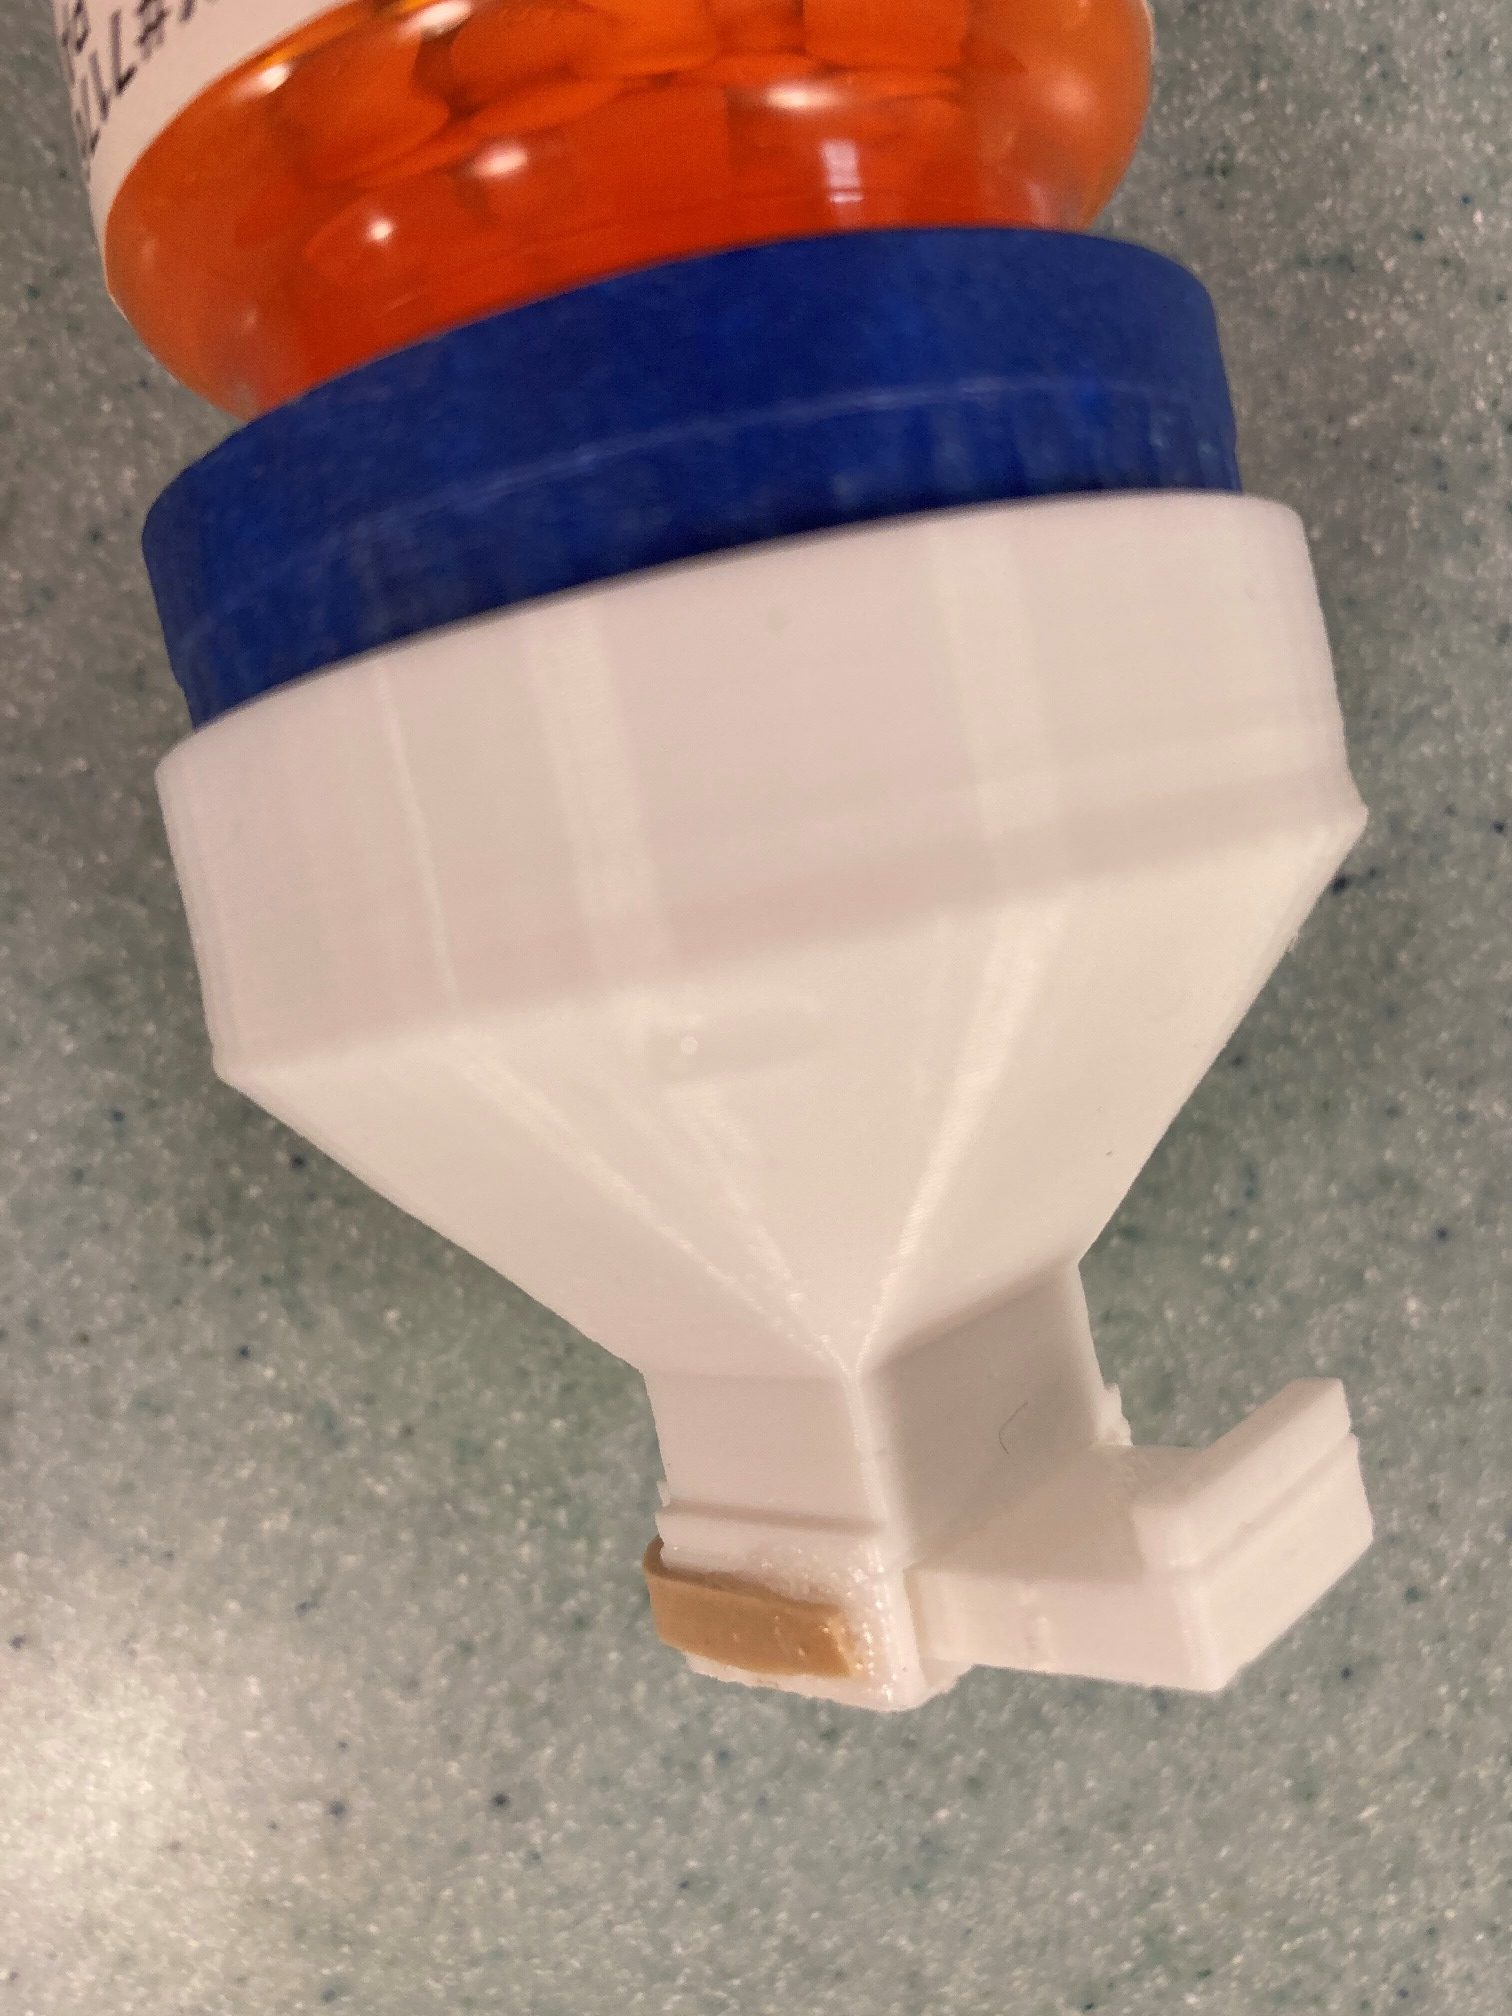
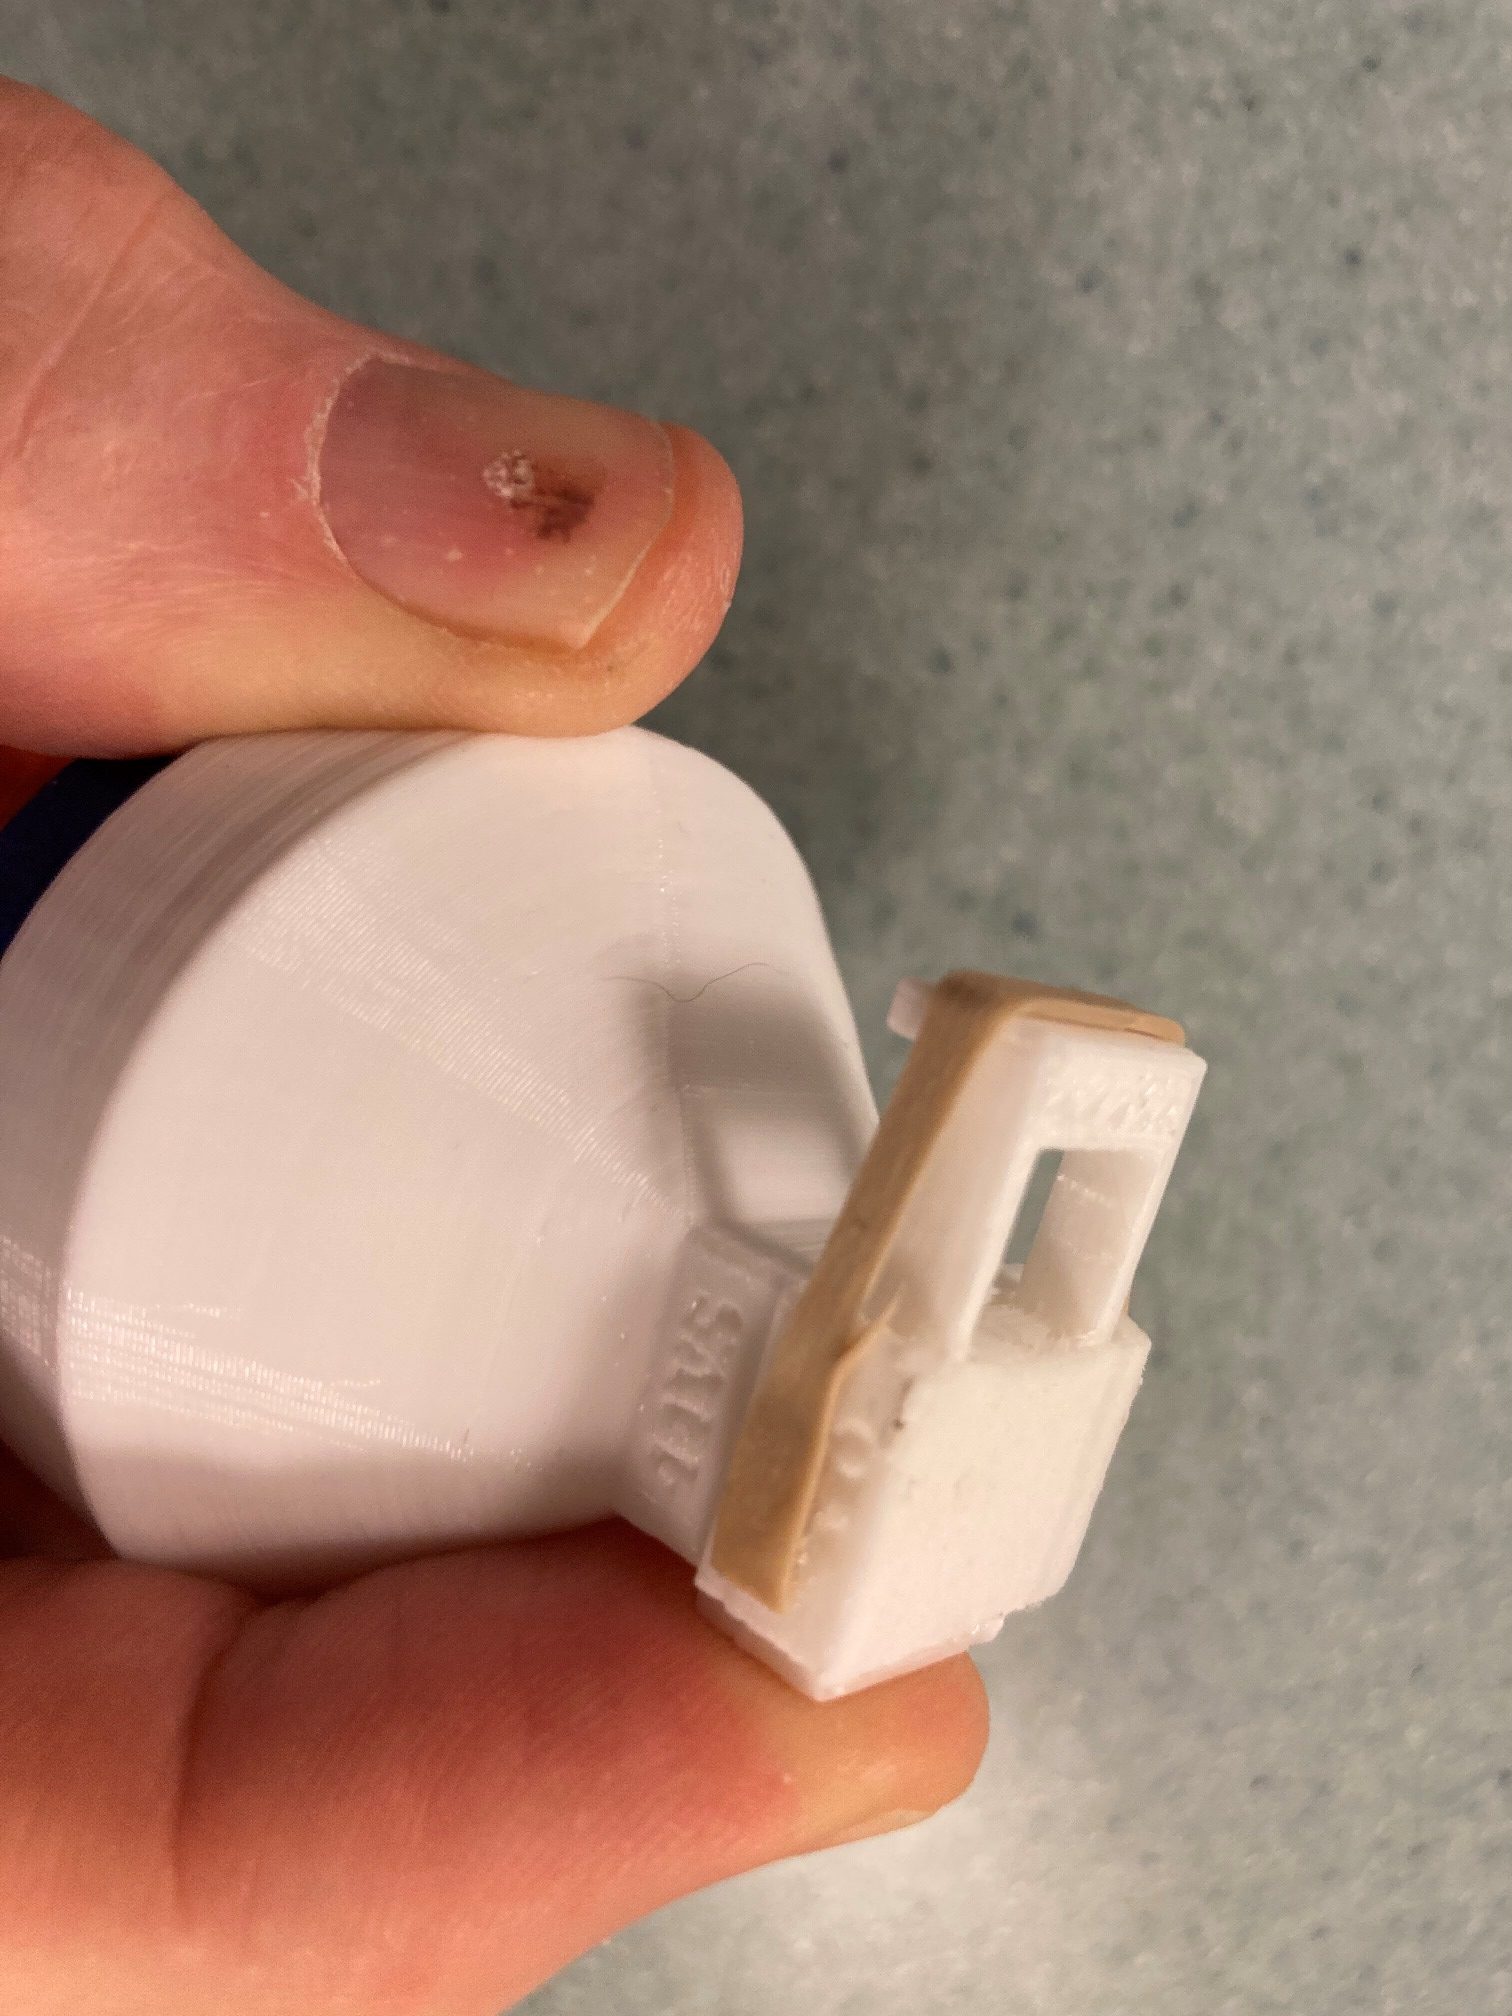
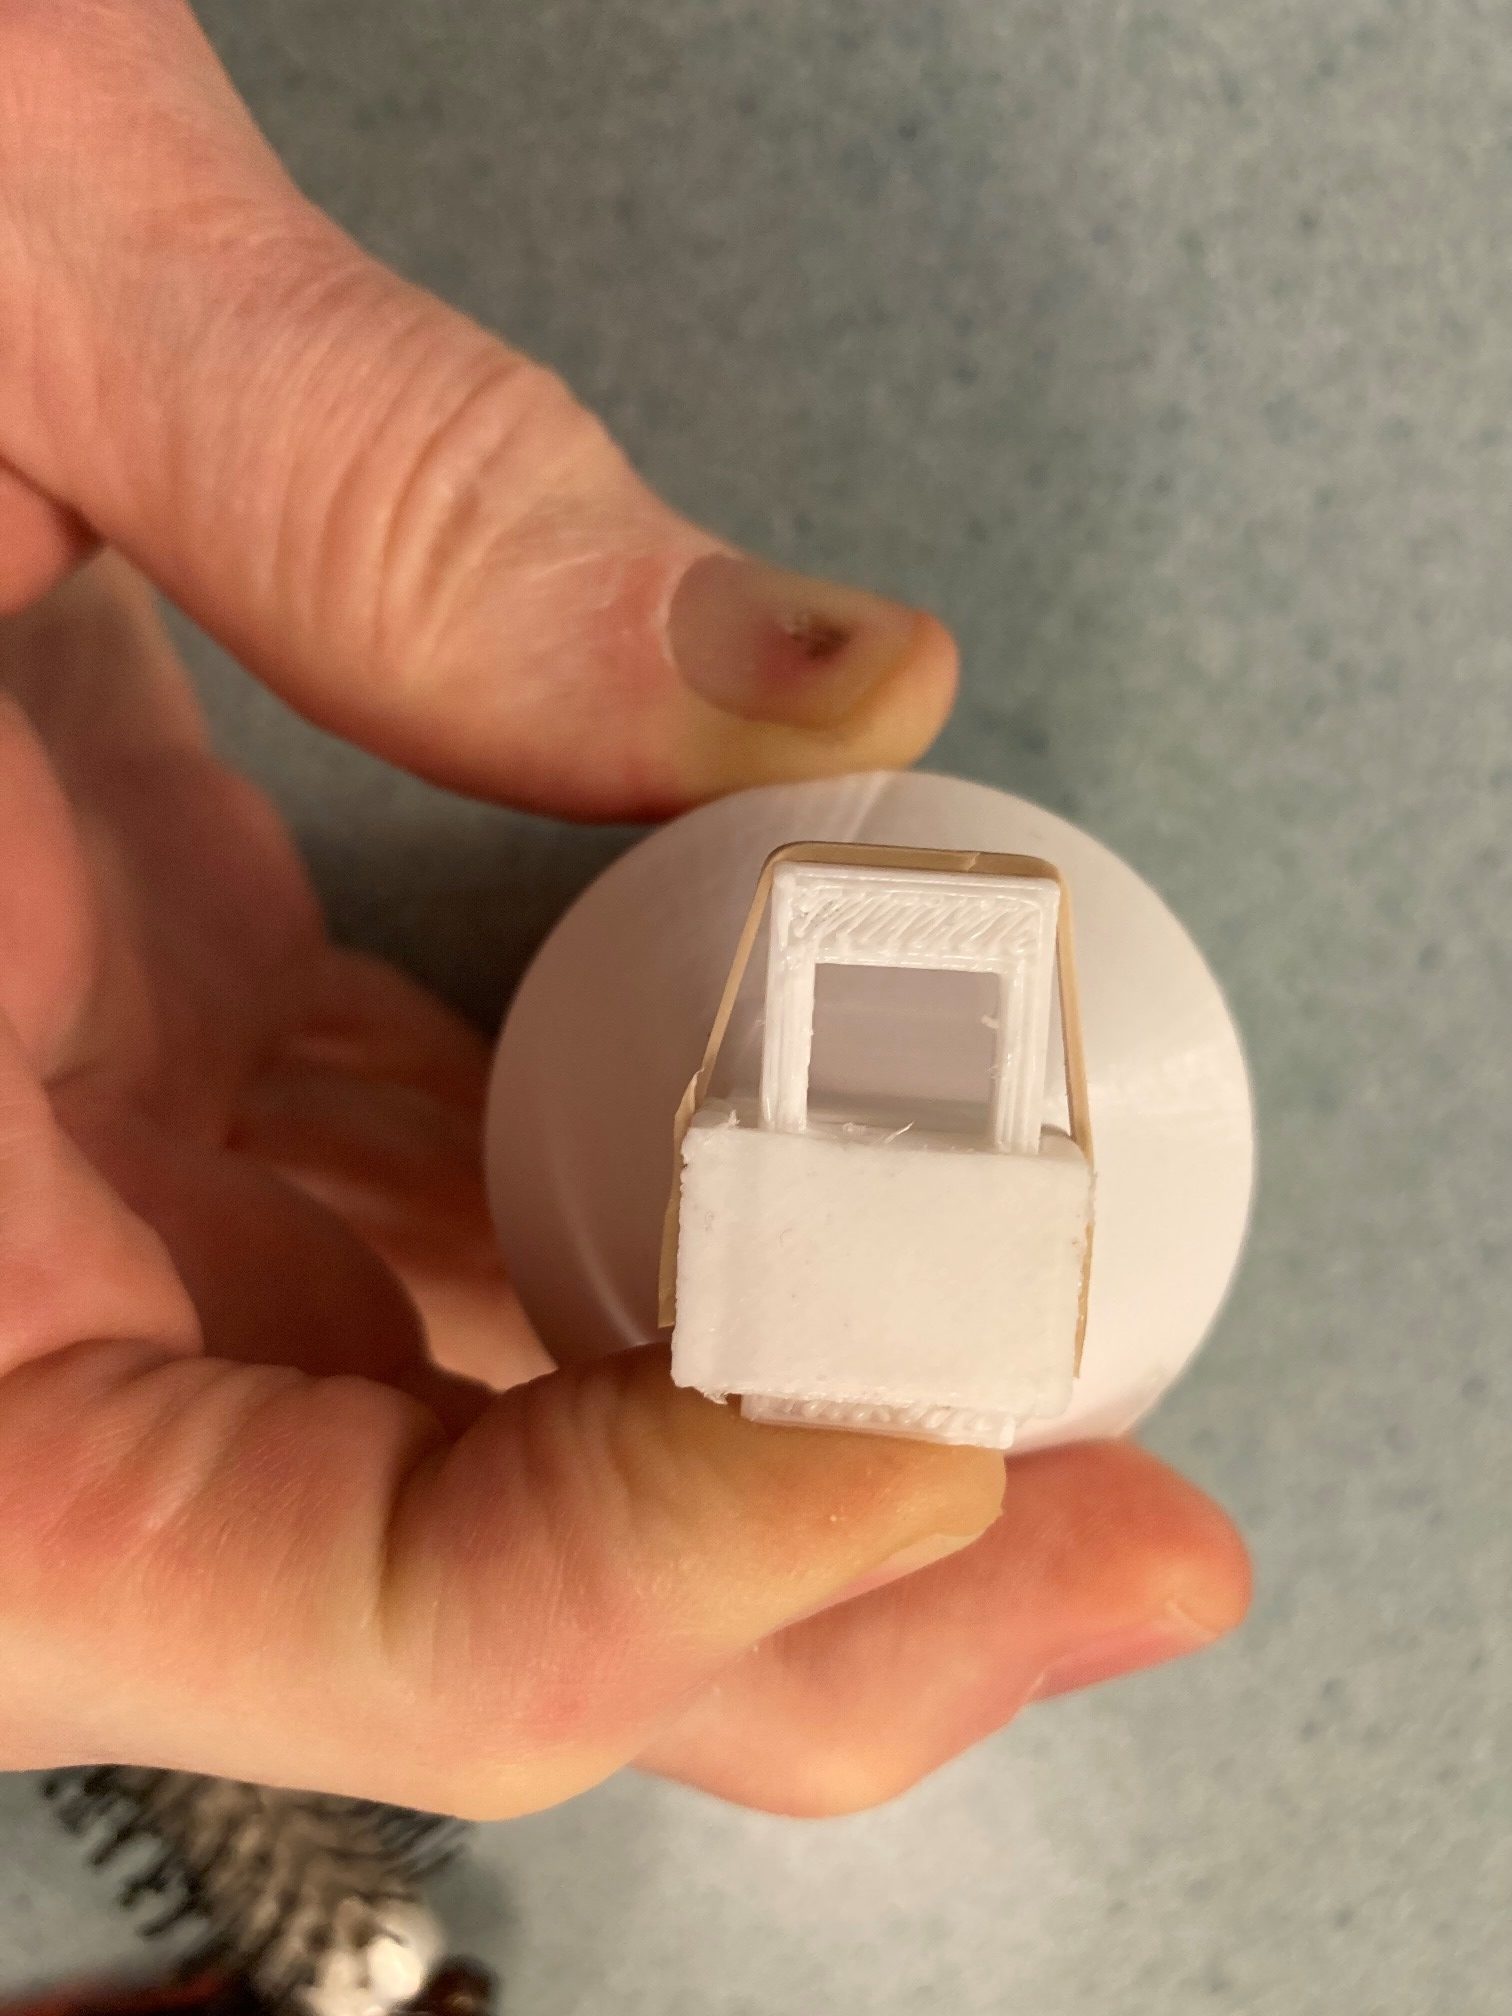
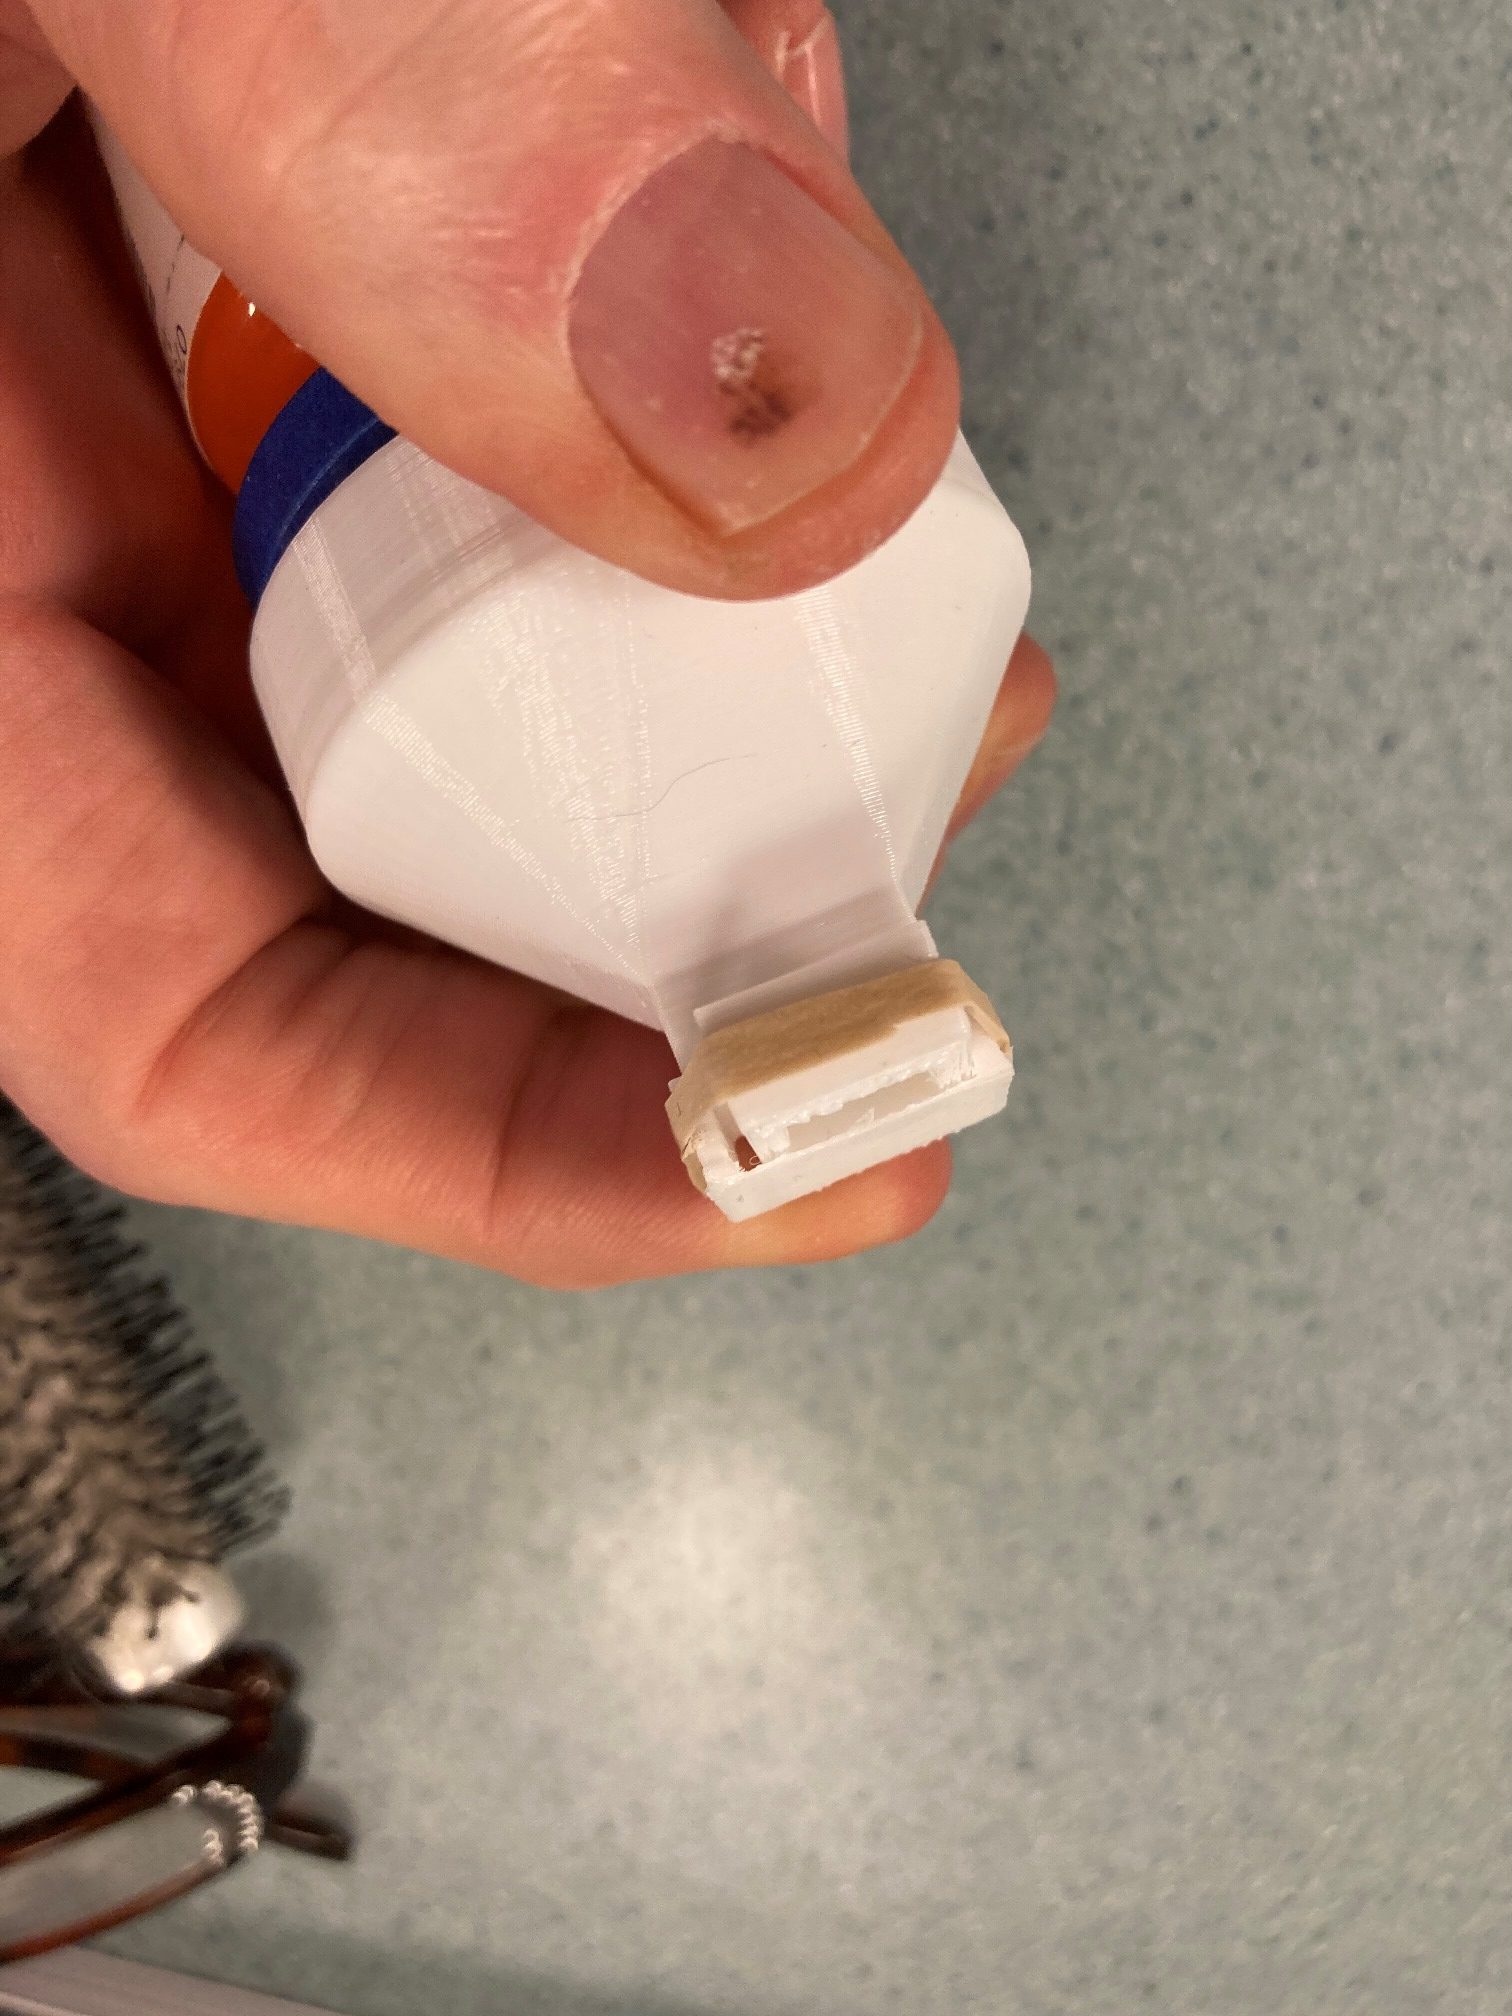
The next thing I tried was my pill-dispenser design, which features a sliding drawer arrangement to dispense one pill or caplet at a time from a bottle. The sliding drawer requires a dissolvable support to make it work, and again the print worked like a champ on the very first try.

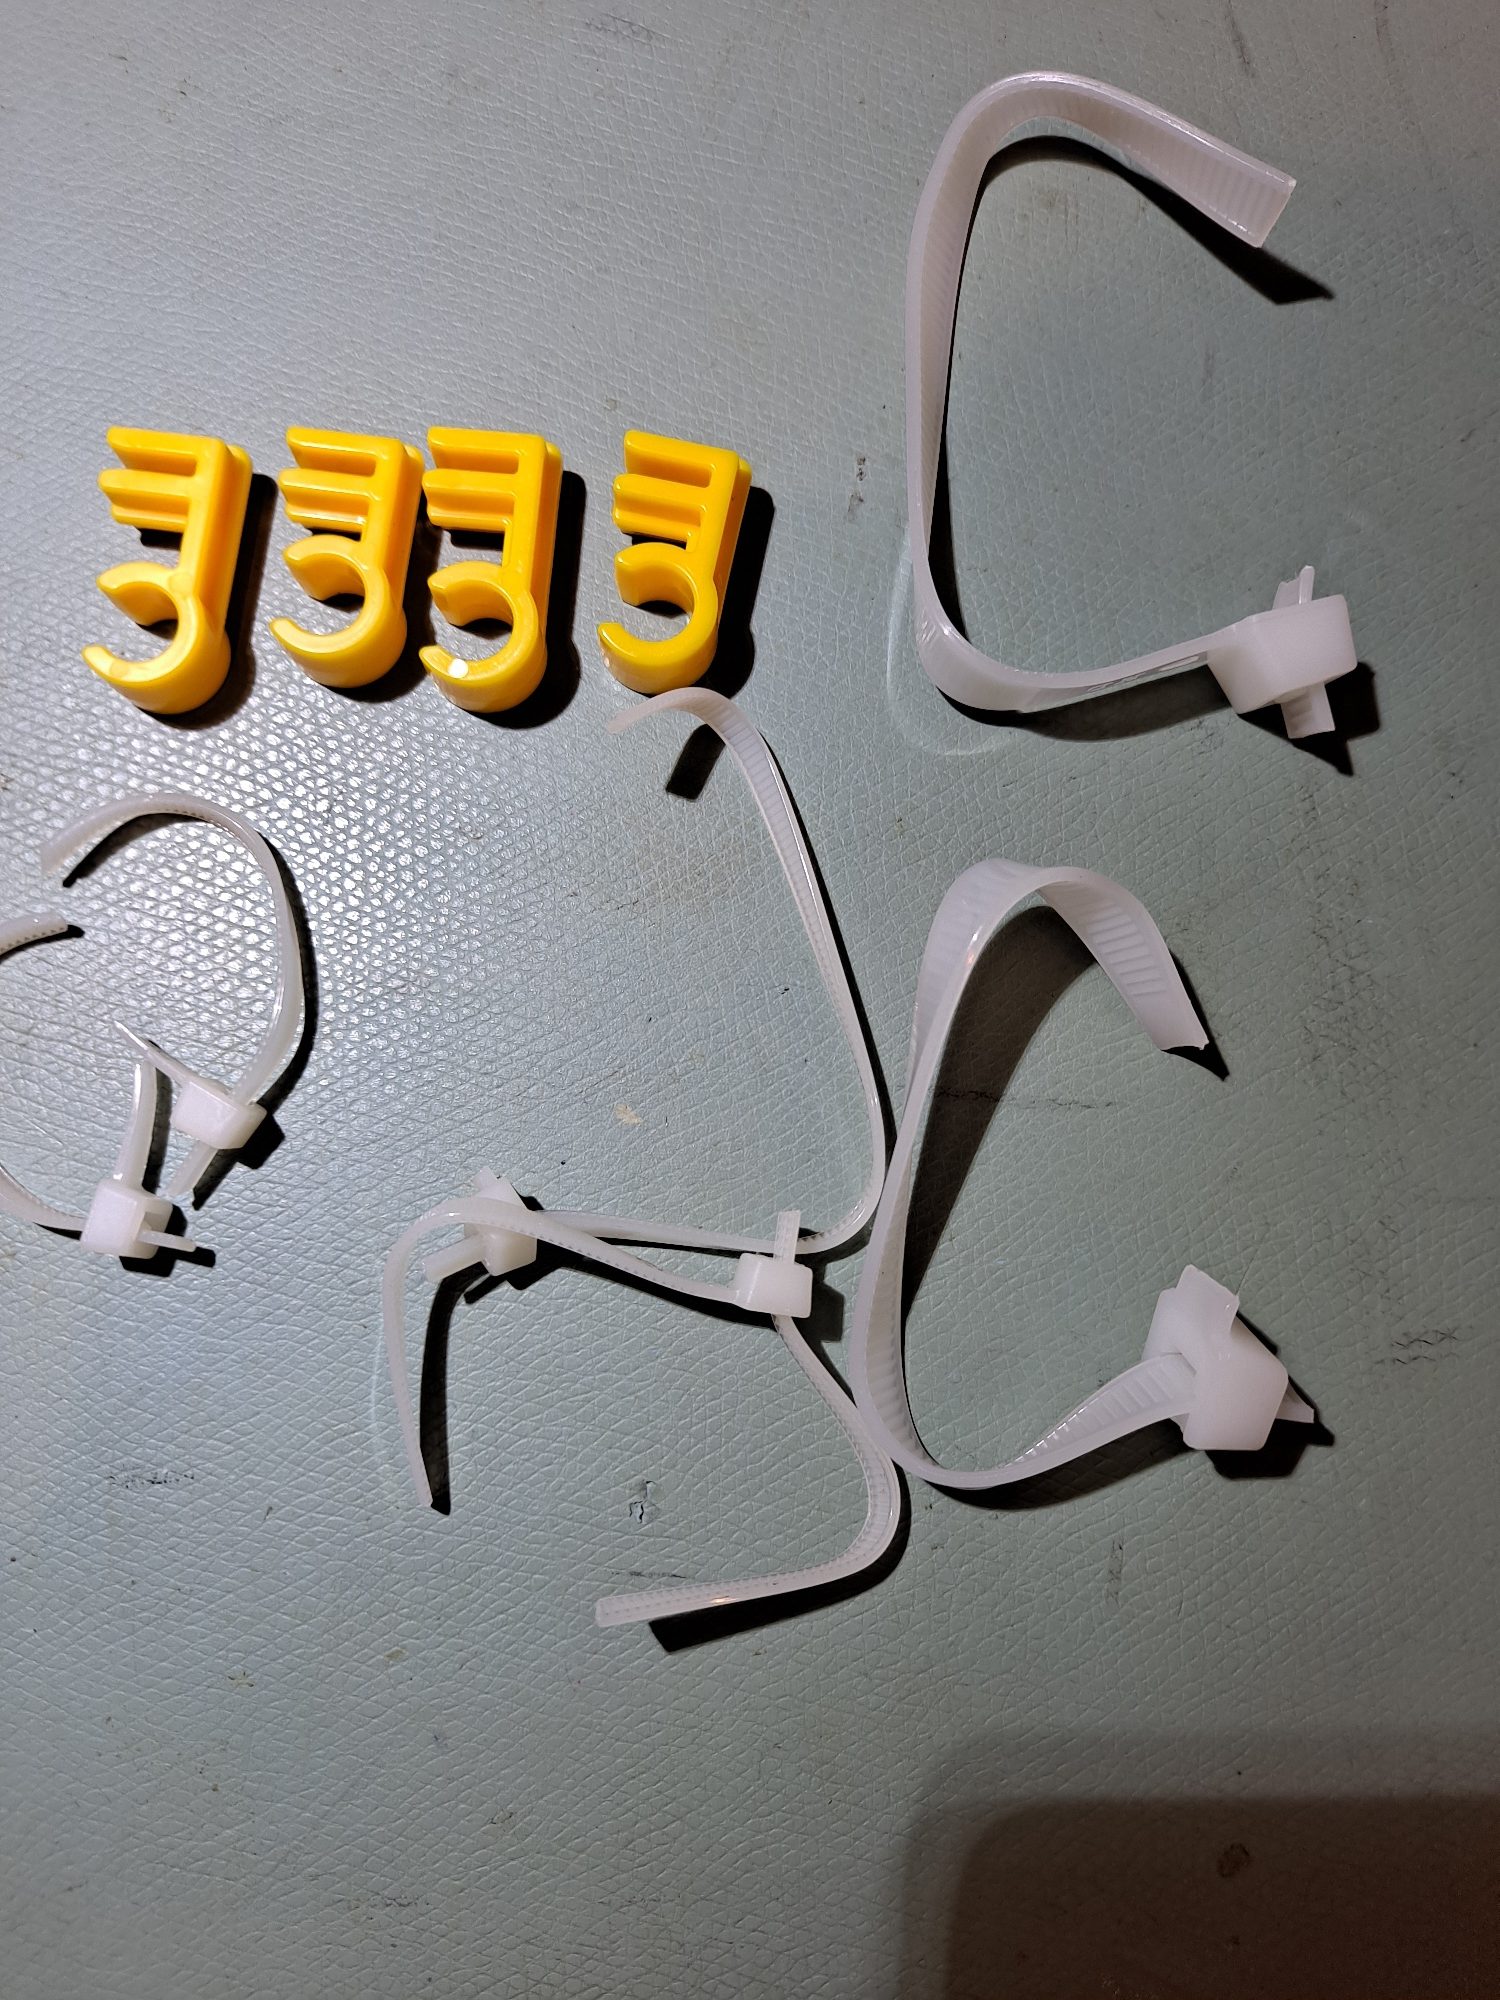
Needless to say I’m extremely happy with my new FlashForge Creator Pro 2 IDEX printer. There are lots of things to quibble about (FlashPrint doesn’t seem to recognize the USB connection, and it’s kind of clunky compared to Simplify3D or Prusa Slicer), but it really, really does a nice job of printing, at least with PLA and PVA support material. I’ve already printed a set of ‘universal filament spool holders’ to replace the FlashForge proprietary ones, and I’ll be doing some more prints in the near future. I have quite a backlog of dual-color, dual-material prints I have been unable to finish while fighting the M3-ID, and I’m looking forward to actually being able to set up a print and walk away, knowing the FFCP2 is reliable enough to leave alone.
28 March 2022 Update:
Since this post was first published back in August of last year, I have been pretty happy with the Flashforge Creator Pro 2 IDEX machine, especially since Jaco Theron and I collaborated (well, Jaco did all the work and I helped with the testing) on a Prusa Slicer config file and post-processing script for this printer, I’ve been even happier.
Unfortunately that all came to a screeching halt about a week ago as I was doing some dual-color test prints to prove out Jaco’s latest changes. First I suffered a filament jam in my right extruder, which I could not seem to clear using my tried-and-true methods.
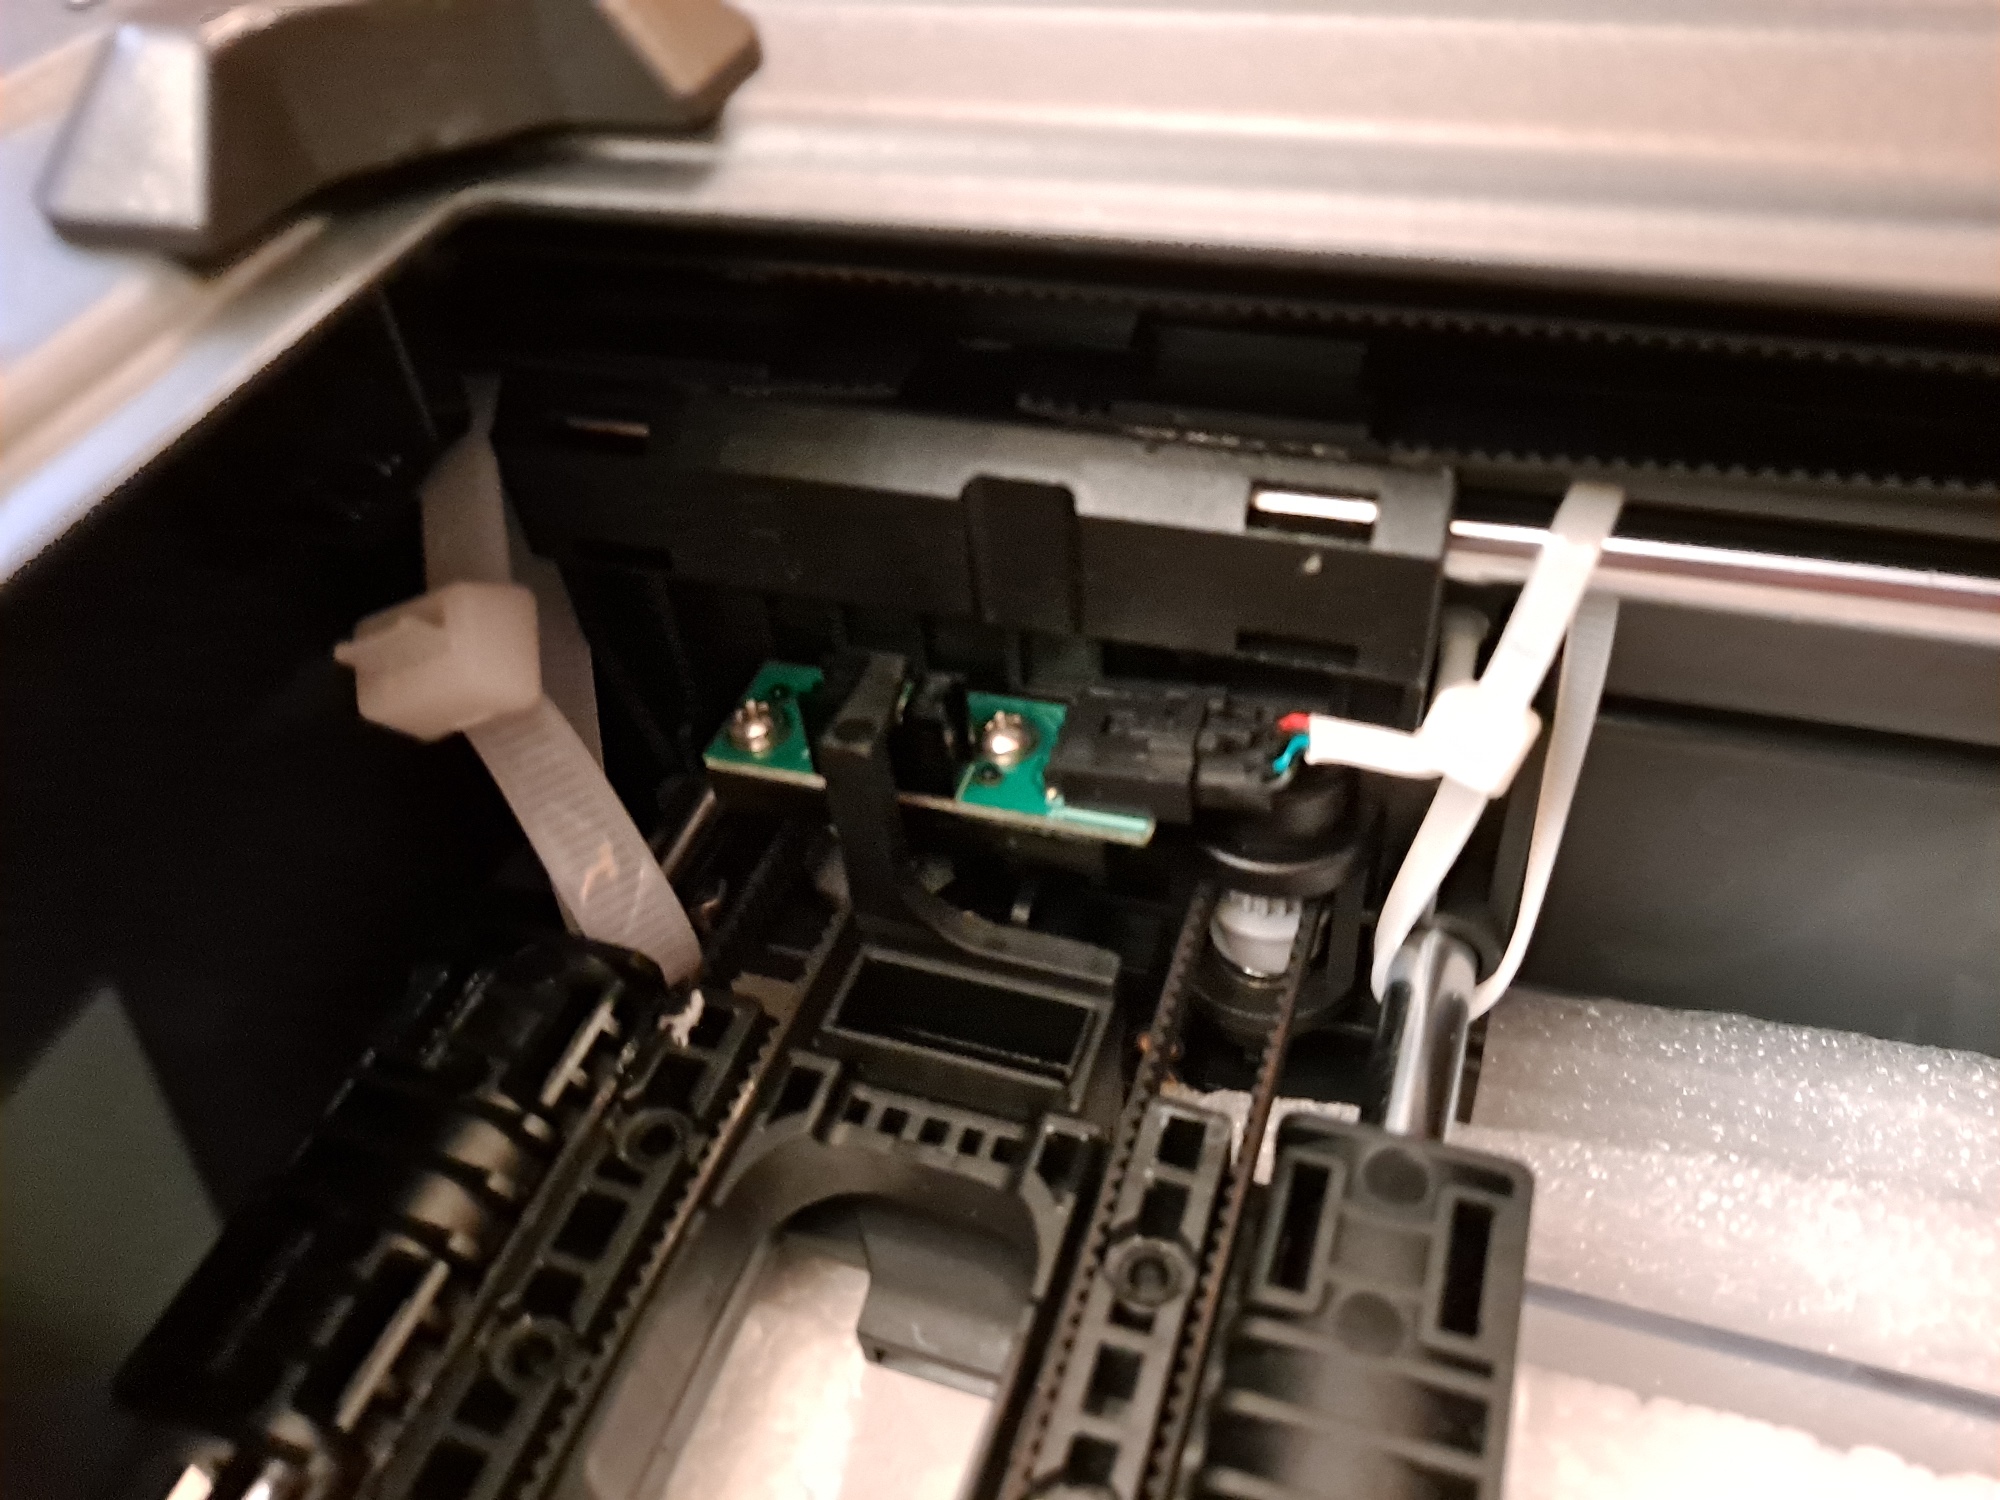
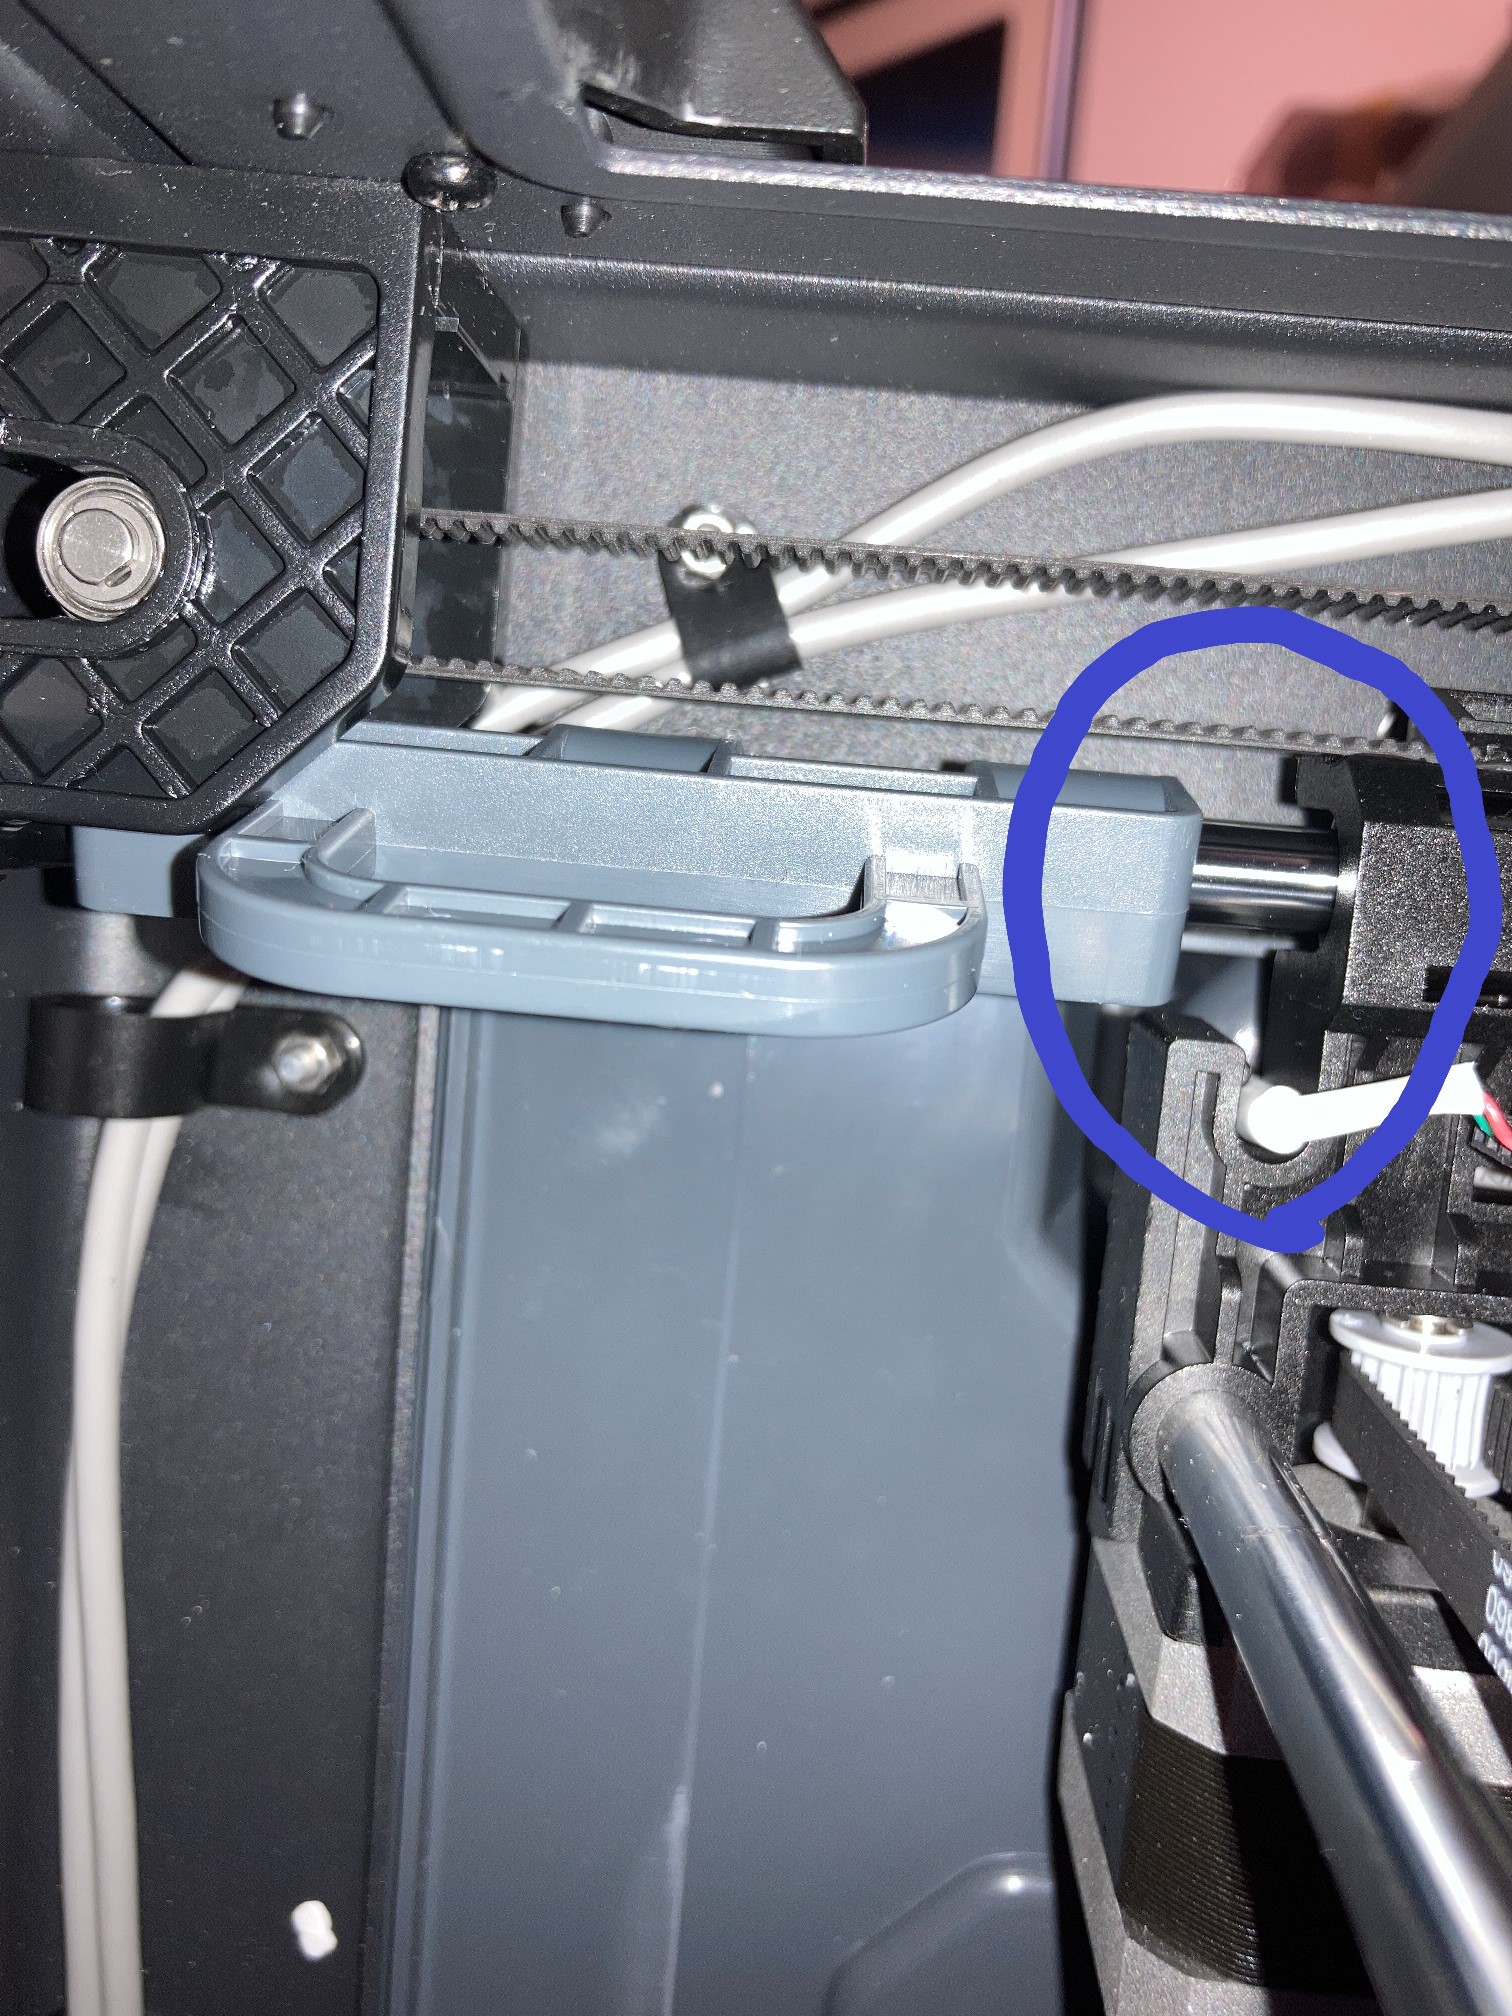
After a lot of cursing and gnashing of teeth I finally did get it cleared, only to start getting errors about the right extruder not holding temperature. I’ve never heard of this error before, so after scratching my head and searching vainly through the inet, I wound up completely disassembling the right extruder assembly, whereupon I found that the thermocouple cable to the right extruder had broken off where it enters the heat block, as shown in the following photo:
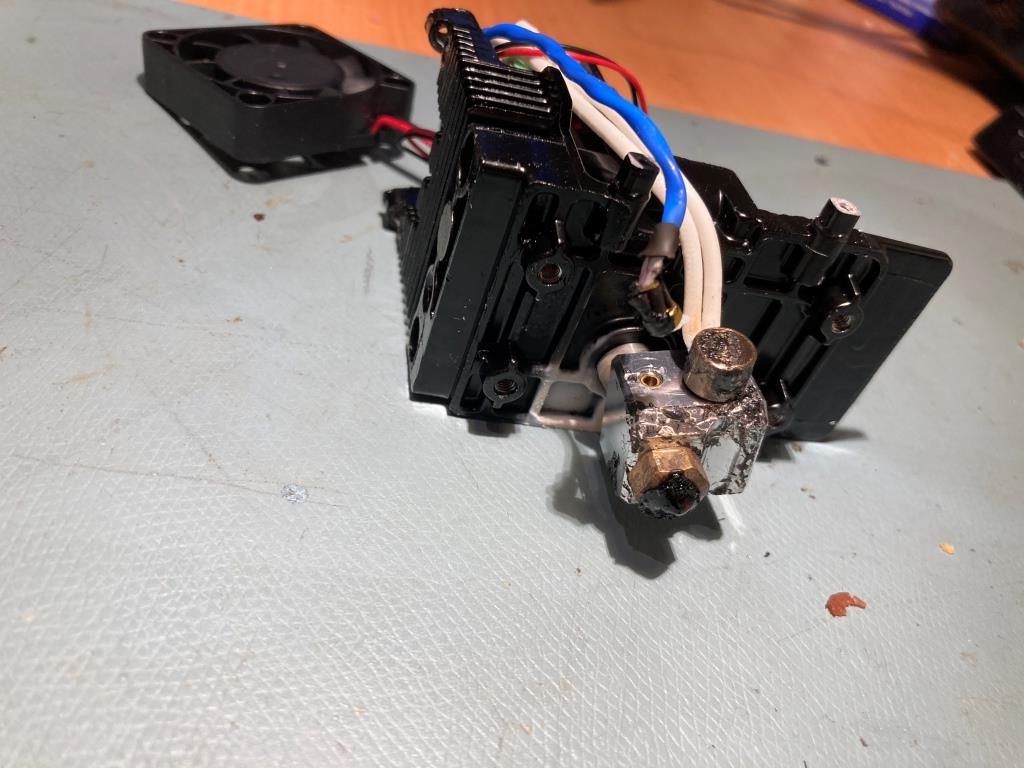
I had been working with ‘Cheery’ from FlashForge’s After-sales support site through this process, and after verifying the printer was still under warranty, he arranged to have a completely new extruder assembly shipped to my house, from China via DHL – talk about customer support – Wow!
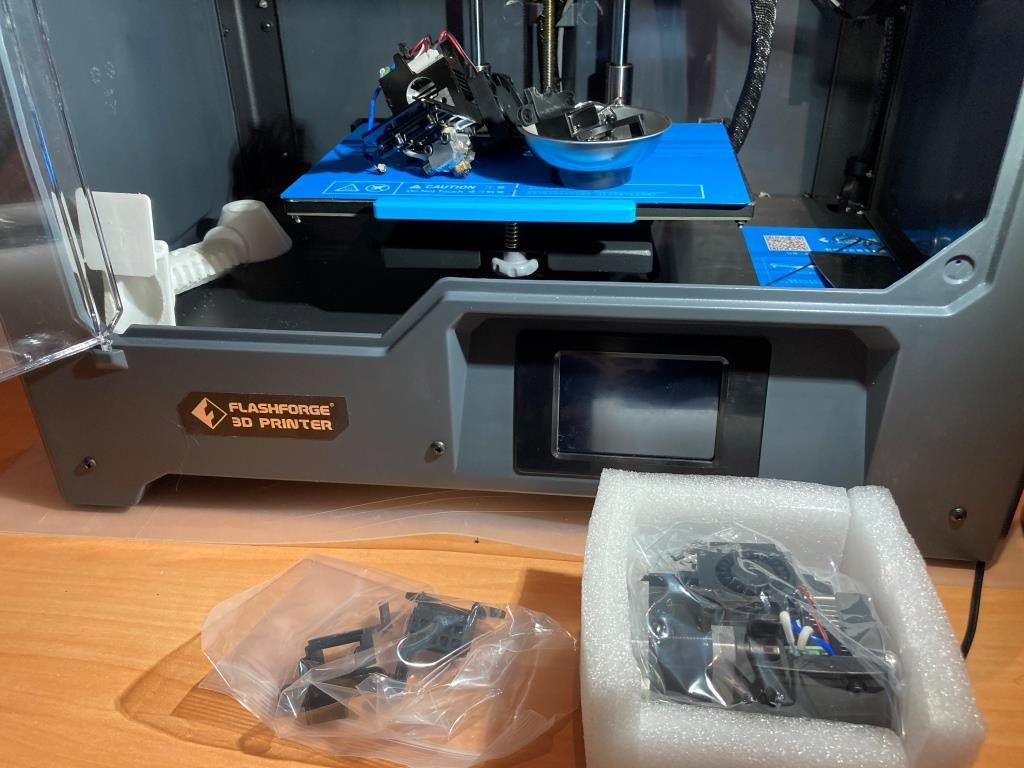
So, the DHL box arrived today, and sure enough, it contained a brand-new extruder assembly, including a brand new stepper motor already attached – wow and wow!
30 March 2022 Update:
I had some time last night, so I installed the replacement extruder assembly. This took a couple of hours and the requisite number of mistakes, including the required “Oh shit – I dropped a screw into the printer and it (of course) went right into one of the gaps in the interior floor and into the electronics space in the bottom – crap!” At first I thought – “no problem, I have spares”, only to realize later that I didn’t have spares for that particular set of two screws – double crap!
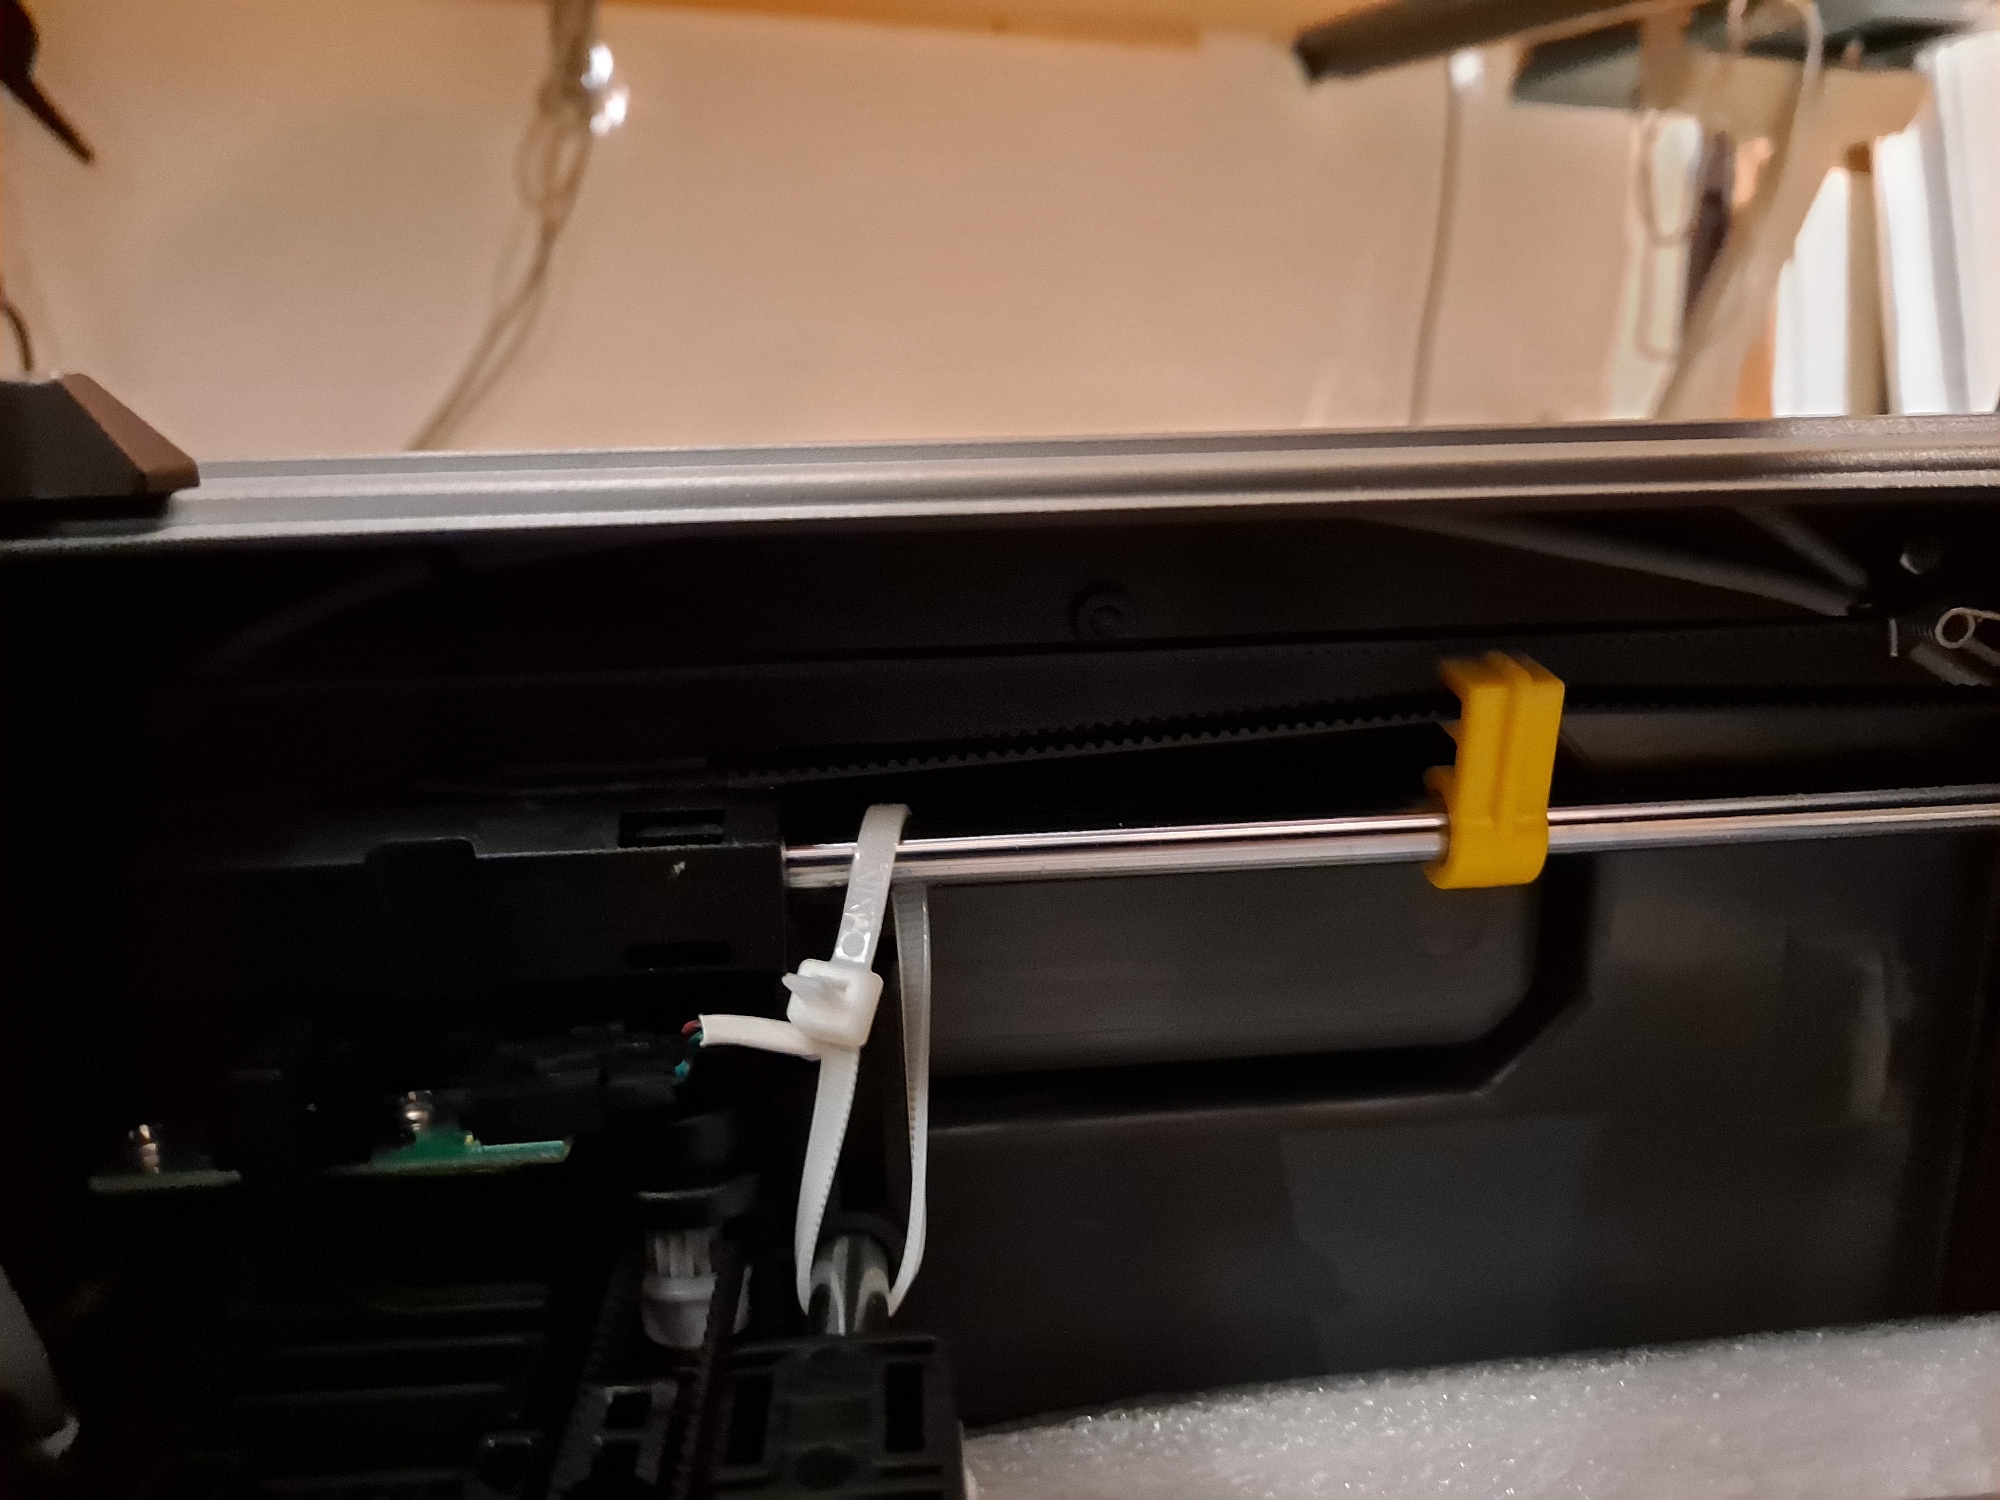
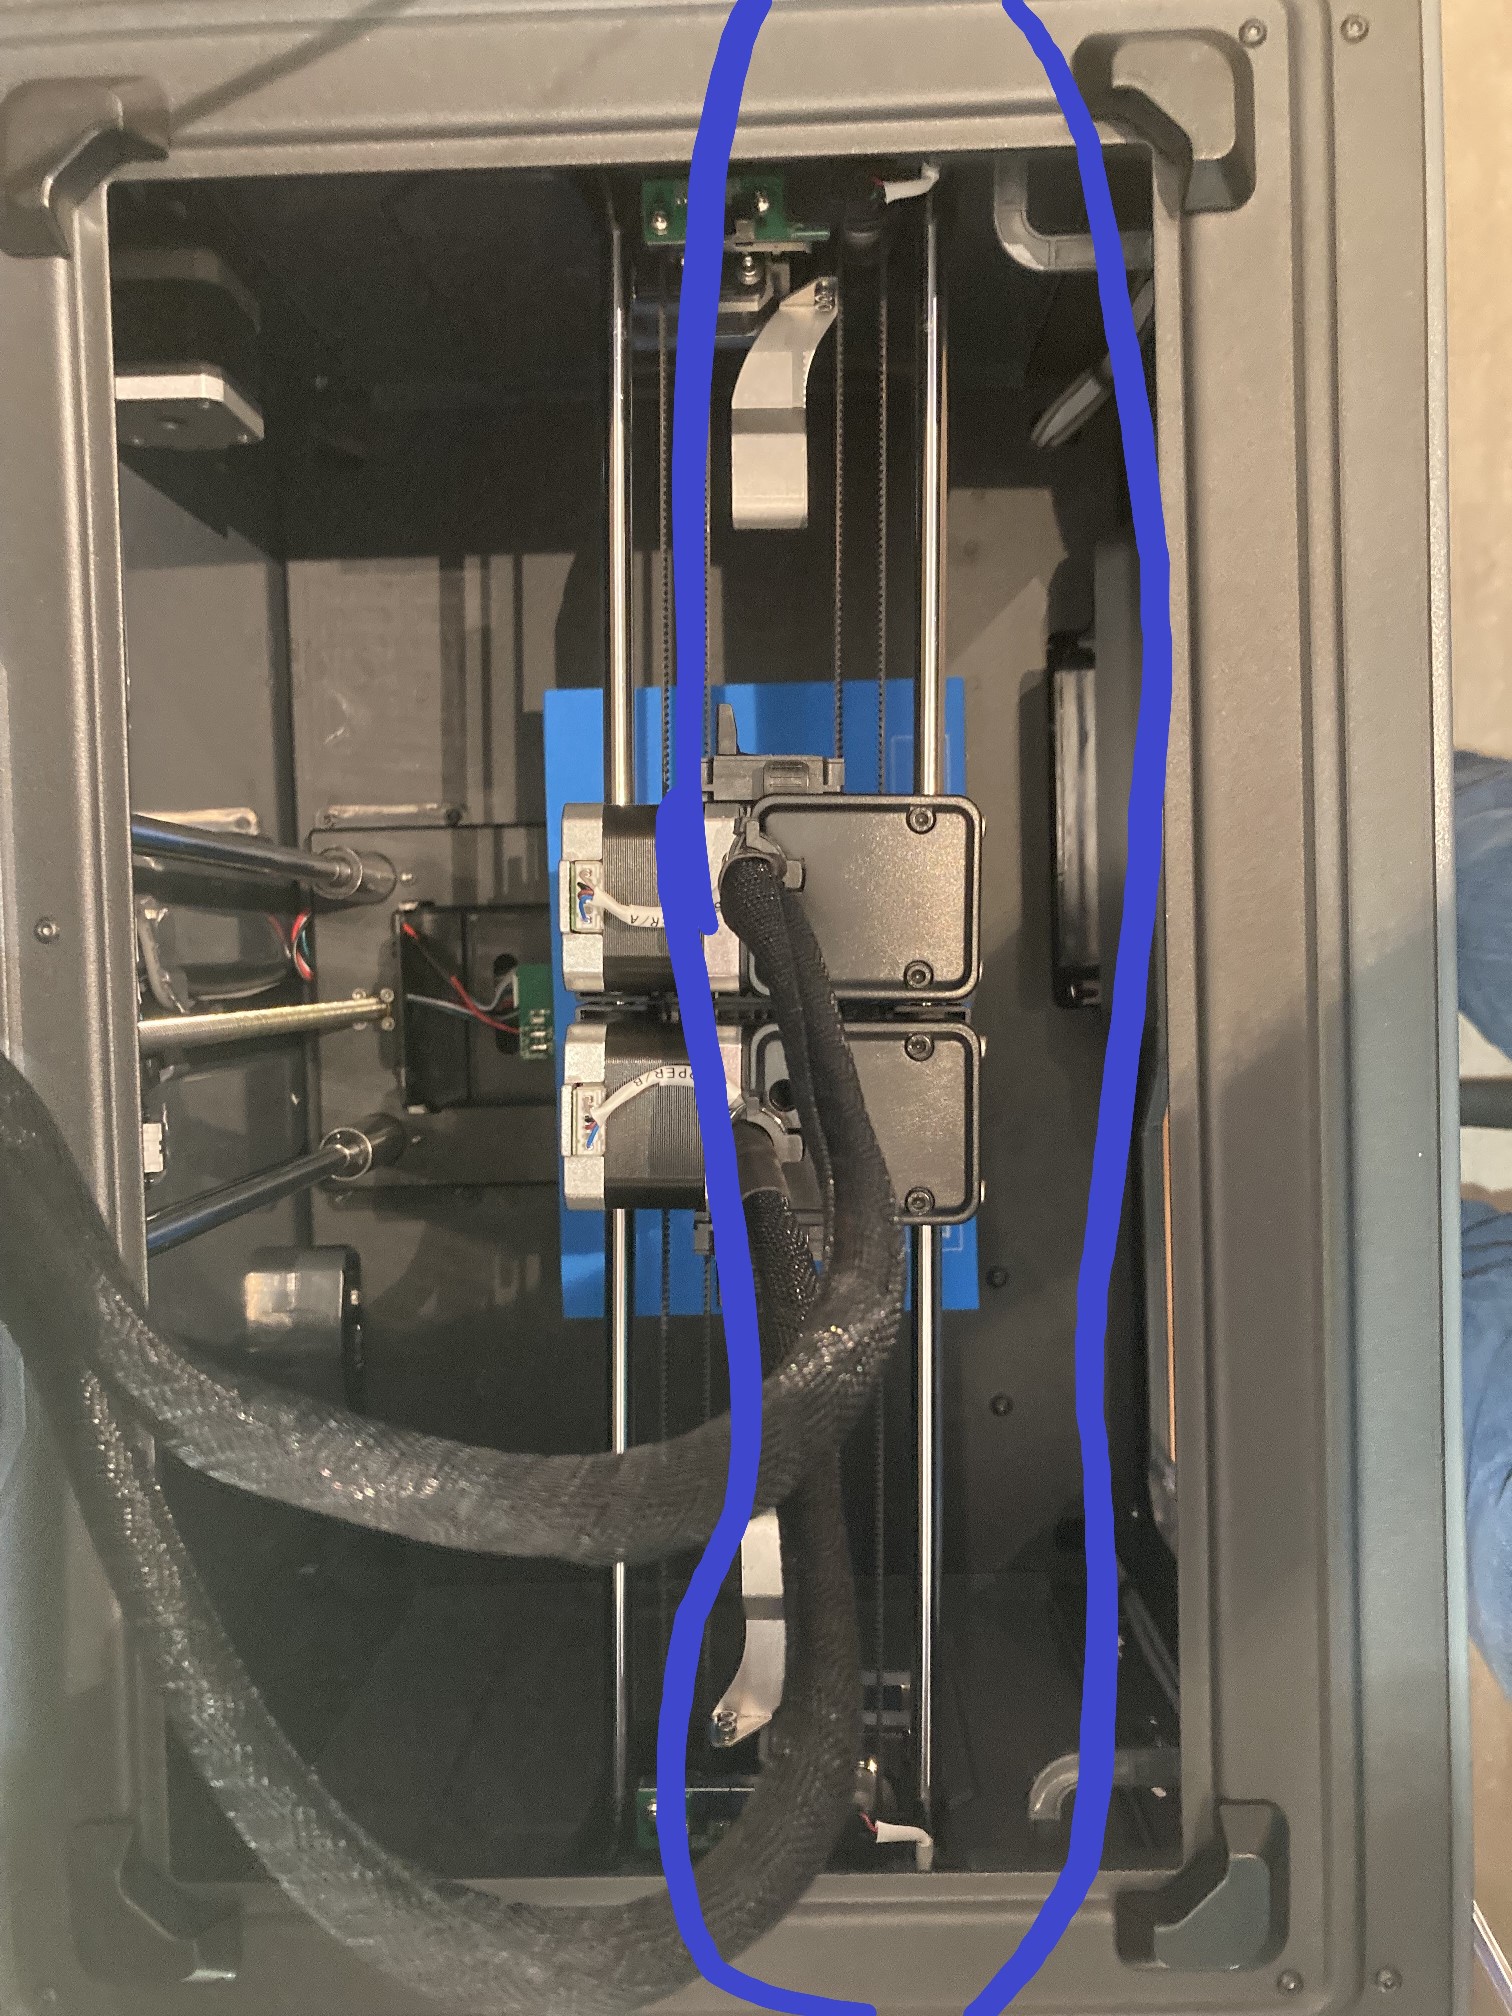
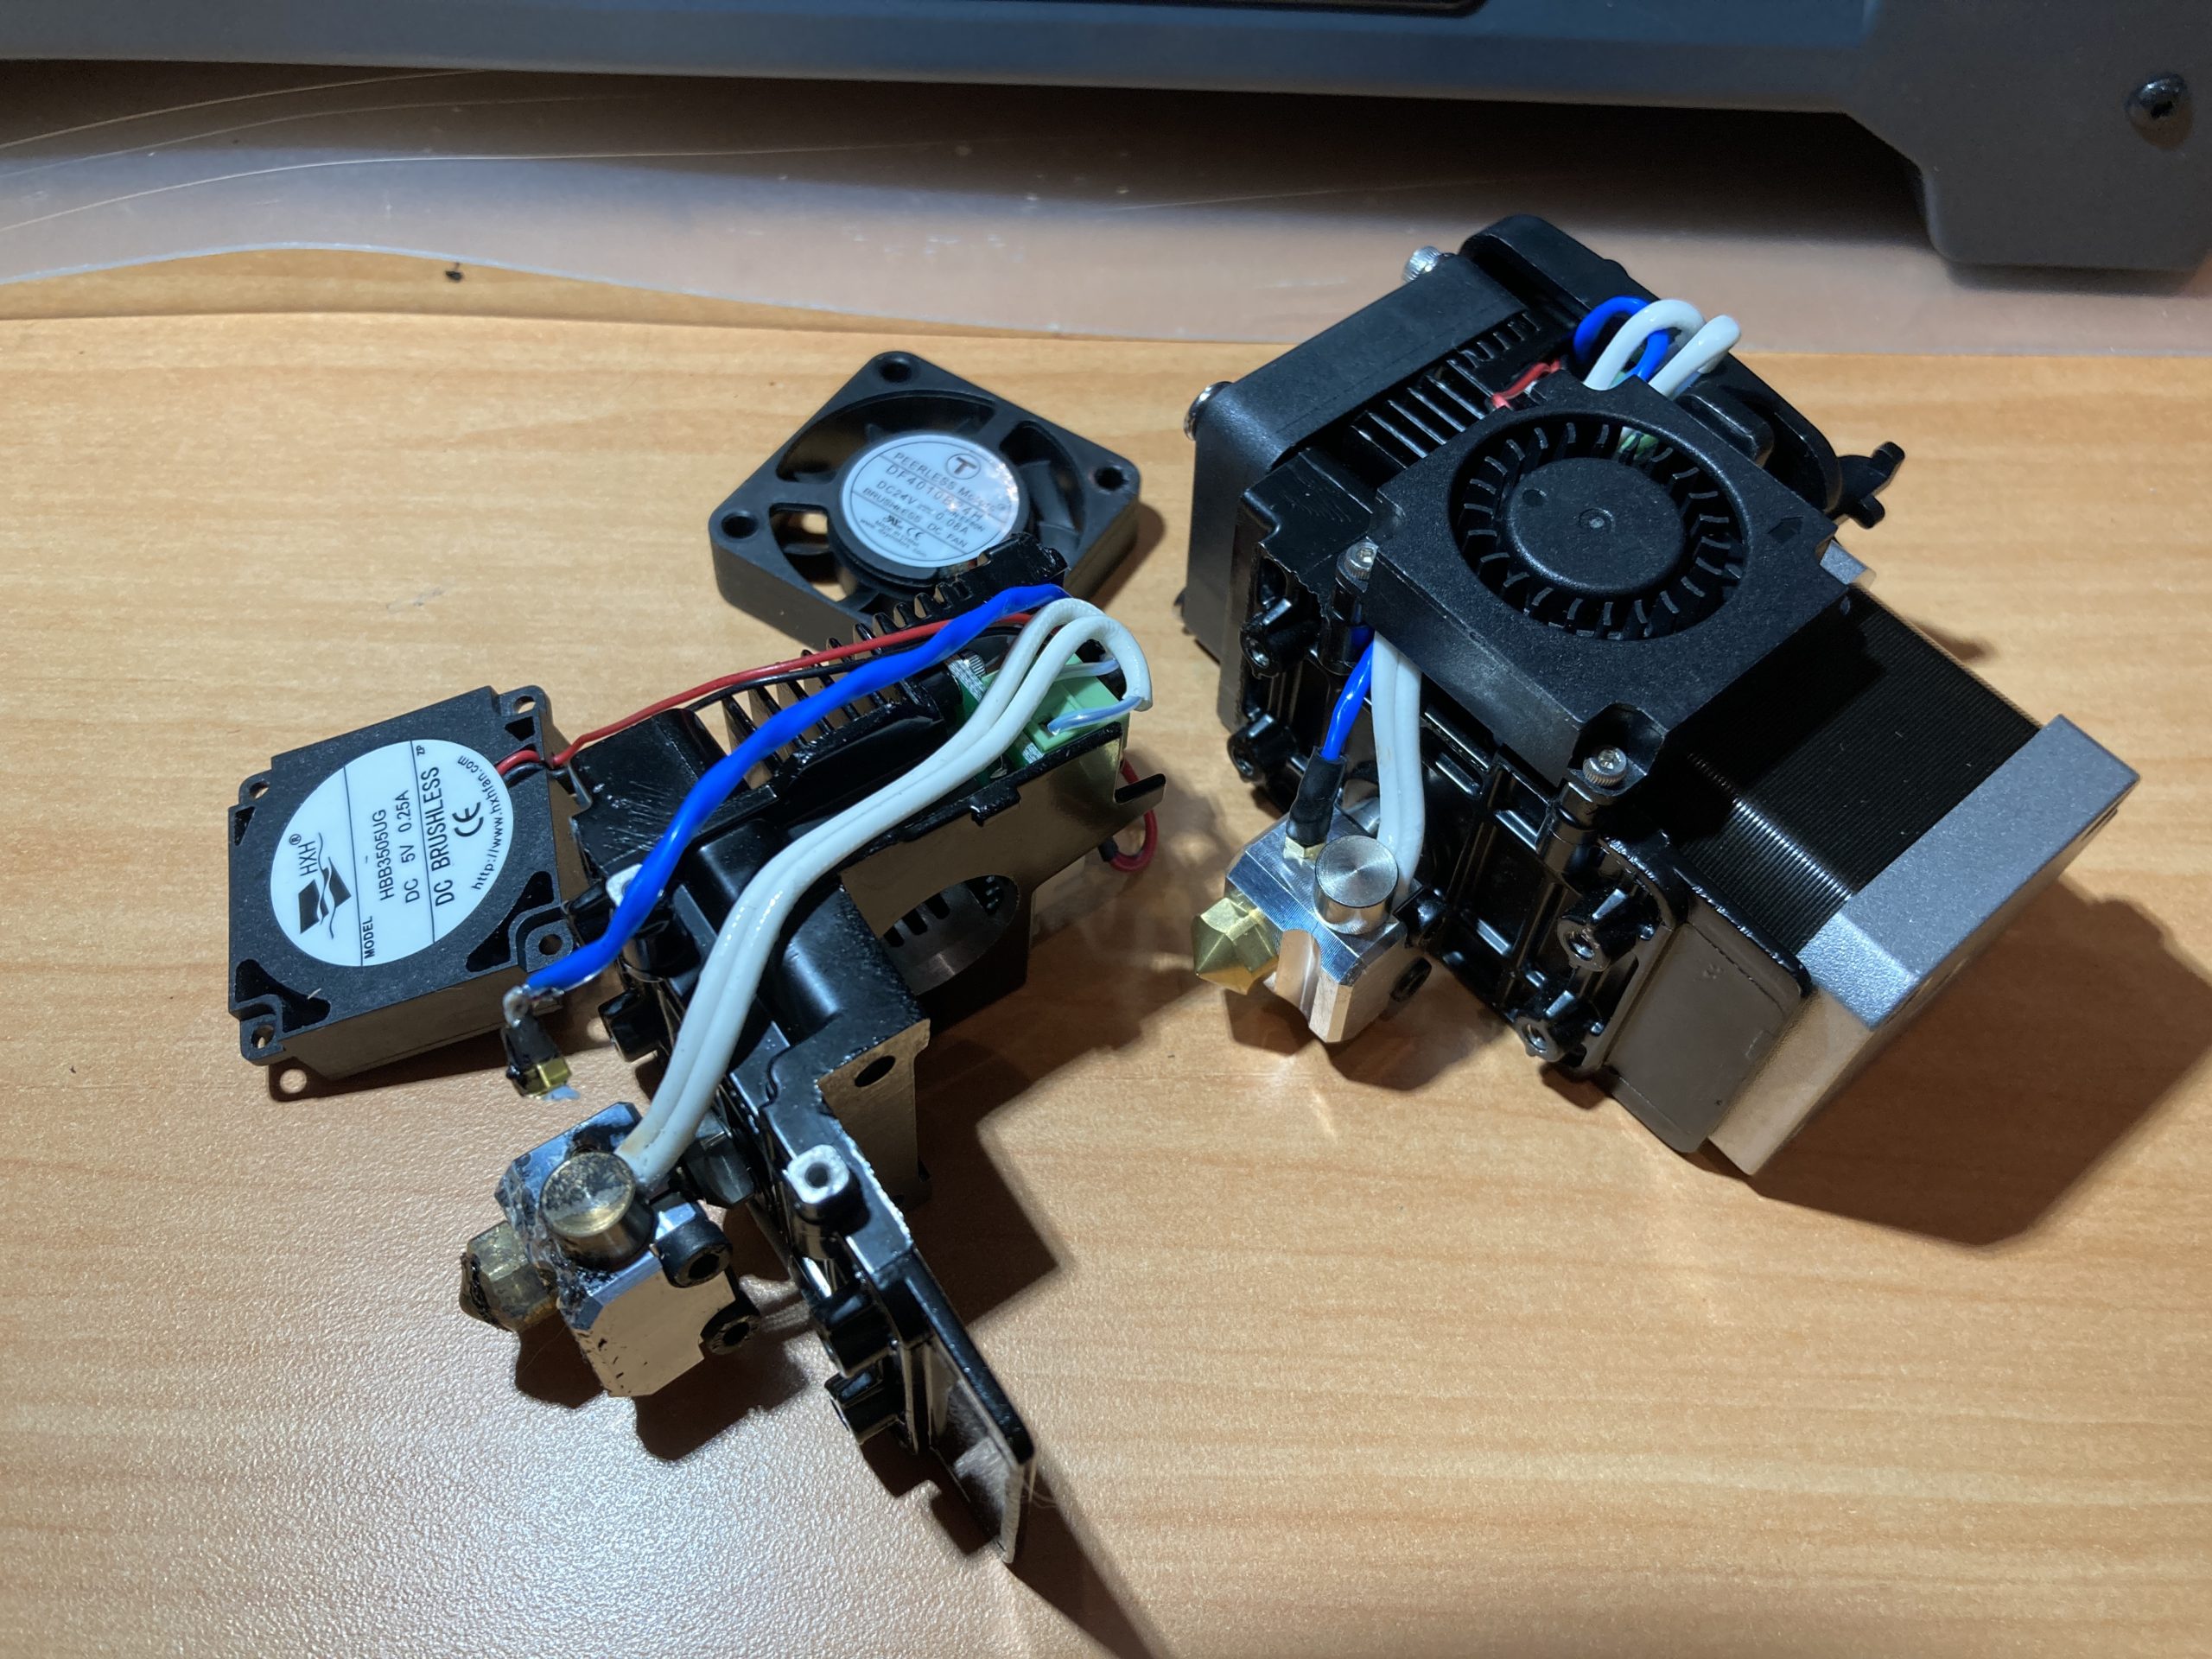
And, one last little ‘gotcha’; when the new extruder module was assembled at the factory, the cooling fan was mounted upside down, with the open port for cooling air to the extruder pointing up, and the closed ‘top’ pointing down, as can be seen in the following photo:
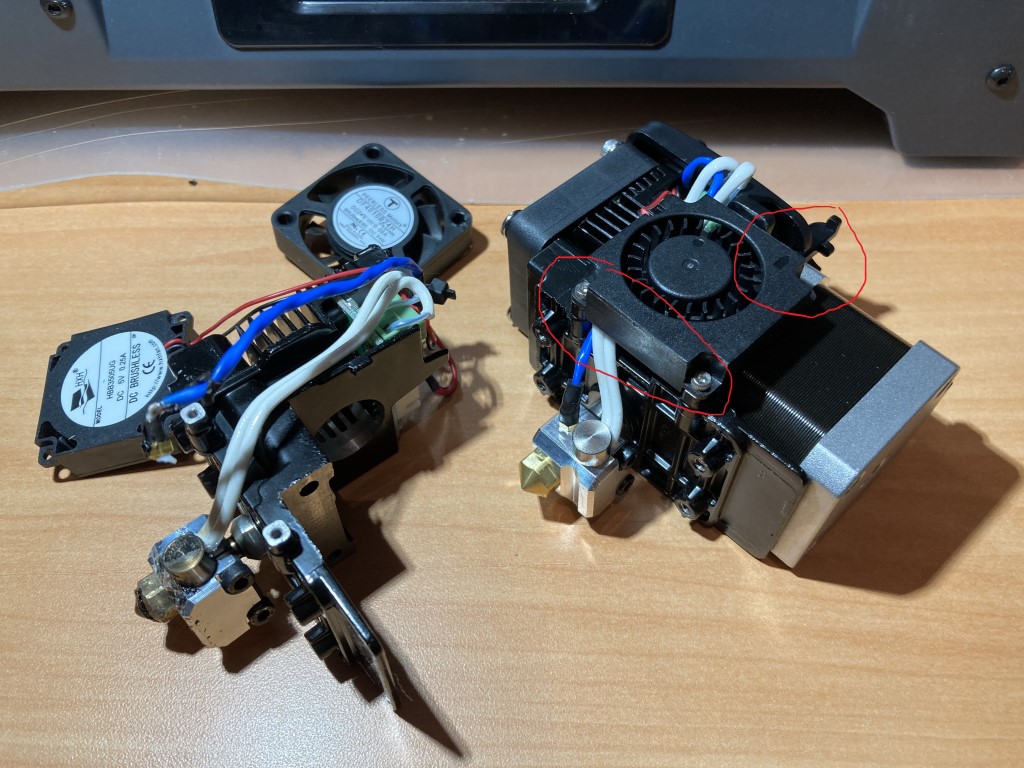
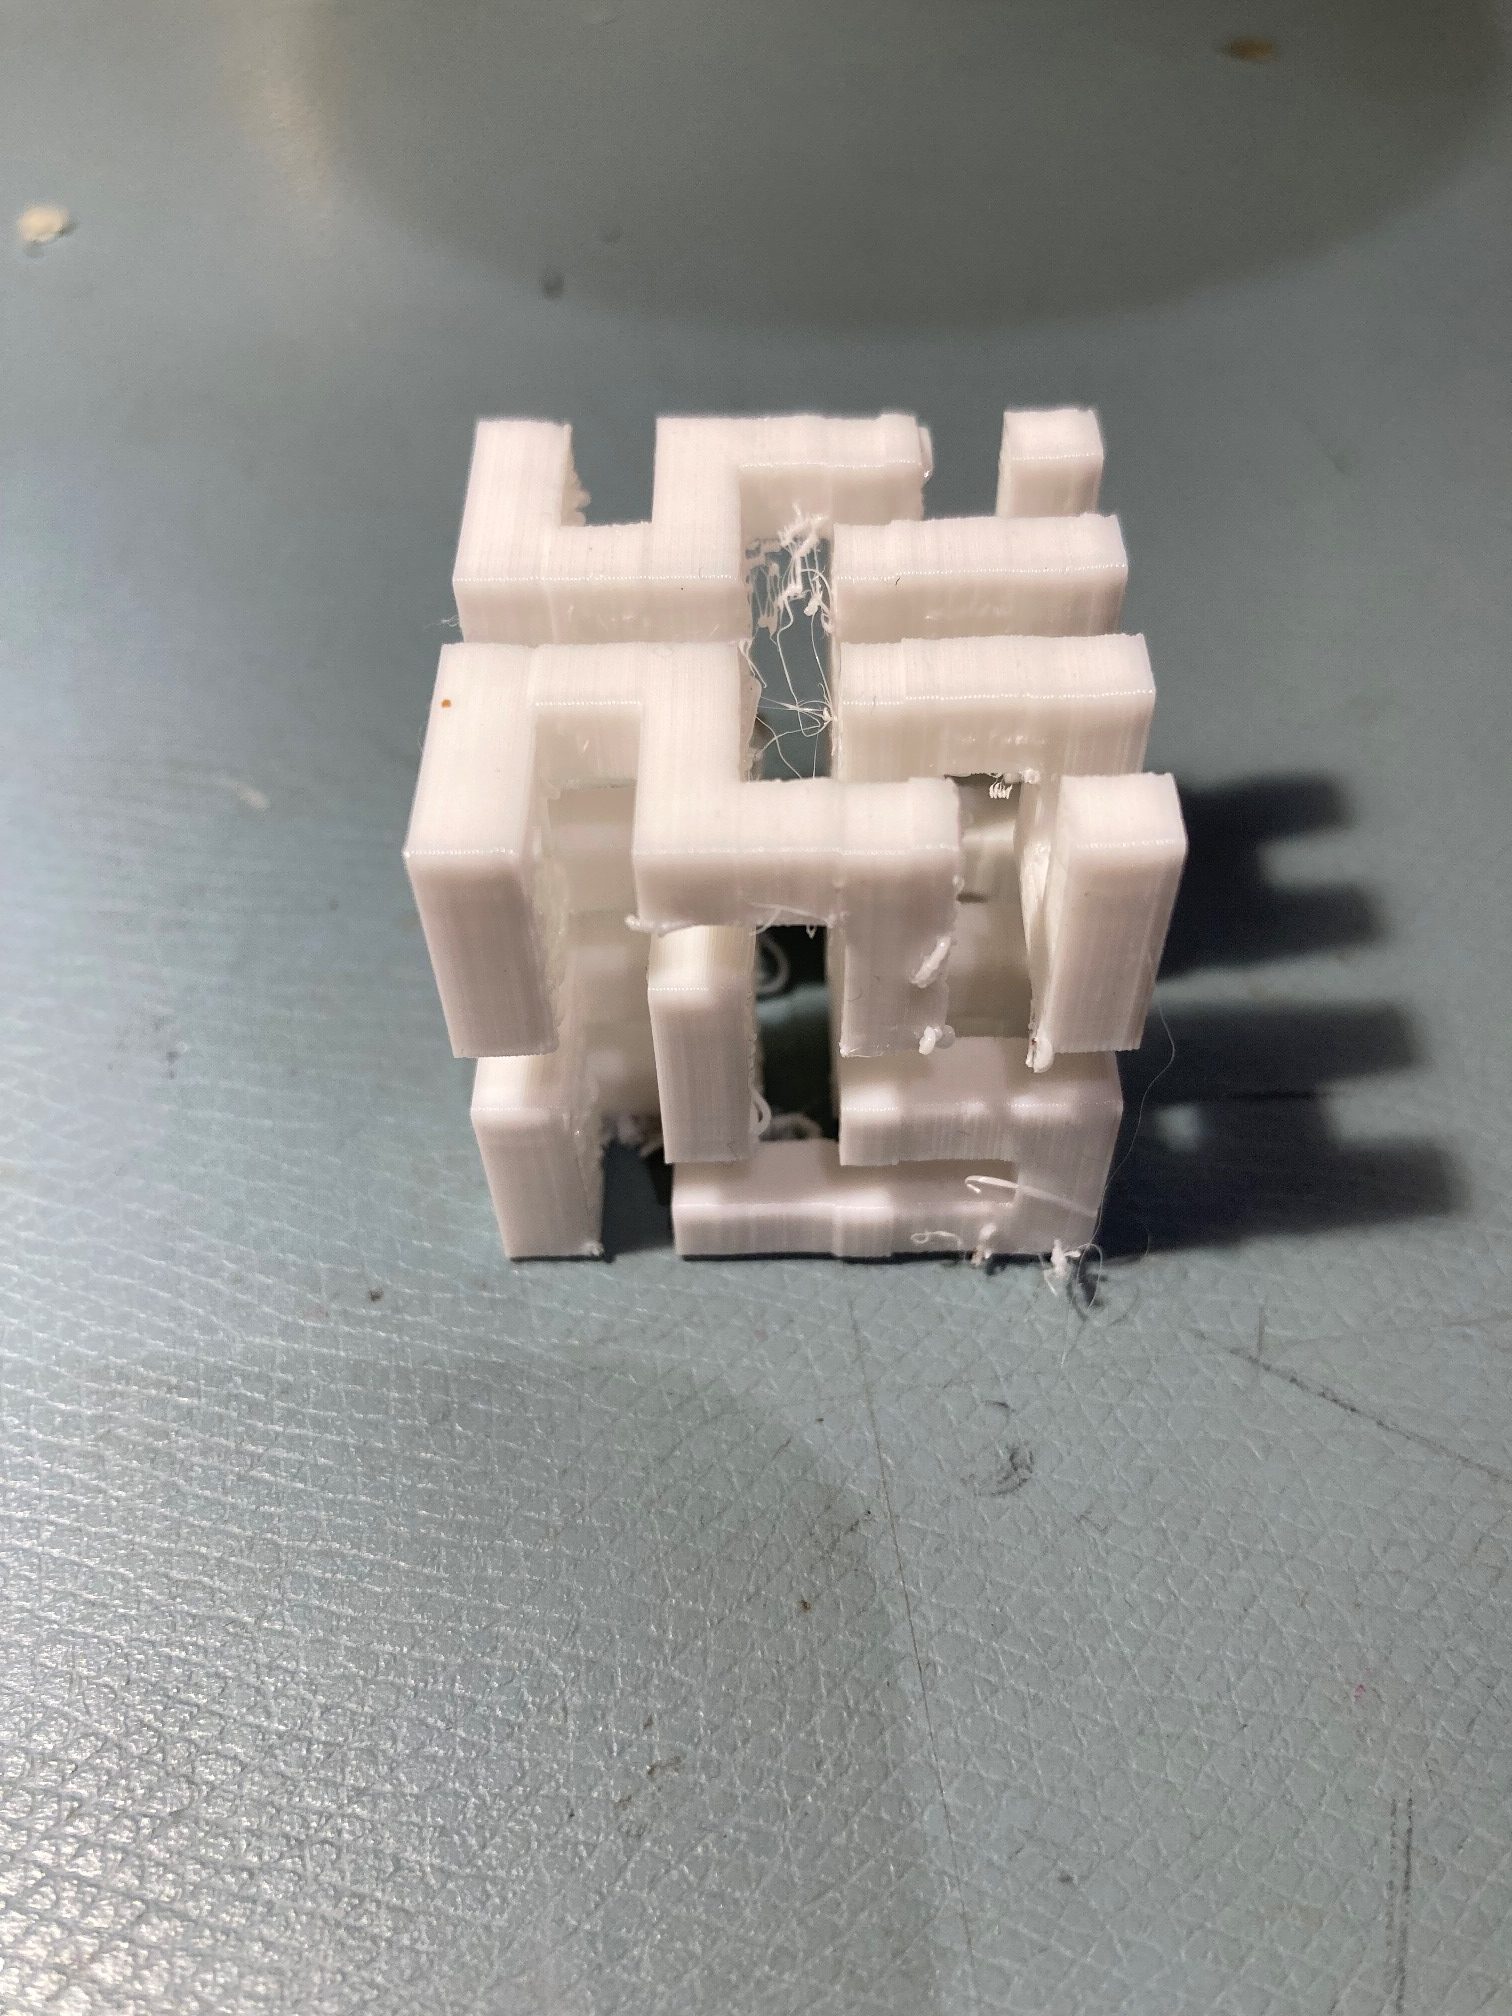
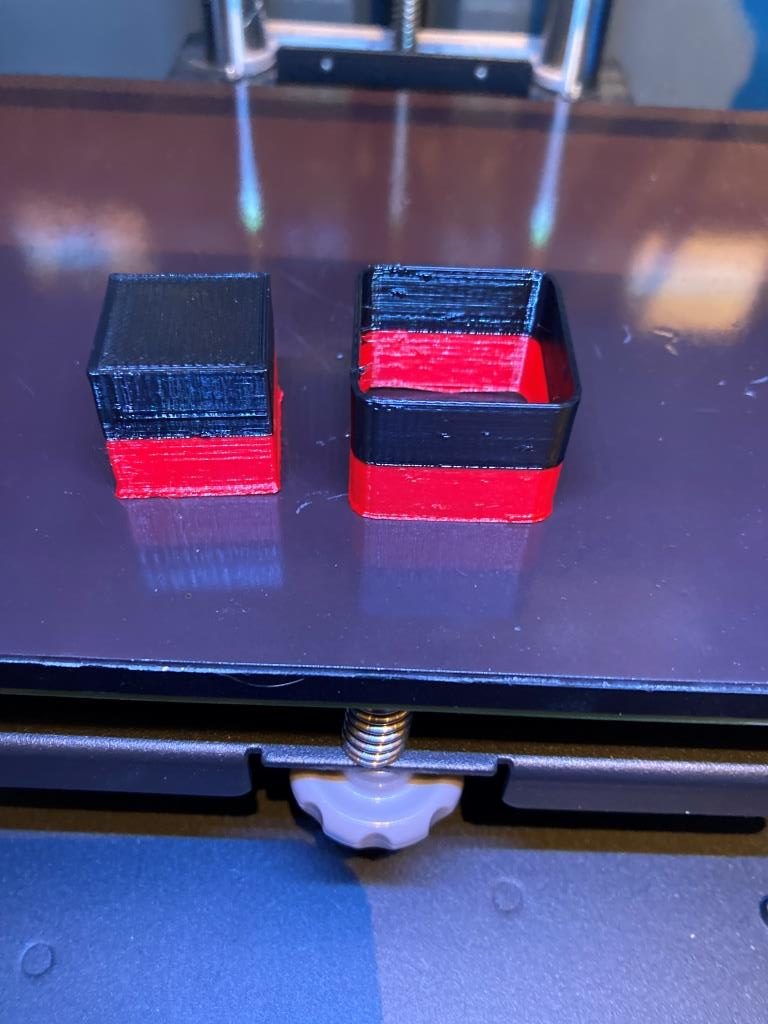
Anyhoo, after removing the bottom cover of the printer (this turned out to be pleasantly easy, with only four screws vs the 54,225 for normal printers) to find and recover the (literal) loose screw and re-orienting the cooling fan to mate properly with the cooling duct, I finally got everything back together. That was enough drama for last night, so I waited until today to see if my repair worked. After loading filaments and calibrating, I printed a two-color calibration cube using Prusa Slicer for slicing; It turned out pretty nice, as shown below:
Stay tuned,
Frank