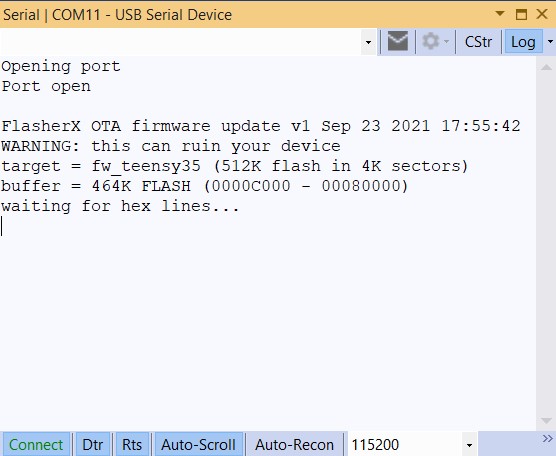
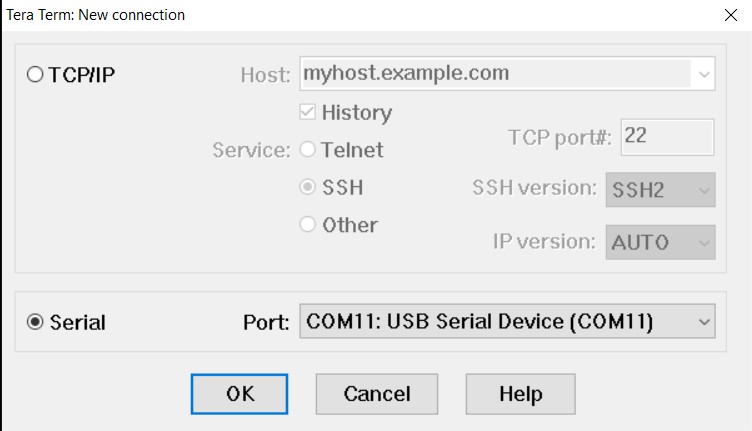
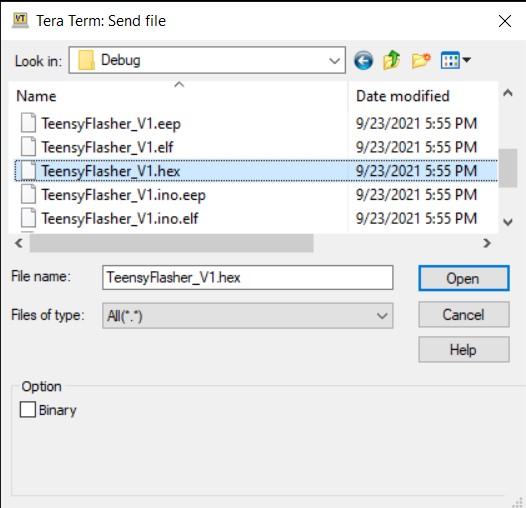
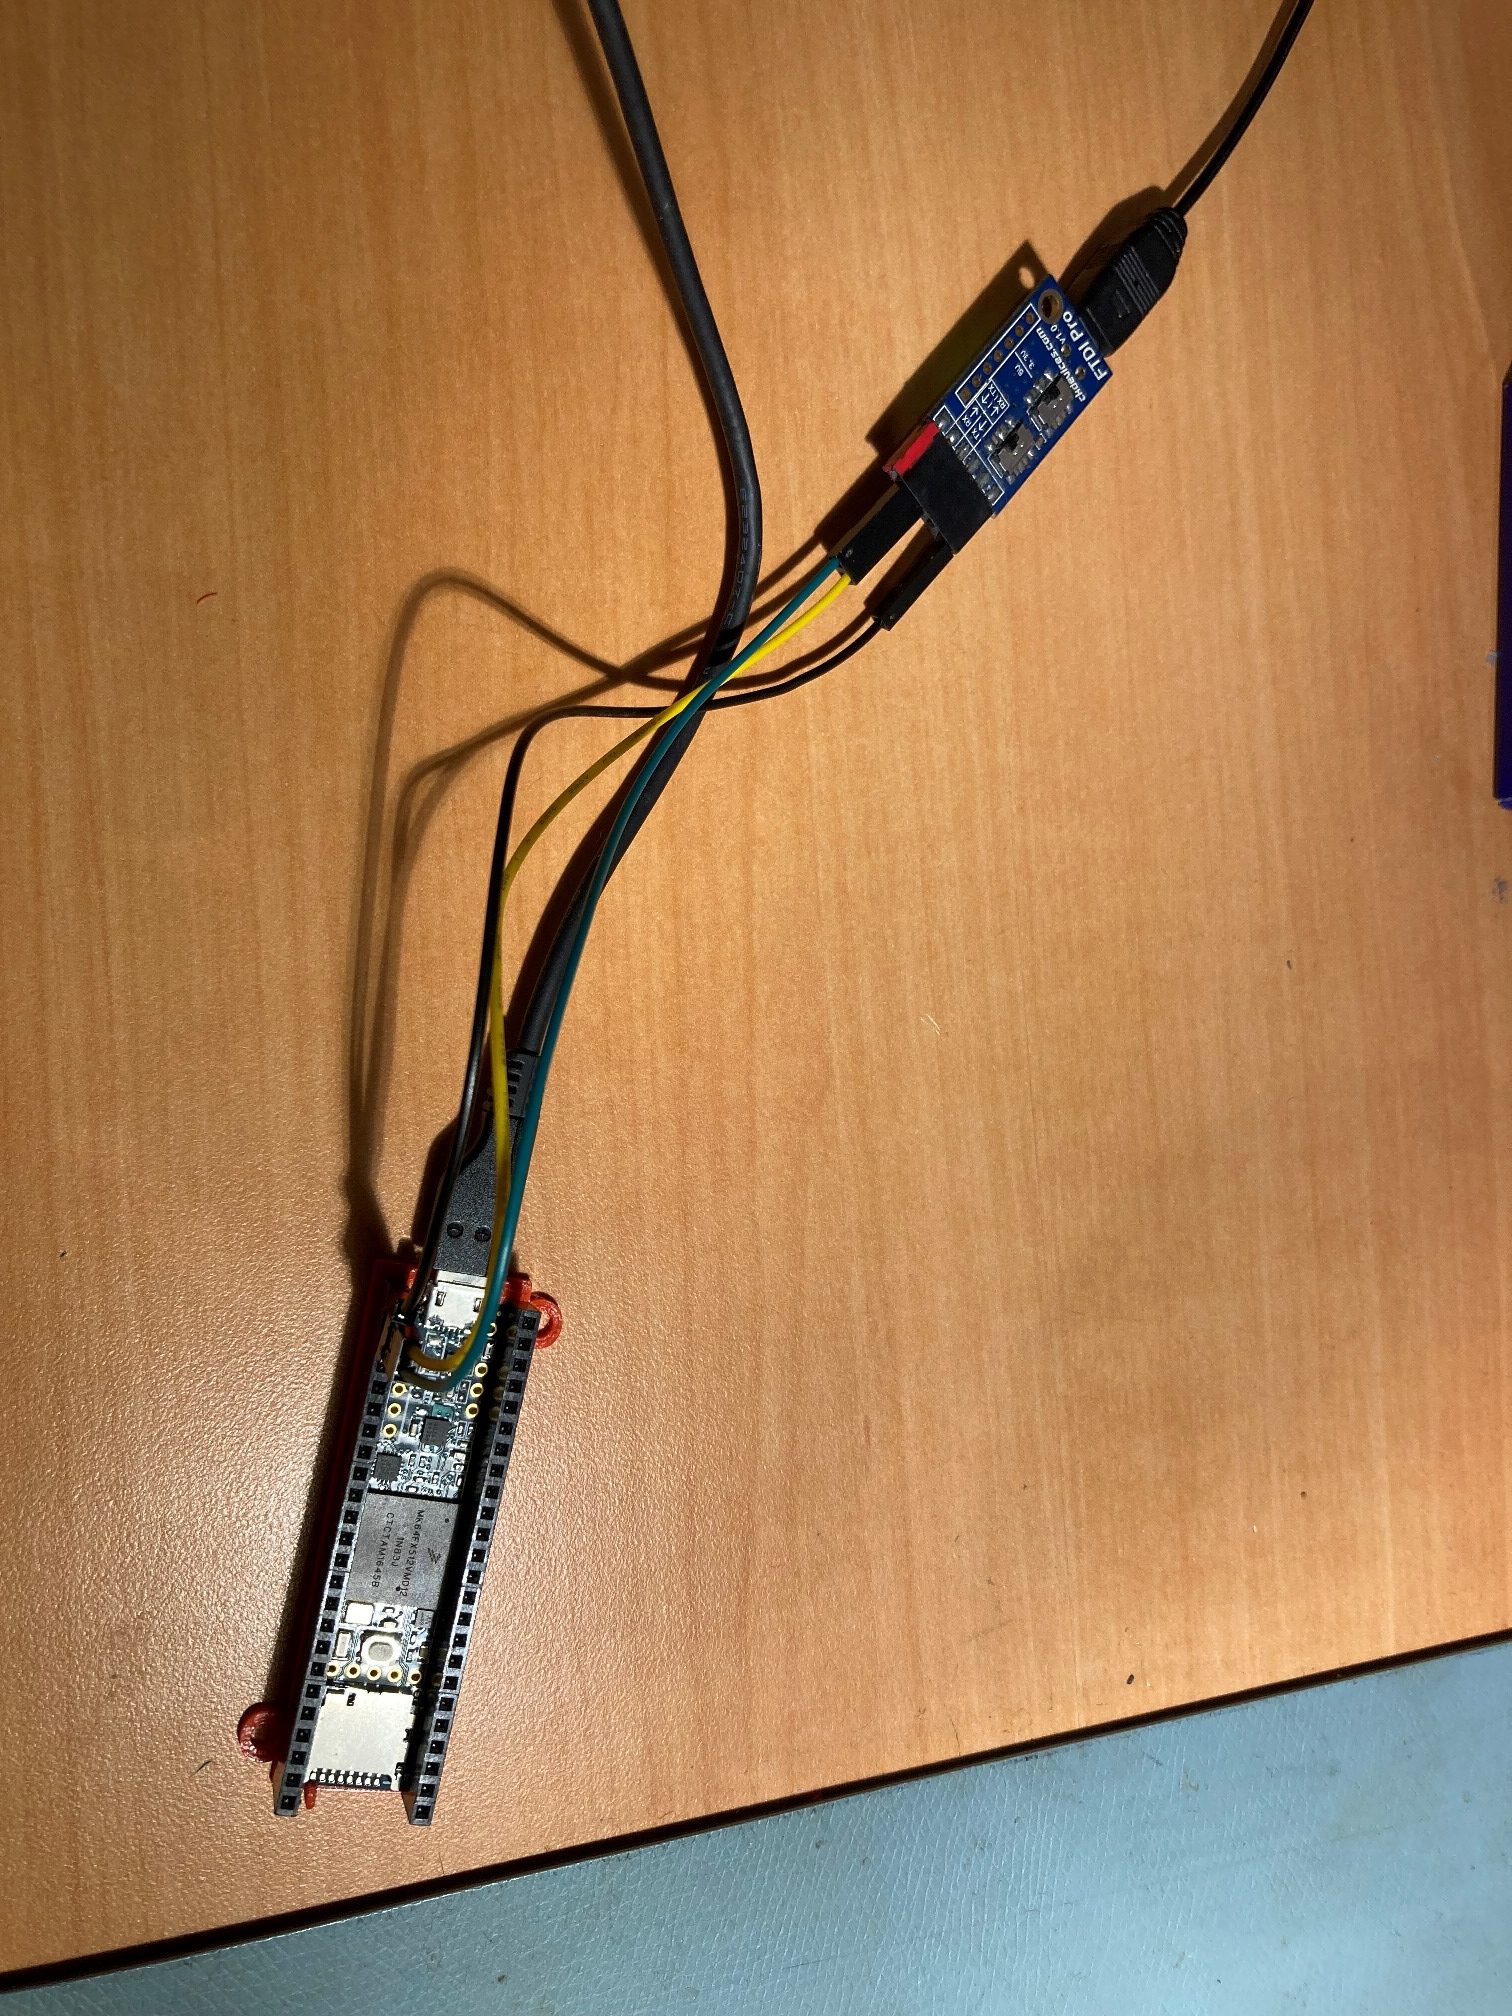
Posted 16 October 2021,
In my previous post on this subject, I described my effort to automate over-the-air (OTA) updates of a Teensy 3.5 using a C# command-line program called by a post-build script from Visual Studio 2019 with the Visual Micro Arduino IDE extension, combined with Joe Pasquariello’s find ‘FlasherX’ code. As the article described, I was successful in doing this, but the time required to transfer the .HEX file using the C# .NET serial interface appeared to be about 2-3 times slower than that required by using the Tera Term serial comms program manually.
So, I went back to the drawing board, and started searching for a way to automate Tera Term, rather than building my own serial port management applet. I found the Tera Term help index, and subsequently I found that there is indeed a quite rich macro language associated with Tera Term, so I started learning the language and trying to apply it to my problem of using Visual Micro’s post-build commands via the ‘board.txt’ feature to automate the process of OTA for the Teensy microcontroller.
After the normal amount of fumbling around with the macro language, I was able to create a reasonably functional macro file that accepts three arguments from the Visual Micro ‘board.txt’ post-build command line and then automates the process of uploading the associated .HEX file to my Teensy 3.5 and then rebooting the Teensy to run the updated program. The ‘board.txt’ contents are:
|
1 2 3 4 |
# Teensy OTA Demo build property overrides # 10/05/21 gfp - trying to run a post-build command # 10/15/21 gfp - change to use Tera Term macro vs custom C# program recipe.hooks.postbuild.1.pattern=cmd.exe /c "c:\Program Files (x86)\teraterm\ttpmacro.exe" /v "c:\users\Frank\Documents\Arduino\Teensy Projects\TeensyOTADemo\TeensyOTA1.ttl" "{vm.runtime.build.final_output_path}" {serial.port} {build.project_name} |
The post-build command launches the Tera Term Pro Macro interpreter (ttpmacro.exe) and passes three arguments; the first is the build path – the folder in which the compiled .HEX file will be placed. The second is the COM port number assigned to the HC-05 bluetooth link with my laptop, and the third is the project file name, i.e. ‘TeensyOTADemo.INO’.
The Tera Term macro uses the first and third argument to build a path to the compiler’s .HEX file for the project, i.e. <build_path>\<project file name minus extension>.HEX. Then it uses the COM port specified in the second argument to connect to the Teensy and send a ‘trigger character’ to force the Teensy into ‘update mode’, and upload the .HEX file. After the .HEX file has been uploaded, the macro responds to the ‘enter xxxx to update or 0 to abort’ response from the Teensy by sending back the xxxx value, which causes the Teensy to reboot and begin running the new program.
Here is the complete Tera Term macro file:
|
1 2 3 4 5 6 7 8 9 10 11 12 13 14 15 16 17 18 19 20 21 22 23 24 25 26 27 28 29 30 31 32 33 34 35 36 37 38 39 40 41 42 43 44 45 46 47 48 49 50 51 52 53 54 55 56 57 58 59 60 61 62 63 64 65 66 67 68 69 70 71 72 73 74 75 76 77 78 79 80 81 82 83 84 85 86 87 88 89 90 91 92 93 94 95 96 97 98 99 100 101 102 103 104 105 106 107 108 109 110 111 112 113 114 115 116 117 118 119 120 121 122 123 124 125 126 127 128 129 130 131 132 133 134 135 136 137 138 139 140 141 142 143 144 145 146 147 148 149 150 151 152 153 154 155 156 157 158 159 160 |
/* 16 October 2021 G. Frank Paynter Tera Term macro to connect to Teensy and send latest .HEX file Tera Term is called via a post-build command in VS2019/VMicro like <path_to_ttpmacro.exe> /v <path_to_TeensyOTA1.ttl> <build_path>\<project_name>.hex> <COM port> The actual post-build command is contained in the 'board.txt' file as follows: recipe.hooks.postbuild.1.pattern=cmd.exe /c "c:\Program Files (x86)\teraterm\ttpmacro.exe" /v "c:\users\Frank\Documents\Arduino\Teensy Projects\TeensyOTADemo\Test2.ttl" "{vm.runtime.build.final_output_path}" {serial.port} {build.project_name} When this is passed to tera term the arguments appear as follows: BuildPath = param2 ; used to find the .HEX file to transfer, like "C:\Ussers\Frank\Arduino\Teensy Projects\TeensyOTADemo\Release\" CommPortStr = param3 ;"COMx" where 'x' is the actual number assigned ProjectFileName = param4 ;project file name like "TeensyOTADemo.ino" Notes: 10/16/21: for verbose output, set VERBOSE = 1 (default is 0) */ ;;;;;;;;;;;;;;;;;;;;;;;;;;;;;;;;;;;;;;;;;;;;;;;;;;;;;;;;;;;;;;;;;;;;;;;;;;;;;;;;;;;;;;;; VERBOSE = 0; set this to 1 for verbose progress indications pathtoHexfile = param2 COMportstr = param3 strtrim COMportstr ' ' ; remove any leading/trailing spaces ComPortNumStr = COMportstr strremove ComPortNumStr 1 3 ;isolate the com port number INOfilename = param4 if VERBOSE then sprintf2 msgstr "%s, %s, %s" param2 param3 param4;<param1> is ttl filename messagebox msgstr 'script calling arguments' sprintf2 msgstr "path to HEX file: %s" param2 messagebox msgstr 'script calling arguments' sprintf2 msgstr "COM port number: %s" ComPortNumStr messagebox msgstr 'script calling arguments' sprintf2 msgstr "INO filename: %s" param4 messagebox msgstr 'script calling arguments' endif ;connect to Teensy via COM <param2> if VERBOSE then sprintf2 msgstr "attempting to connnect to Teensy on COM%s" ComPortNumStr messagebox msgstr 'info' endif sprintf2 cnct_str "/C=%s" ComPortNumStr ; actual string used by TT if VERBOSE then messagebox cnct_str 'connect string' endif testlink; TT could already be connected ; if result = 0 connect cnct_str; actually launch TT and make the connection. <result> = 2 for success if result = 0 connect cnct_str; actually launch TT and make the connection. <result> = 2 for success if result <> 2 then sprintf2 errstr "unable to connect to Teensy on %s - aborting" COMportstr messagebox errstr "Error" goto ERROR ;error exit - closes COM connection and TT else ;if we get to here, we have a valid COM port connection if VERBOSE then sprintf2 msgstr "sending trigger command (%s) and waiting for %s" "U" "waiting" messagebox msgstr "info" endif send 'U' ;actually send the trigger character timeout = 5 ; seconds wait 'waiting' if result = 0 then messagebox "Oops - timed out waiting for 'waiting' from Teensy" "Error" goto ERROR ;error exit - closes COM connection and TT else ; OK, got 'waiting'... if VERBOSE then msgstr = "got 'waiting' string - sending file" messagebox msgstr 'info' endif hexfilestr = 'C:\Users\Frank\Documents\Arduino\Teensy Projects\TeensyOTADemo\Release\TeensyOTADemo.hex' if VERBOSE then messagebox hexfilestr 'sendfile' endif sendfile hexfilestr 0 ;actually send the file. Note the 0 is required to make it work ;now we have to extract the number of lines from the 'enter xxxx to flash...' string wait 'enter' ;get the next line from Teensy if result = 0 then messagebox "Oops - timed out waiting for 'enter' from Teensy" "Error" goto ERROR ;error exit - closes COM connection and TT else ; OK, got 'enter'... if VERBOSE then msgstr = "got string containing 'enter'" messagebox msgstr 'info' endif recvln; this puts received line into 'inputstr' if result = 1 then ; if VERBOSE then ; messagebox inputstr 'From Teensy' ; endif ;now extract number of lines from inputstr strsplit inputstr ' ' ;puts numlines string into <groupmatchstr2> strtrim groupmatchstr2 ' ';trim any leading/trailing spaces if result <> 0 then if VERBOSE then sprintf2 msgstr '%s lines received' groupmatchstr2 messagebox msgstr 'From Teensy' endif ;now send <groupmatchstr2> to Teensy to confirm update if VERBOSE then sprintf2 msgstr "sending '%s' to Teensy" groupmatchstr2 messagebox msgstr 'To Teensy' endif sendln groupmatchstr2; actually sends the <numlines> value else messagebox 'groupmatchstr2 send failed' 'error' goto ERROR ;error exit - closes COM connection and TT endif else messagebox "nothing received from Teensy" info goto ERROR ;error exit - closes COM connection and TT endif endif endif endif :ERROR if VERBOSE then messagebox "closing COM port and Tera Term" "info" endif testlink ;TT may or may not be connnected if result <> 0 then disconnect 1 ;closes the COM port connection closett; closes teraterm endif end ;endif ;filenamebox 'File selection' 0 ;if result<>0 then ; messagebox inputstr 'title' 0 ; sendfile inputstr 1 ;endif ;c:\Program Files (x86)\teraterm>ttpmacro.exe /v "c:\users\Frank\Documents\Arduino\Teensy Projects\TeensyOTADemo\TeensyOTA1.ttl" 4 |
and here are two short videos showing the OTA update process. The first video shows the process from the PC’s point of view, and the second one shows the same thing, but from the Teensy’s point of view.
Summary:
Over-the-air (OTA) update of a Teensy microcontroller is now practical using Joe Pasquariello’s fine ‘FlasherX’ program, combined with a Tera Term macro that is launched using Visual Micro’s ‘board.txt’ post-build feature. The things you need to make this happen are:
- Obviously any Teensy program must incorporate Joe Pasquariello’s ‘FlasherX’ functionality. See my previous post for my complete demo sketch that does this.
- You must have a way of triggering the update functionality provided by ‘FlasherX’. In my demo I accomplished this via my ‘CheckForUserInput()’ function that runs each time ‘loop()’ executes. If this function detects the letter ‘U’ or ‘u’ on Serial1, it launches FlasherX’s ‘update_firmware’ function which does the rest.
- You have to have a serial comms application to upload the .HEX file produced by compiling the program update. I used Tera Term for this, and it worked very well.
- To automate the above process, you need a script file (macro) like the one I provided above to manage the upload process.
I created a new GitHub repository here containing the Tera Term macro file, the ‘board.txt’ file I used with VS/VM, and the OTA demo sketch I used to demonstrate this functionality. Enjoy!
Frank
27 October 2021 Update:
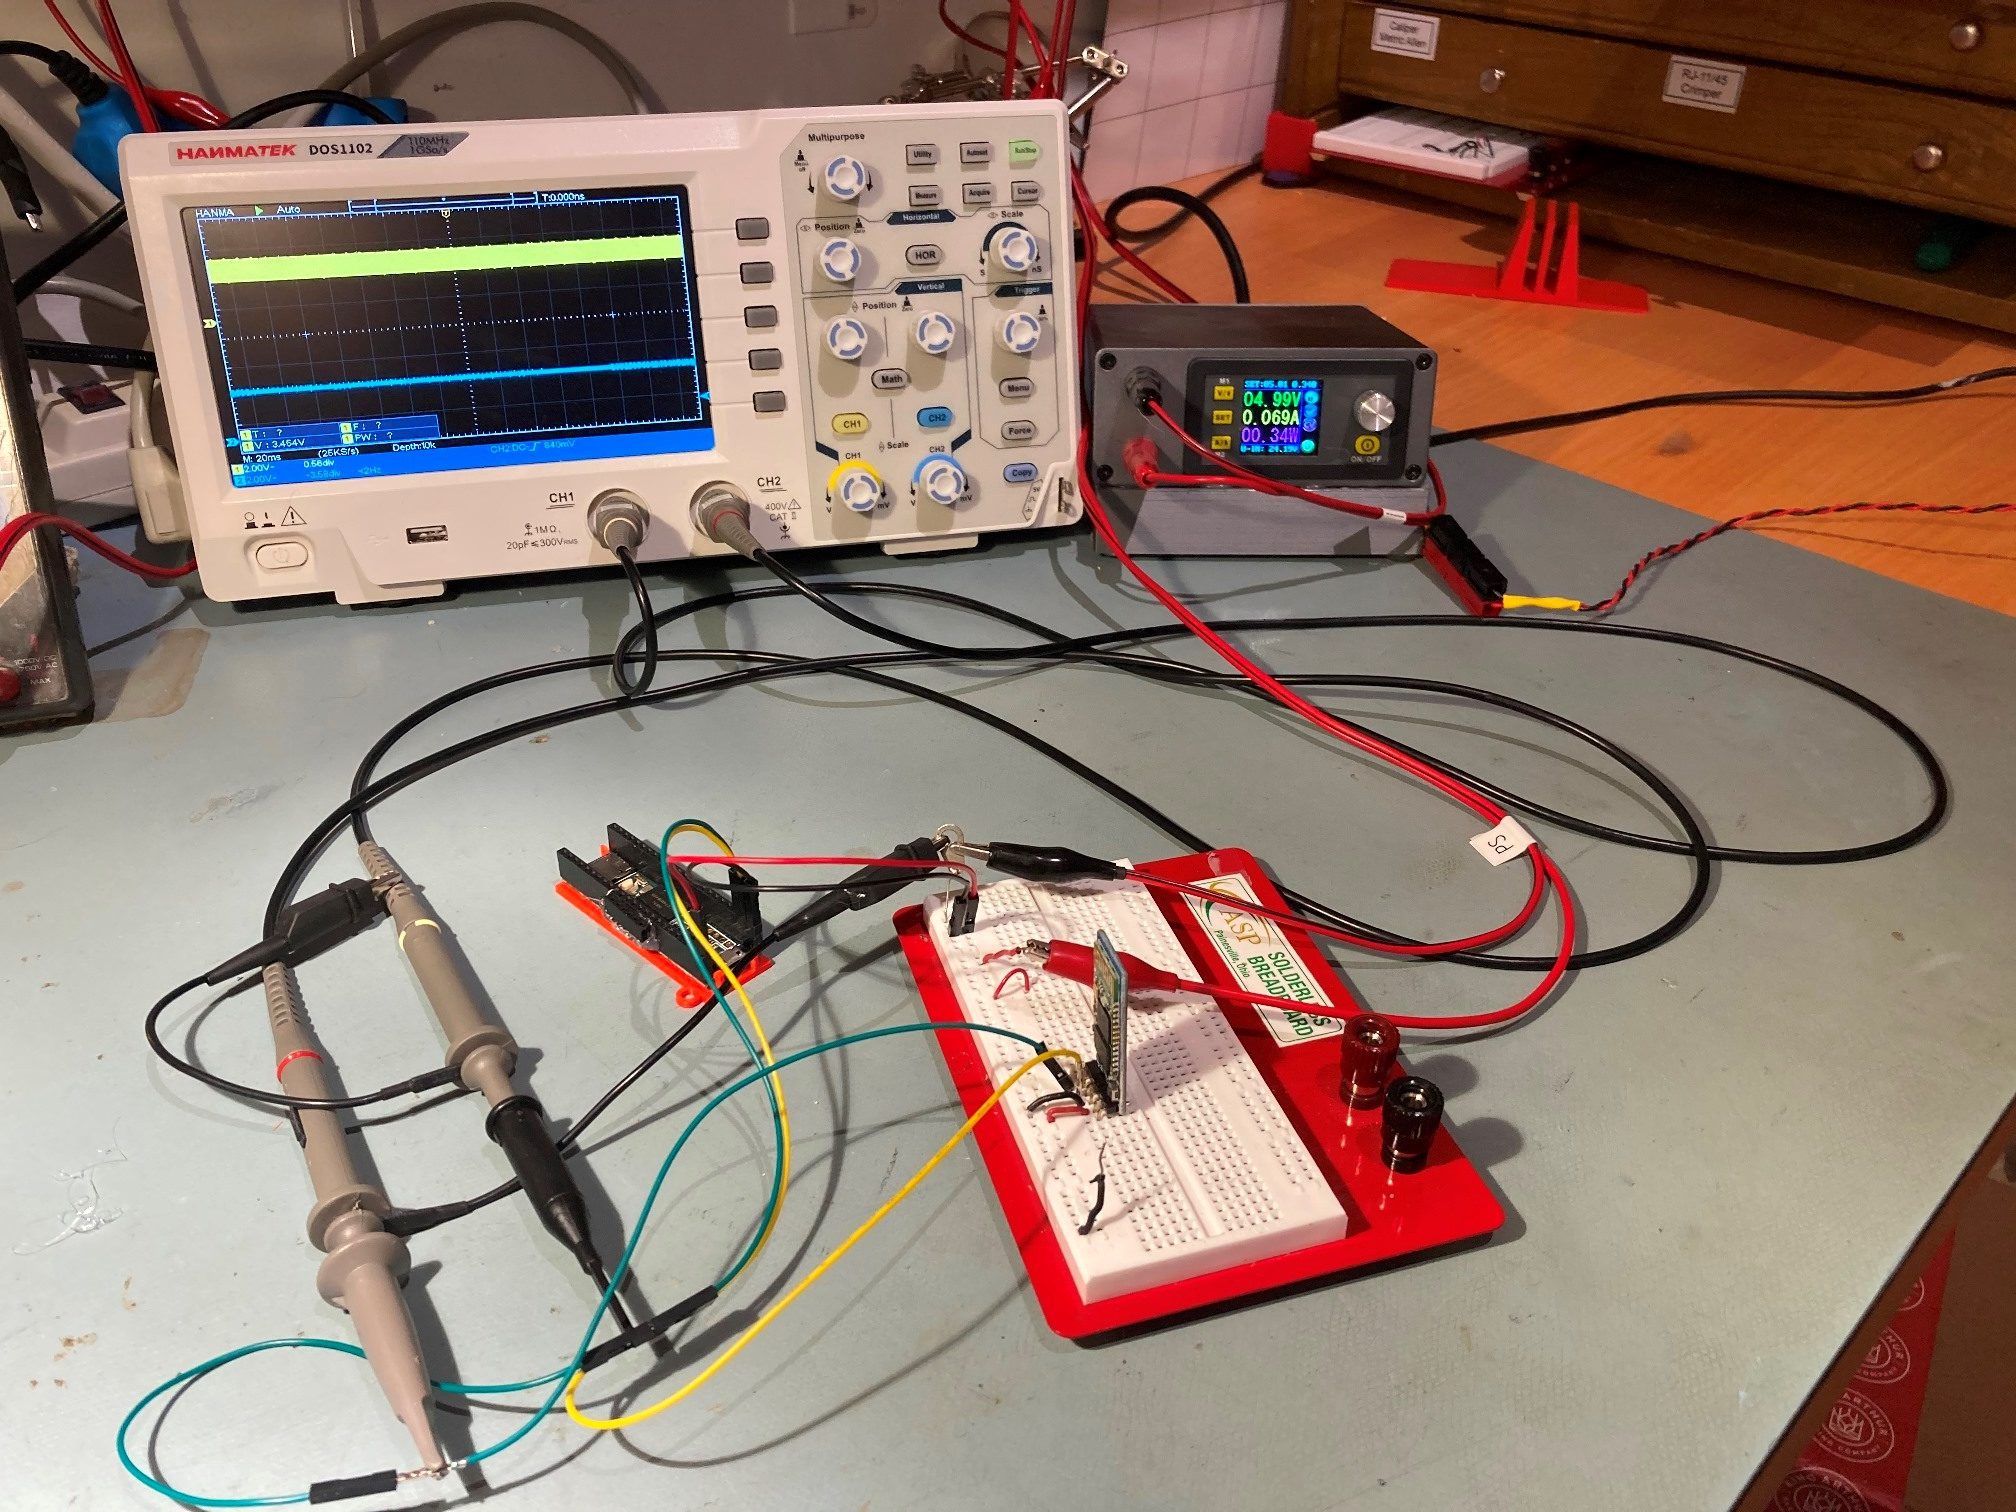
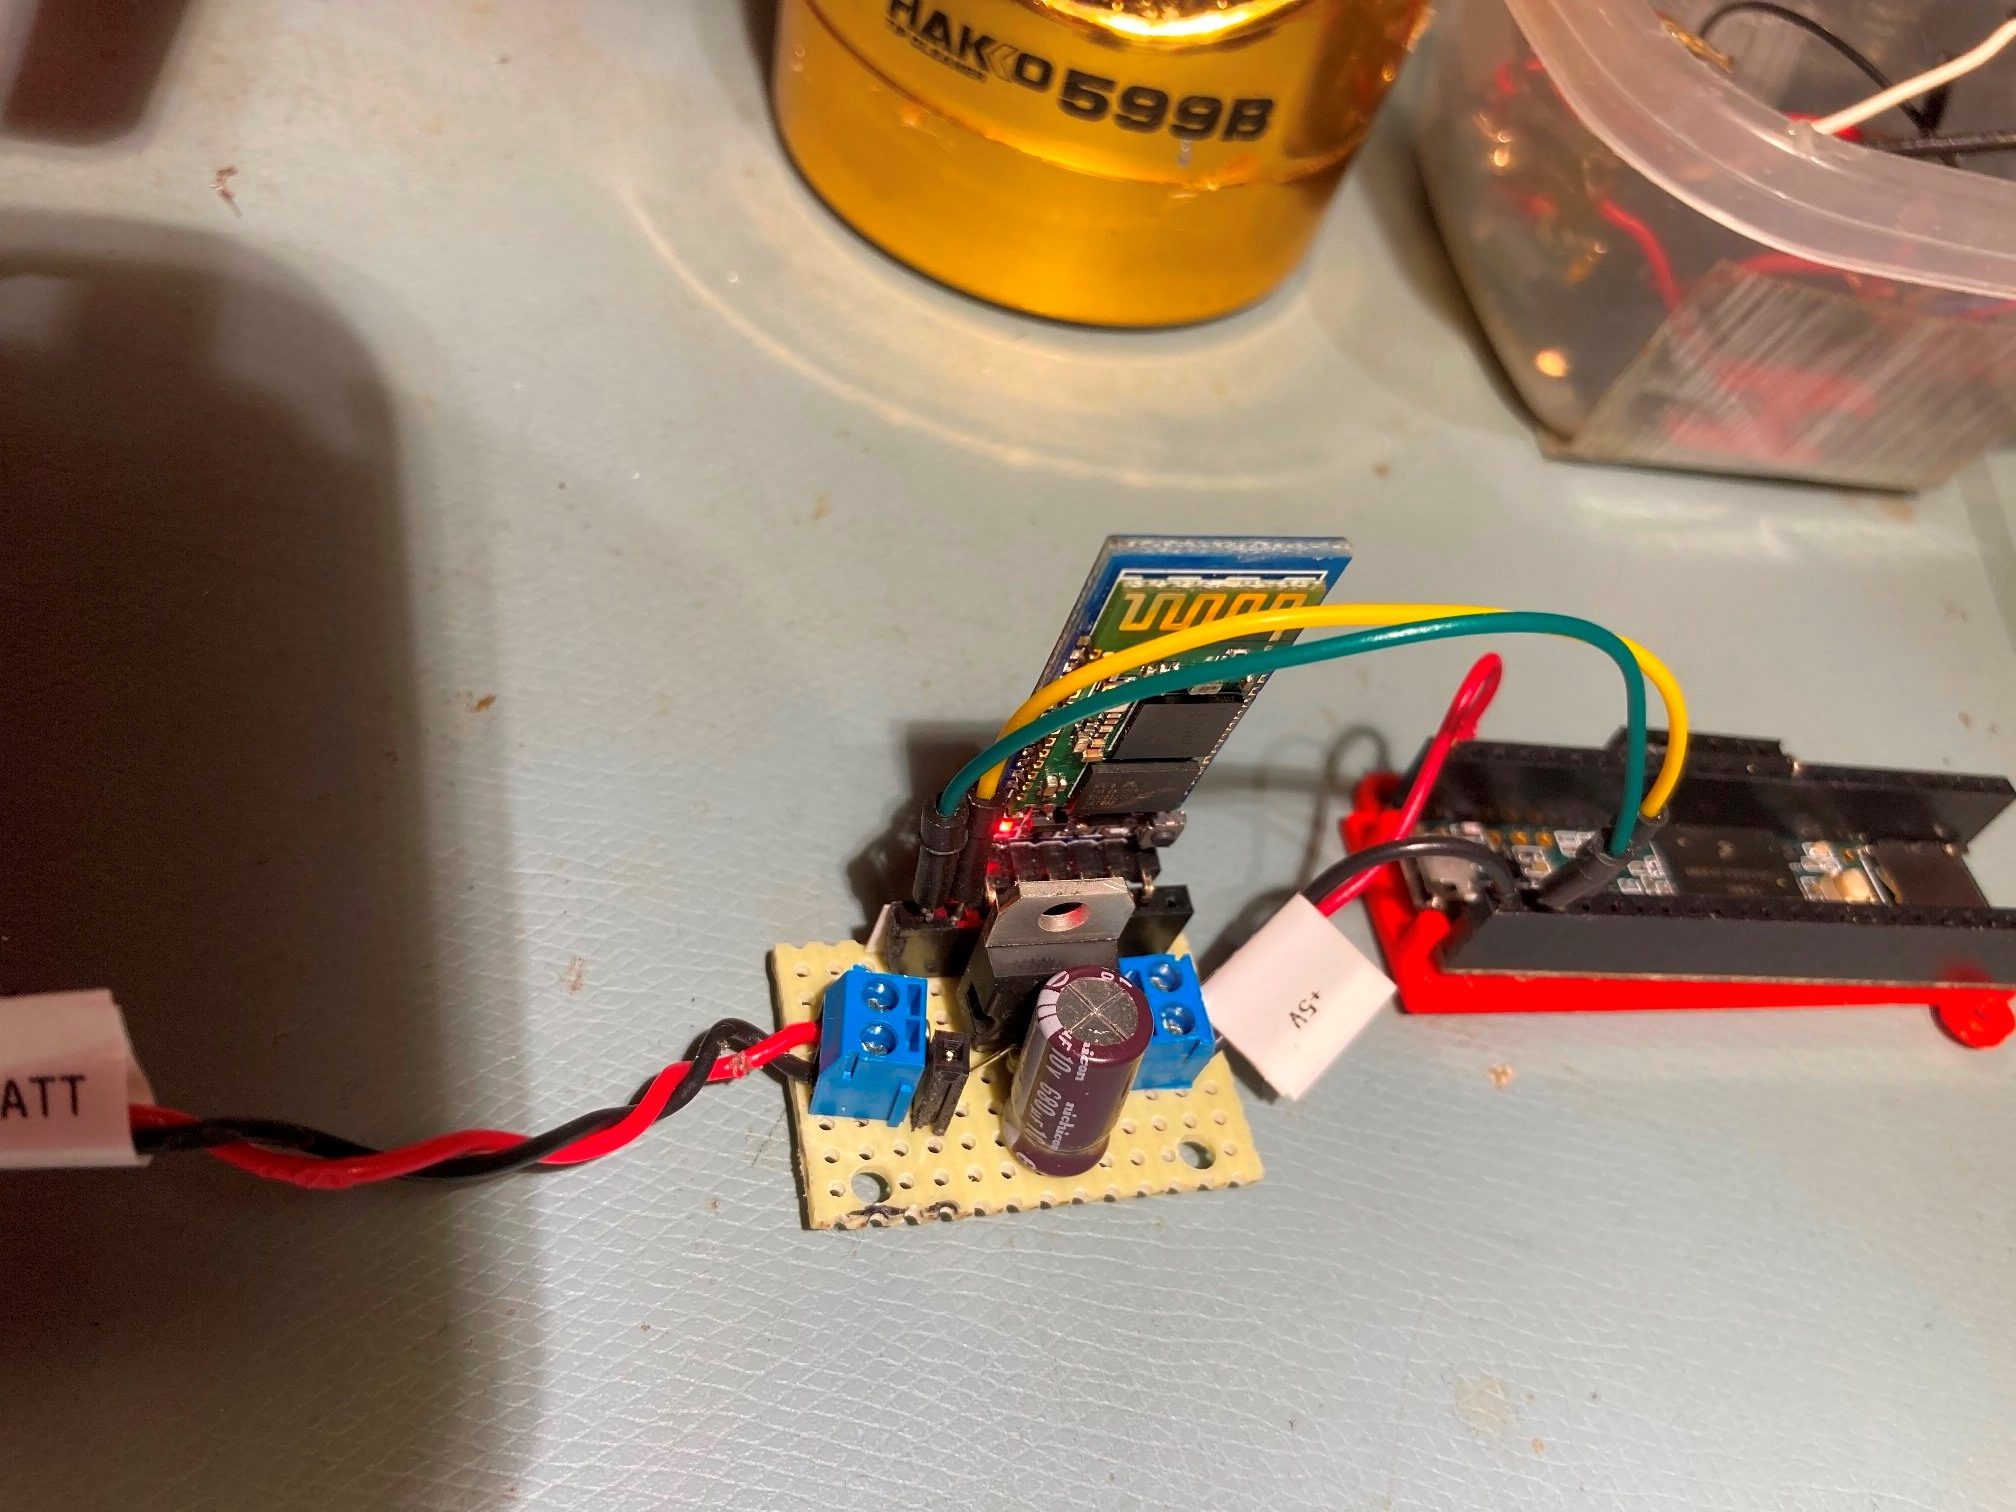
As part of my Wall-E3 project, I constructed a small perf-board module to carry the low-dropout (LD0) 5V Regulator, and added a HC-05 module for OTA updates to Wall-E3’s Teensy firmware, as shown in the following photo
And here is a short video showing an OTA update:
25 April 2026 Update:
Recently I started a new robot project to try and incorporate vision processing into my autonomous wall-following robot. I decided to use my old 2-wheel robot as a test bed rather than trying to modify my already heavily modified 4-wheel robot. I stripped the 2-wheel robot down to just the two DRV8871 motor drivers and replaced the old Arduino Mega 2560and with a Teensy 4.1. I also added a HC-05 Bluetooth serial module as I wanted to be able to monitor telemetry remotely and also perform over-the-air (OTA) program updates. I also installed a video camera and a raspberry Pi5 but left them unpowered for now.
When I started trying to add OTA capability, I ran into problems due to some major updates made to Joe Pasquariello’s ‘FlasherX’ code. Instead of having the necessary ‘FlashX’ code in each sketch, Joe moved it all into two new files – FXUtil.cpp/.h meaning that user sketches only have to #include FXUtil.h instead of having the code inline. This is a great idea, but it means that all my old programs break if I use the new setup – bummer. And in the other direction, it meant that when I tried using my old OTA demo programs with the FxUtil.h/.cpp files for my new 2-wheel robot project also didn’t work – double bummer!
Finally, with a lot of help from Grok, I got the new file setup working with a simple OTA demo program, updating the Teensy 4.1 OTA via the HC-05. Here’s the demo progam
|
1 2 3 4 5 6 7 8 9 10 11 12 13 14 15 16 17 18 19 20 21 22 23 24 25 26 27 28 29 30 31 32 33 34 35 36 37 38 39 40 41 42 43 44 45 46 47 48 49 50 51 52 53 54 55 56 57 58 59 60 61 62 63 64 65 66 67 68 69 70 71 72 73 74 75 76 77 78 79 80 81 82 83 84 85 86 87 88 89 90 91 92 93 94 95 96 97 98 99 100 101 102 103 |
/* Name: 2Wheel_HC05_OTA2.ino Created: 4/25/2026 Author: FRANK_XPS_9530\Frank Purpose: OTA updates over HC05 Bluetooth on Serial2 Notes: //04/25/26 this project uses the new (2022) FlashTxx/FXUtil file configuration */ //04/25/26 - can't do this here - must edit FlashTxx.h line 79-ish for this //#define RAM_BUFFER_SIZE 0x40000 // 256 KB RAM buffer - fixes the "max address too large" error on Teensy 4.1 #include "FXUtil.h" // hex parsing + update_firmware() extern "C" { #include "FlashTxx.h" // Teensy 4.1 flash primitives } uint32_t buffer_addr, buffer_size; elapsedMillis MsecSinceLastLEDToggle; void setup() { //04/25/26 can't wait for Serial (hardwire USB) as it probably isn't connected. //Just use 2sec delay instead Serial.begin(115200); delay(2000); Serial2.begin(115200); // HC05 on Serial2 while (!Serial2) {} pinMode(LED_BUILTIN, OUTPUT); Serial2.println(F("\n=== HC05 OTA Ready on Serial2 - send 'U' to start update ===")); Serial2.flush(); MsecSinceLastLEDToggle = 0; } void loop() { if (Serial2.available()) { CheckForUserInput(); } if (MsecSinceLastLEDToggle >= 1000) { MsecSinceLastLEDToggle -= 1000; digitalWrite(LED_BUILTIN, !digitalRead(LED_BUILTIN)); } } //04/25/26 copied from 4-wheel robot project and removed all the other control cases. //I will add the other cases for motor control back in later. void CheckForUserInput() { if (Serial2.available() > 0) { int incomingByte = Serial2.read(); Serial2.print("I received: "); Serial2.println(incomingByte, HEX); switch (incomingByte) { case 0x55: // 'U' case 0x75: // 'u' { Serial2.println(F("Start Program Update - Send new HEX file!")); // exact string your TeensyOTA1.ttl macro expects Serial2.println(F("waiting for hex lines...")); if (firmware_buffer_init(&buffer_addr, &buffer_size) == 0) { Serial2.printf("unable to create buffer\n"); Serial2.flush(); for (;;) {} } Serial2.printf("buffer = %1luK %s (%08lX - %08lX)\n", buffer_size / 1024, IN_FLASH(buffer_addr) ? "FLASH" : "RAM", buffer_addr, buffer_addr + buffer_size); while (Serial2.available()) { Serial2.read(); } update_firmware(&Serial2, &Serial2, buffer_addr, buffer_size); Serial2.printf("erase FLASH buffer / free RAM buffer...\n"); firmware_buffer_free(buffer_addr, buffer_size); Serial2.flush(); REBOOT; break; } } } } |
And here is the modified FlashTxx.h file:
|
1 2 3 4 5 |
#if defined(FLASH_ID) //#define RAM_BUFFER_SIZE (0 * 1024) #define RAM_BUFFER_SIZE (256 * 1024) #define IN_FLASH(a) ((a) >= FLASH_BASE_ADDR && (a) < FLASH_BASE_ADDR+FLASH_SIZE) #endif |
After the above mods, I can now reliably upload the demo sketch to the Teensy 4.1 via the HC-05 BT serial connection (currently Com12 on my laptop).
I created a new ‘Robot Common Files’ folder called ‘Robot Common Files 2026’ to differentiate between the two ‘Flasher’ configurations. All my old OTA projects use the ‘Common Robot Files’ files, while new ones going forward should use the ‘Robot Common Files 2026’ versions. I copied the ‘board.txt’ and ‘Teensy OTA1.ttl’ files from ‘Robot Common Files’ into ‘Robot Common Files 2026, and also cloned Joe Pasquariello Github repo into this new folder. I plan to mklink the ‘Flash*.*’, ‘board.txt’ and ‘Teensy OTA1.ttl’ files into the local project folders for any new OTA projects.
To confirm that this all works, I removed all the OTA-related files from ‘C:\Users\Frank\Documents\Arduino\2Wheel_HC05_OTA2\2Wheel_HC05_OTA2’. Then I used mklink to link to all the necessary files from ‘C:\Users\Frank\Documents\Arduino\Robot Common Files 2026’, as follows:
|
1 2 3 4 5 6 7 8 9 10 11 12 13 14 15 16 17 18 19 20 21 22 |
Microsoft Windows [Version 10.0.26200.8246] (c) Microsoft Corporation. All rights reserved. C:\Windows\System32>mklink C:\Users\Frank\Documents\Arduino\2Wheel_HC05_OTA2\2Wheel_HC05_OTA2\TeensyOTA1.ttl "C:\Users\Frank\Documents\Arduino\Robot Common Files 2026\TeensyOTA1.ttl" symbolic link created for C:\Users\Frank\Documents\Arduino\2Wheel_HC05_OTA2\2Wheel_HC05_OTA2\TeensyOTA1.ttl <<===>> C:\Users\Frank\Documents\Arduino\Robot Common Files 2026\TeensyOTA1.ttl C:\Windows\System32>mklink C:\Users\Frank\Documents\Arduino\2Wheel_HC05_OTA2\2Wheel_HC05_OTA2\board.txt "C:\Users\Frank\Documents\Arduino\Robot Common Files 2026\board.txt symbolic link created for C:\Users\Frank\Documents\Arduino\2Wheel_HC05_OTA2\2Wheel_HC05_OTA2\board.txt <<===>> C:\Users\Frank\Documents\Arduino\Robot Common Files 2026\board.txt C:\Windows\System32>mklink C:\Users\Frank\Documents\Arduino\2Wheel_HC05_OTA2\2Wheel_HC05_OTA2\FlashTxx.c "C:\Users\Frank\Documents\Arduino\Robot Common Files 2026\FlasherX\FlashTxx.c symbolic link created for C:\Users\Frank\Documents\Arduino\2Wheel_HC05_OTA2\2Wheel_HC05_OTA2\FlashTxx.c <<===>> C:\Users\Frank\Documents\Arduino\Robot Common Files 2026\FlasherX\FlashTxx.c C:\Windows\System32>mklink C:\Users\Frank\Documents\Arduino\2Wheel_HC05_OTA2\2Wheel_HC05_OTA2\FlashTxx.h "C:\Users\Frank\Documents\Arduino\Robot Common Files 2026\FlasherX\FlashTxx.h symbolic link created for C:\Users\Frank\Documents\Arduino\2Wheel_HC05_OTA2\2Wheel_HC05_OTA2\FlashTxx.h <<===>> C:\Users\Frank\Documents\Arduino\Robot Common Files 2026\FlasherX\FlashTxx.h C:\Windows\System32>mklink C:\Users\Frank\Documents\Arduino\2Wheel_HC05_OTA2\2Wheel_HC05_OTA2\FXUtil.cpp "C:\Users\Frank\Documents\Arduino\Robot Common Files 2026\FlasherX\FXUtil.cpp symbolic link created for C:\Users\Frank\Documents\Arduino\2Wheel_HC05_OTA2\2Wheel_HC05_OTA2\FXUtil.cpp <<===>> C:\Users\Frank\Documents\Arduino\Robot Common Files 2026\FlasherX\FXUtil.cpp C:\Windows\System32>mklink C:\Users\Frank\Documents\Arduino\2Wheel_HC05_OTA2\2Wheel_HC05_OTA2\FXUtil.h "C:\Users\Frank\Documents\Arduino\Robot Common Files 2026\FlasherX\FXUtil.h symbolic link created for C:\Users\Frank\Documents\Arduino\2Wheel_HC05_OTA2\2Wheel_HC05_OTA2\FXUtil.h <<===>> C:\Users\Frank\Documents\Arduino\Robot Common Files 2026\FlasherX\FXUtil.h C:\Windows\System32> |
Then I checked the ‘C:\Users\Frank\Documents\Arduino\2Wheel_HC05_OTA2\2Wheel_HC05_OTA2’ folder to make sure everything was there, as shown below:
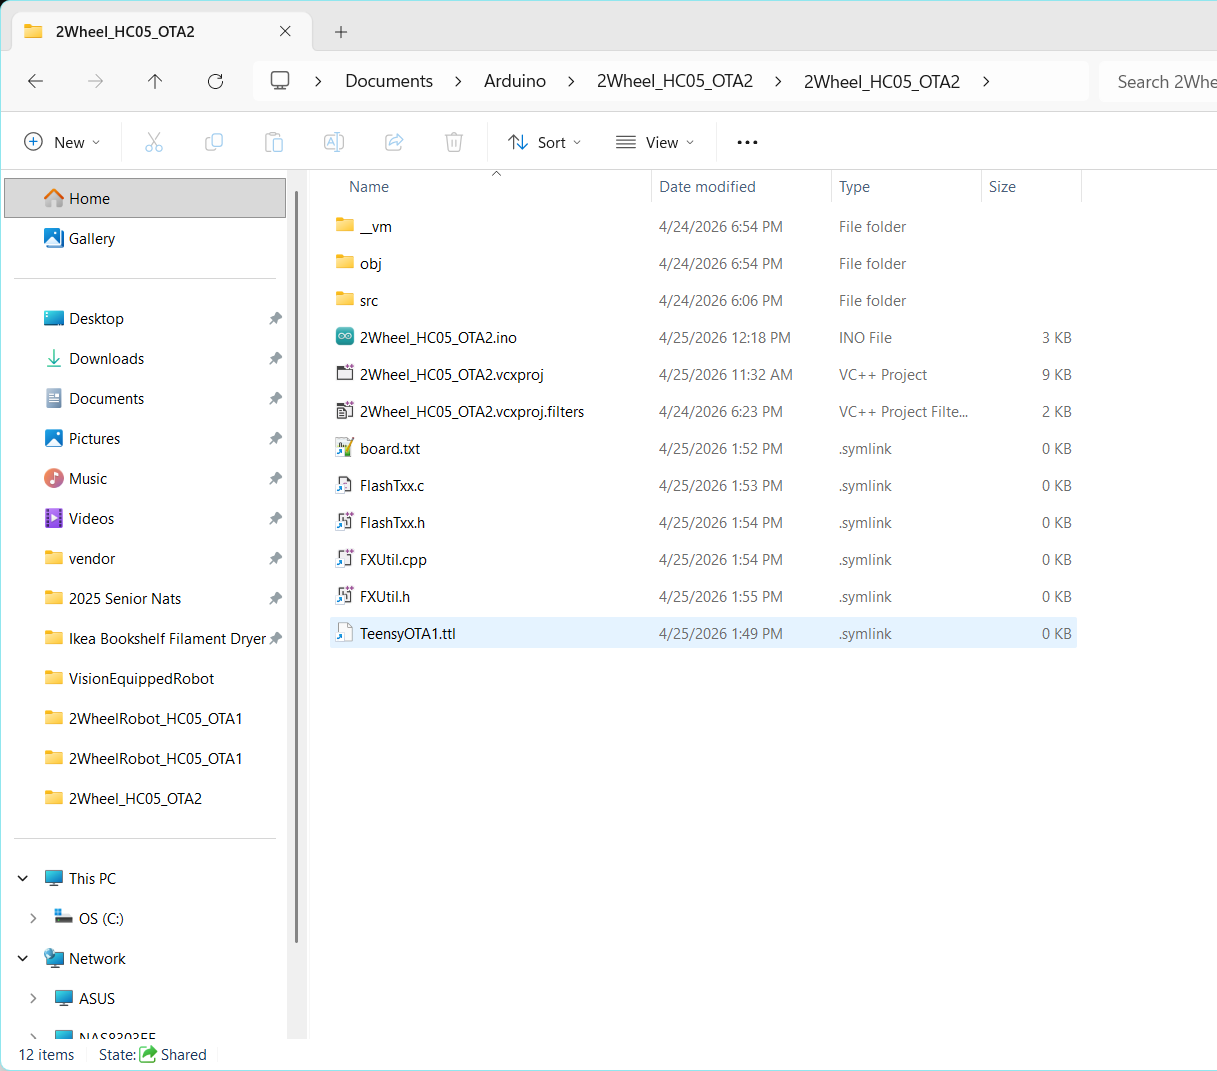
In particular I confirmed that the linked copy of FlashTxx.h had the edit to change the buffer size to 256KB.
If I have done everything correctly, I should be able to press F5 in the 2Wheel_HC05_OTA2.ino file and have it upload to the Teensy 4.1 via OTA. To check this, I changed the blink duration from 1000 (on the T4.1 right now) to 100 and have the change show up on the T4.1. Fingers crossed!
Yay – it all worked!!
For future reference, the above 25 April 2026 update dovetails into the 25 April 2026 update in The Robot Rises Again – Adding Vision Processing | Paynter’s Palace.