Posted 20 December 2022
This post describes the actions I have taken to centralize the ‘board.txt’ and ‘TeensyOTA1.ttl’ (Tera Term macro) locations that facilitate the Teensy OTA capability, so that all my various firmware projects targeted at my wall-following robot all use the same set of files. This is done by using the Windows ‘mklink’ command to create ‘hard’ links from the various program folders to a single folder called ‘Robot Common Files’.
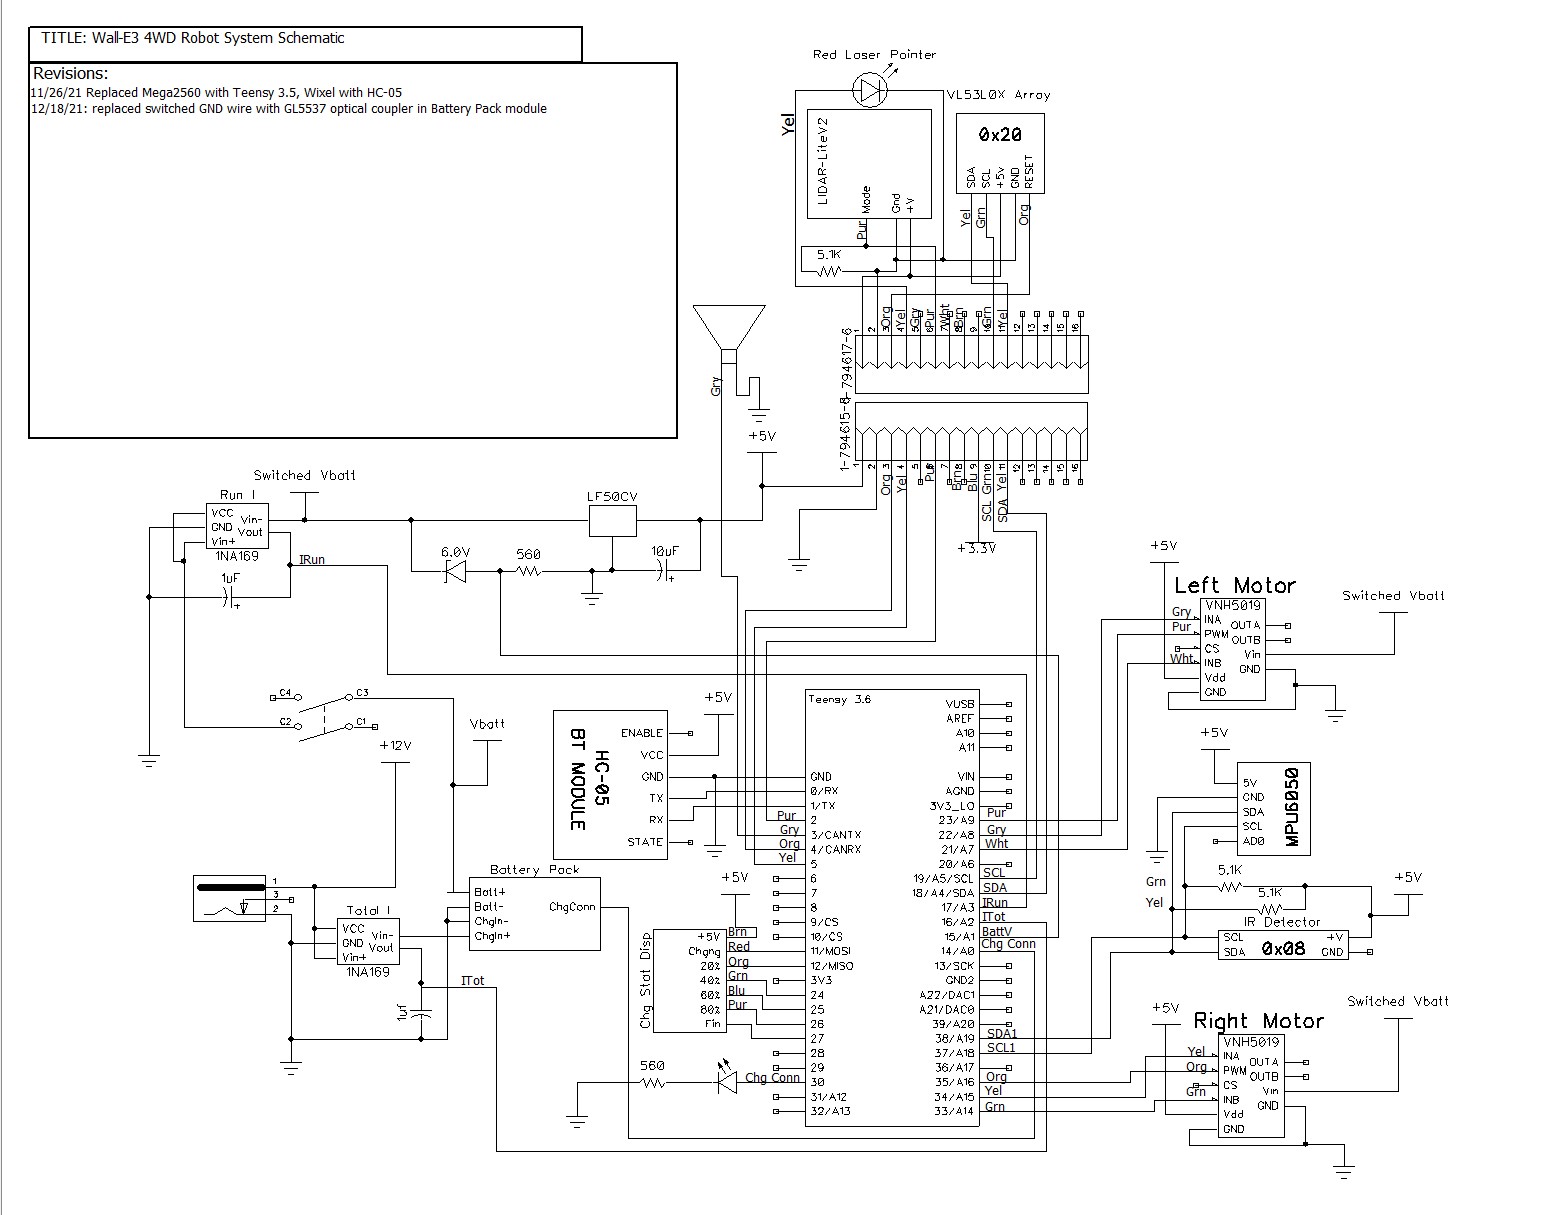
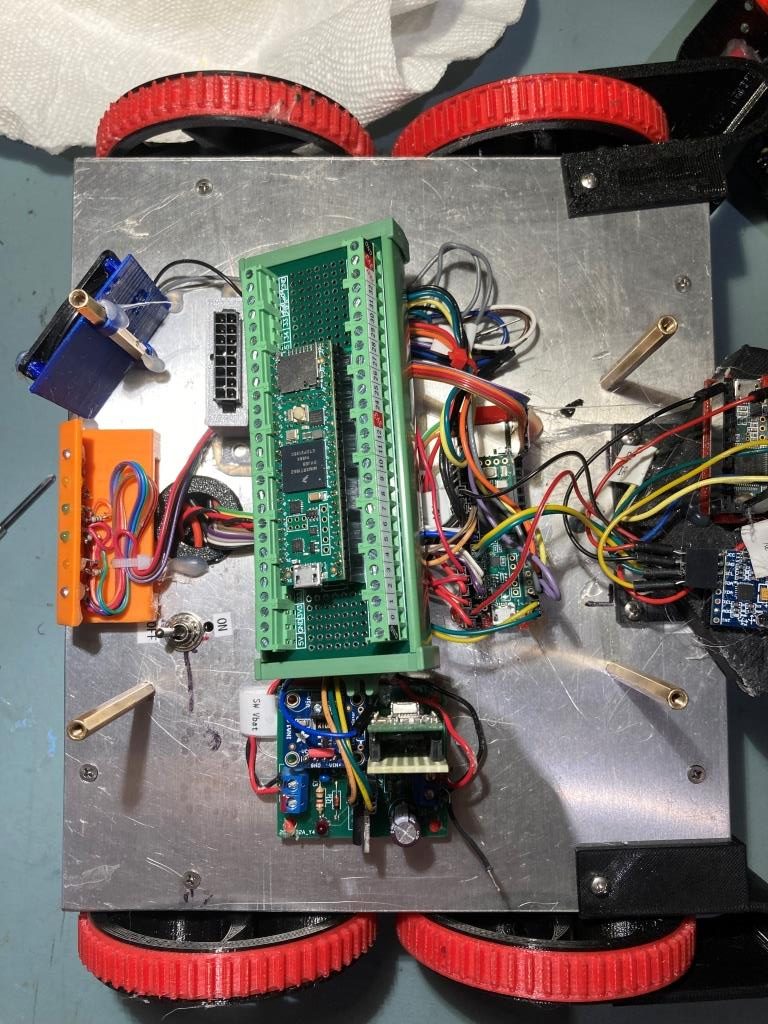
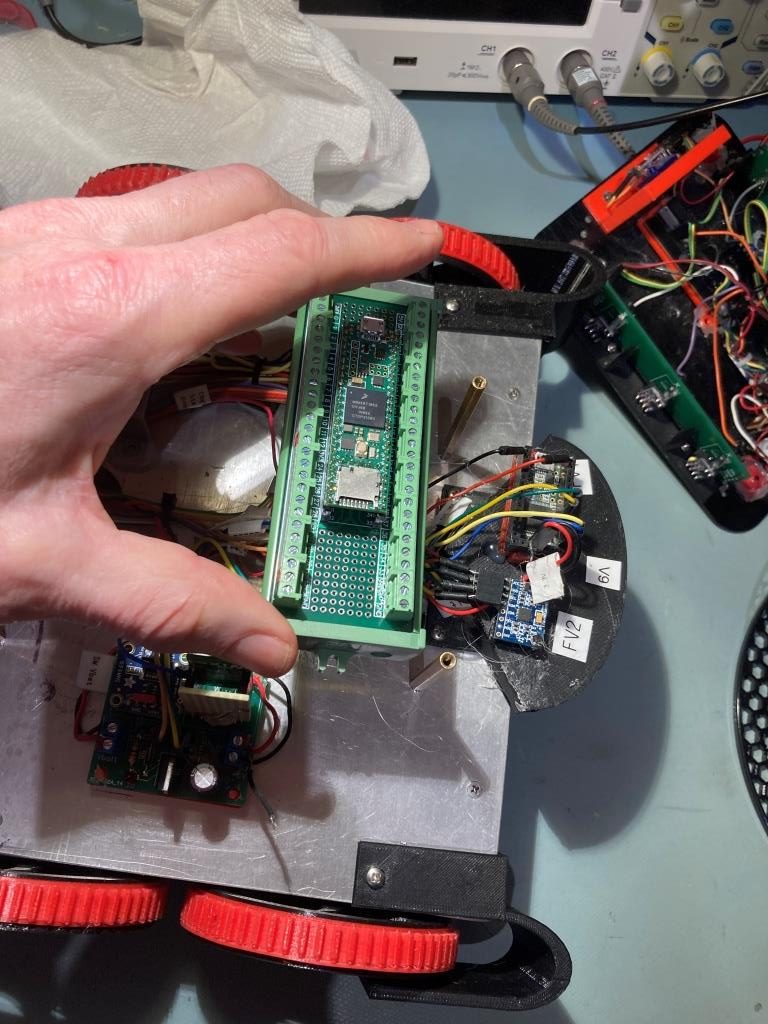
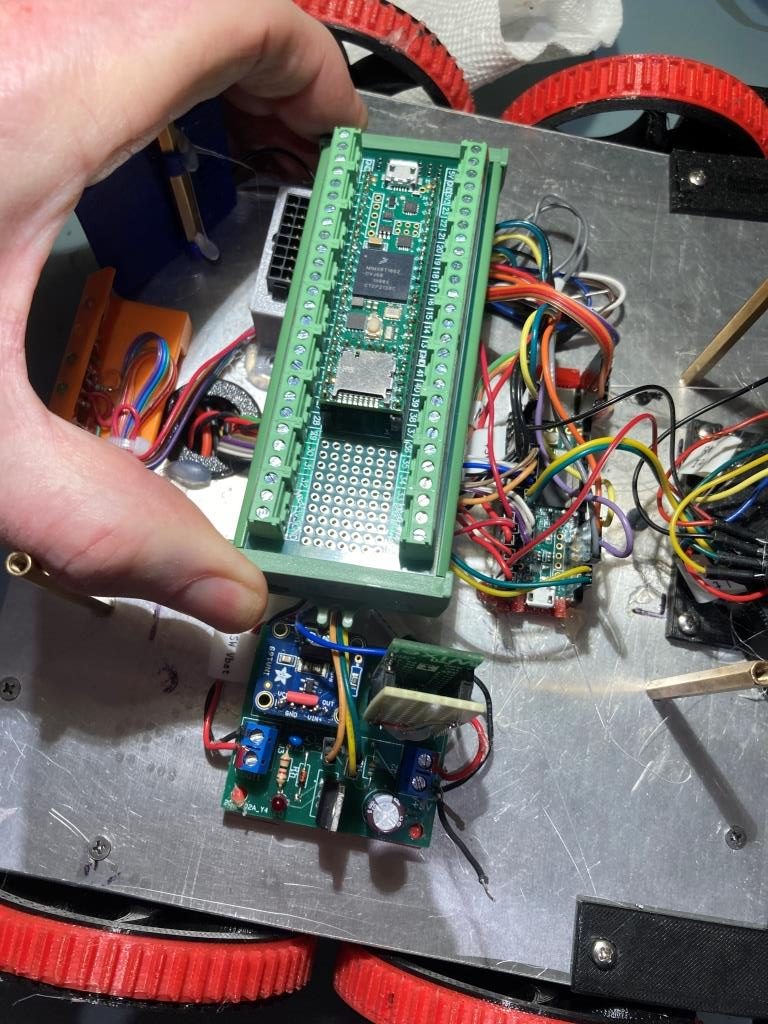
For the past five or six years I’ve been working on a 4-wheel robot project to autonomously navigate around my house using a (by now) fairly sophisticated wall-following algorithm. As I have worked through the various problems, I’ve gone through at least three different physical form factors, starting with a 3-wheel (two driven wheels, one castering wheel) and ending up (so far) with a custom 4-wheel ‘wide-track’ model.
Also along the way I have gone through any number of software versions. I work mainly with the Arduino ecosystem, but I don’t use Arduino directly. I use Microsoft Visual Studio 2022 Community Edition with the Visual Micro extension, and this is a great platform.
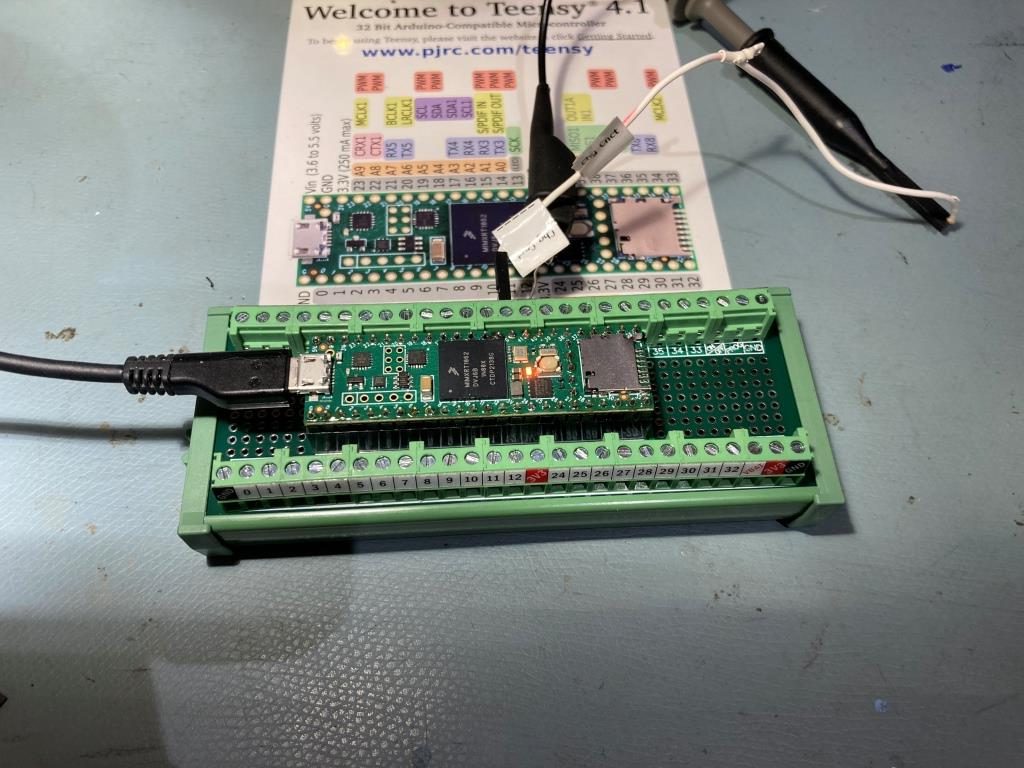
My latest hardware upgrade was to replace my original Arduino Mega 2560 processor with a Teensy 3.5 main processor, with a firmware update to achieve over-the-air (OTA) updates using a Wixel RF pair.
I now have at least twenty different software/firmware projects that I run on the robot for different reasons. I have a ‘main line’ project that incorporates all features required to full execute autonomous wall-following, and then I have lots of smaller projects aimed at exercising some small subset of the full feature set – things like distance calibration testing for the robot’s two 3-element VL53L0X time-of-flight distance sensors, and for testing out different ways of managing ‘rolling’ and ‘spin’ turns, and different algorithms for wall-tracking. All of these projects use the same ‘over-the-air’ (OTA) firmware/hardware configuration for firmware updates. Up until now I have been simply copying the two required files – ‘board.txt’ and ‘TeensyOTA1.ttl’ (a Tera Term macro) from project folder to project folder, but a recent Visual Micro update broke my OTA routine, and I discovered that having these two files copied into multiple project folders didn’t work so well – oops!
So, I decided to create ‘Robot Common Files’ folder in my Documents\Arduino folder tree, place these two files (along with the required FlashTxx.cpp/h files and my ‘enums.h’ file) into this folder, and then use the ‘mklink /H’ command (12/23/22 note: Admin privileges are not required) to create ‘hard’ links from each project’s folder to the single files in m Robot Common Files folder. The commands I used to accomplish this were:
|
1 2 3 4 5 6 7 |
// // C:\Users\Frank\Documents\Arduino\WallE3_AnomalyRecovery_V2>mklink /H board.txt "C:\Users\Frank\Documents\Arduino\Robot Common Files\board.txt" Hardlink created for board.txt <<===>> C:\Users\Frank\Documents\Arduino\Robot Common Files\board.txt C:\Users\Frank\Documents\Arduino\WallE3_AnomalyRecovery_V2>mklink /H TeensyOTA1.ttl "C:\Users\Frank\Documents\Arduino\Robot Common Files\TeensyOTA1.ttl" Hardlink created for TeensyOTA1.ttl <<===>> C:\Users\Frank\Documents\Arduino\Robot Common Files\TeensyOTA1.ttl |
where ‘WallE3_AnomalyRecovery_V2’ gets replaced each time with the actual project name
Now, when I want to edit either the ‘board.txt’ or ‘TeensyOTA1.ttl’ file, I can simply right-click on the filename in any project folder and select ‘edit with NotePad++’, and the single file in Robot Common Files gets opened for edit, and the changes are immediately available in all projects that use the Teensy OTA feature.
31 January 2023 Update:
After trying this trick a few times, I realized I had left out a step, so this update fixes that. Below is the entire Cmd line session for my latest ‘new project’:
|
1 2 3 4 5 6 7 8 9 10 11 12 |
Microsoft Windows [Version 10.0.19044.2486] (c) Microsoft Corporation. All rights reserved. C:\Users\Frank>cd C:\Users\Frank\Documents\Arduino\WallE3_Complete_V1 C:\Users\Frank\Documents\Arduino\WallE3_Complete_V1>mklink /H board.txt "C:\Users\Frank\Documents\Arduino\Robot Common Files\board.txt" Hardlink created for board.txt <<===>> C:\Users\Frank\Documents\Arduino\Robot Common Files\board.txt C:\Users\Frank\Documents\Arduino\WallE3_Complete_V1>mklink /H TeensyOTA1.ttl "C:\Users\Frank\Documents\Arduino\Robot Common Files\TeensyOTA1.ttl" Hardlink created for TeensyOTA1.ttl <<===>> C:\Users\Frank\Documents\Arduino\Robot Common Files\TeensyOTA1.ttl C:\Users\Frank\Documents\Arduino\WallE3_Complete_V1> |
The first line above shows the ‘cd’ step, which I had left out of the previous post. After that, I just copy/pasted the ‘mklink….’ text for each of the two files, and then everything was wonderful again.
Stay Tuned,
Frank